Wakeboards
-
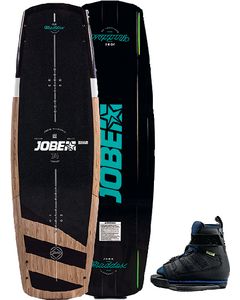
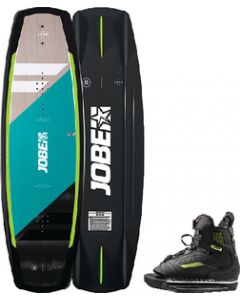 Jobe Vanity Wakeboard & Unity Binding SetOut of stock
 -

-
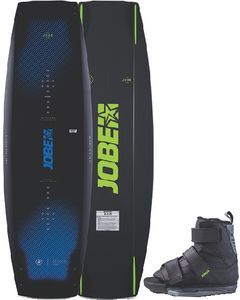 Jobe Prolix Wakeboard & Host Binding SetOut of stock
 -
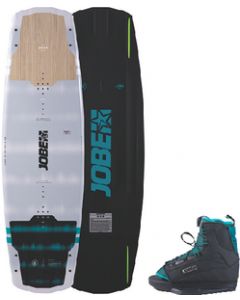 Jobe Maddox Wakeboard & Republik SetOut of stock
 -
-
 Jobe Maddox Wakeboard & Republik Binding SetOut of stock
 -
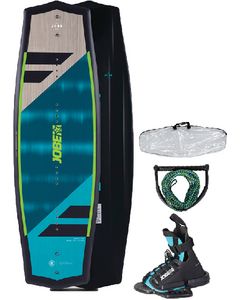
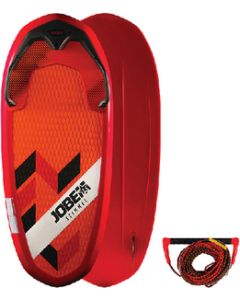 Jobe Simmel Multi-Position BoardOut of stock
 -
O'Brien Pixel 132Out of stock
-
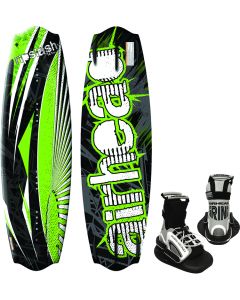
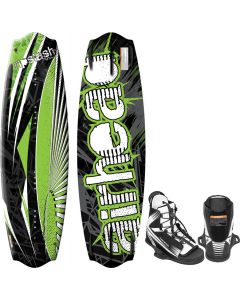 Airhead Wakeboard, w/Venom BindingsOut of stock
 -
 Liquid Force Trip WakeboardOut of stock
 -
 Liquid Force Classic WakeboardOut of stock
 -
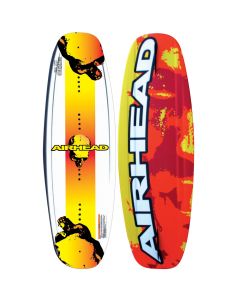
 Airhead WakeboardOut of stock
 -
 Contra Wakeboard - O'BrienOut of stock
 -
 AIRHEAD SPIKE WAKEBOARD WITH VENOM BINDINGSOut of stock
 -
 Airhead Ripslash Wakeboard With Goblin BindingsOut of stock
 -

-
-
-
-
-
 O'Brien SystemOut of stock
 -
 O'Brien HookyOut of stock
 -
-

-
-
-
-
 Hydroslide Matrix Wakeboard, 136cm with Bindings- FusionSpecial Price $235.96 Regular Price $296.99Out of stock
 -
-
 Airhead Shred Time Wakeboard - 124cm w/VENOM 4-8 Bindings AHW-10301Special Price $260.00 Regular Price $340.01Out of stock

About Wakeboards
Building our Wakeboarding selection has been and continues to be a major emphasis here at iboats.com. We currently offer a wide selection of high-quality and inexpensive Wakeboards from well known brands such as World Industries, Airhead, Liquid Force, Body Glove, and Hydro-slide. Looking for pro-grade gear meant to give you every edge possible? Keep you eyes peeled for new pro-line models coming from brands such as Ronix, CWB, Hyperlite, Slingshot, Byerly, Straigh Line, Grindwater, and more.
How To Get Up On A Wakeboard
To save yourself some time, prevent frustration and possibly save some of your self-esteem, try following these steps when trying to get up on a wakeboard:
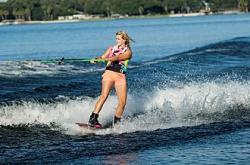
1. When starting off, lie in the water on your back and position your board and feet directly in front of you. Keep your knees at about a 90 degree angle. Hold this position until you feel pressure on the rope handle from the boat idling forward. If your feet and the board are not directly in front of you, you'll likely be spun around.
2. When ready, give the driver a thumbs up signal to start the boat forward.
3. As the boat starts to pull you, point your toes forward somewhere between a 25 and 45 degree angle so that you feel the board start lifting out of the water. If you keep your toes at a 90 degree angle before getting on plane, the board will be pushing the water in front of it forward rather than climbing on top of it. IE, instead of riding the water, you'll be pushing it forward (which would be hundreds, if not thousands of pounds of pressure; hence feeling like your hands are getting ripped off).
4. While being lifted out of the water, start turning your board so one foot goes in front of the other. Do not stand up until you're on the water. By the time you're standing, your body should be facing either left or right. Left foot forward is referred to as a "regular" stance while right foot forward is referred to as a "goofy" stance. If you need help determining which stance is best for you, have a friend push you from behind. Whatever foot you put in front of you to catch yourself is the foot you'll want to be at the front of the board when you're riding on the water. Again, do not stand up until you're on plane.
5. After you've gotten on plane and are gliding on the water, stay in the same general spot (relative to the boat) until you feel stable, then start making small turns left and right. Dropping into the lip of the wake for the first time will likely result with you back in the water, but give it a shot. If it doesn't work the first time, it'll work the second, even if that second attempt has to be repeated a few times. This is a crawl-walk-run type activity so give it some time.
Failure is part of the process so accept and embrace it. One of the worst things you can do to your progression is psyche yourself out by accepting failed attempts as your capacity. This is not the case. Progression can be quickly made by sticking with it, and focusing on what you want to learn rather than what you can't do.
While getting on plane will allow you to get into the joyous world of wakeboarding, here are some other tips to help improve your experience:
1. If you plan on doing a lot of wakeboarding, invest in a well fitting neoprene life-jacket or vest. In addition to keeping you comfortable and safe, the Neoprene material will keep you warmer than a standard foam or nylon life jacket, as neoprene traps water in which is then heated by your body (much like a wetsuit). This allows for longer sessions in comfort.
2. Keep headaches away by using a water hood or helmet. The hood will help prevent headaches from cold water and air, as well as diminish head-to-water impact on crashes. Yes, you can catch edges while wakeboarding and it's almost a guaranteed headache. The helmet will have a similar effect as the hood, with an emphasis on impact rather than keeping your noggin toasty.
3. Find your ideal speed. Most boat drivers will have a sadistic urge to take you much faster than you need to go. This creates heightened pain for you when you screw up, which creates entertainment for the driver. To counteract this problem, communicate your ideal speed to the driver. Social obligations will act as a temporary remedy for the driver's dark side, allowing for a less painful experience. You only need enough speed to keep you on plane and to build the type of wake you prefer (small, big, etc). For jumping, more than enough speed can be gathered by quickly going from one side of the wake to the other (which I call (the nun-chuck effect).
4. You don't have to be a Boy Scout to be prepared. Was getting your feet in the bindings a ten minute process? Get some boot goo or find the right size of bindings. Was the rope handle tearing up your hands? Get some wakeboarding gloves or a handle that's bigger or in better condition. Can't seem to get to the "sweet spot" of the wake based on rope length? Buy a multi-section rope that can be adjusted to your preferences.
Big thanks to Derek Rutlidge for all the great tips those 11 short years ago.
Wakeboards How-Tos
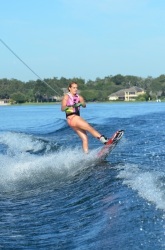
3 Hot Wakeboarding Tips
Learn the hottest and best wakeboarding tips by Raimi Merritt. Many of us start the New Year with a list of resolutions: Lose weight, Eat better, Break a bad habit. If your passion is wakeboarding, or you plan to learn to ride a board this coming year, why not resolve to focus on the following tips. They work for any rider, beginner to competitor, and will take your riding to the next level, or make learning the sport easier and more fun.
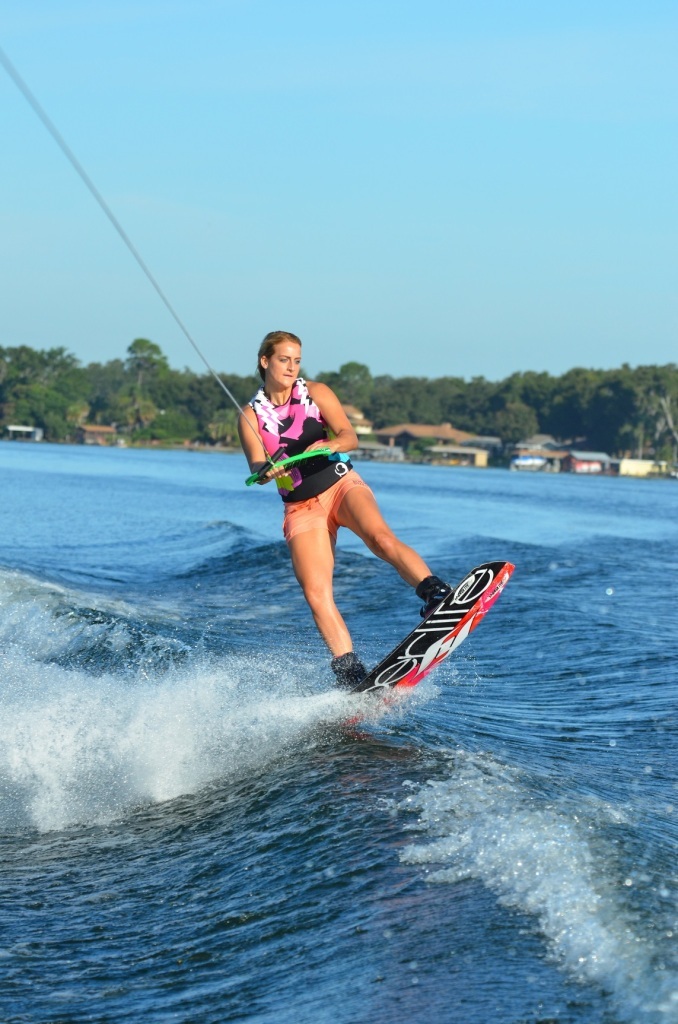
Take a Stance
Being balanced over your bindings is basic to good riding, and the key most other skills are built on. Think equal pressure over both feet, though you will naturally focus a bit more on the back foot (the foot farthest from the towboat).
To achieve this balanced stance, make sure your knees and ankles are slightly bent, but not overly so. You should not be in a squat position, and your back and head should be upright, not slouching forward.
Correct binding placement also helps with optimal balance. Try adjusting how far apart the bindings are and also mounting them more or less outward.
I am 5'7" and ride the Hyperlite Maiden 138. I ride with my boot one notch in on both sides and a little ducked out. I feel bringing them in a notch gives me more control on the boat and actually helps you support your back more.
Remember not to make too many changes at once, or you won't be able to judge the effectiveness of each one.

Once you have good balance in the basic stance, learning the switch stance will bring greater versatility and more fun to your riding. Drop the boat speed a few miles an hour and turn the board to switch stance. Once you are in switch stance and riding comfortably, the driver can increase the boat speed back to your ideal speed. Typical boat speeds for wakeboarding are 20 to 23 mph.
You can also start the switch stance from the water as the boat pulls you up. Once you've done it a few times it will be as natural as the basic stance. The key is to start riding both positions as quickly as possible.
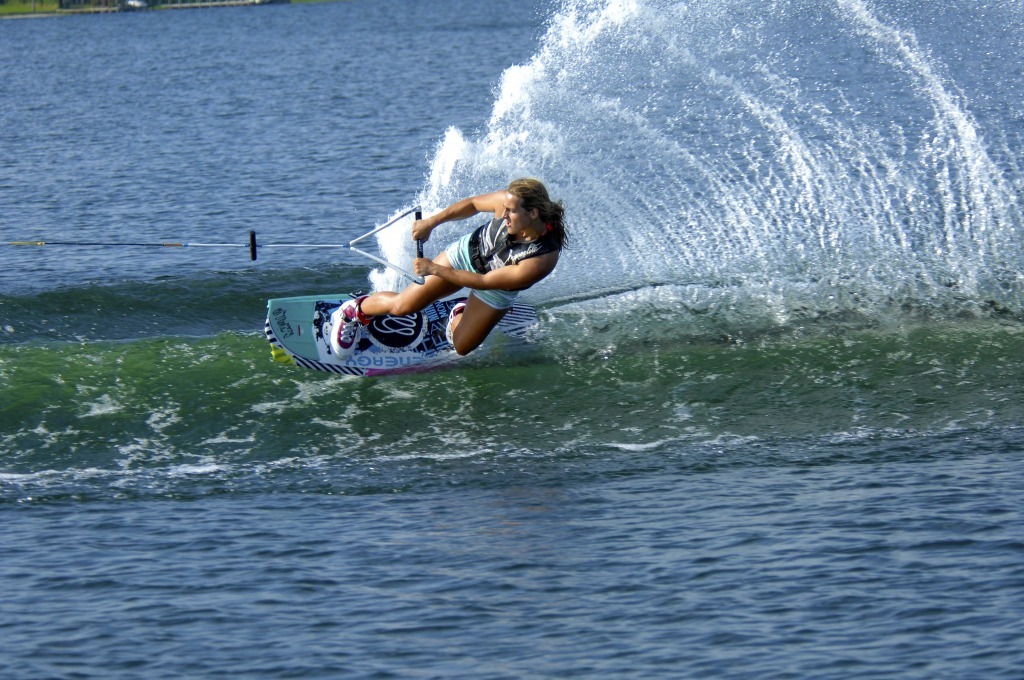
Carve and Edge
As your balance on the board continues to improve, think about carving and edging. These are the next elements to hone. They will teach you how to use the pressure from your feet to steer the board in any direction. From inside the wakes begin carving like a surfer, turning your hips, knees and bindings slightly in the direction you want to go. Initially, keep the carve short and stay inside the wake. Once you have mastered this in both basic and switch stances, you can go outside the wake. 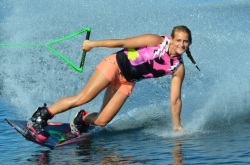
From just outside the wake, point your board outward and edge away from the wake. At first, edge a few feet away from the wake and return. But your goal is to edge the board as far away from the wake as possible. Have fun edging and carving anywhere inside or outside the wake, remembering to learn the skill in both basic and switch stance.
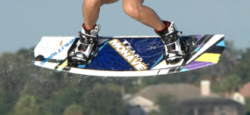
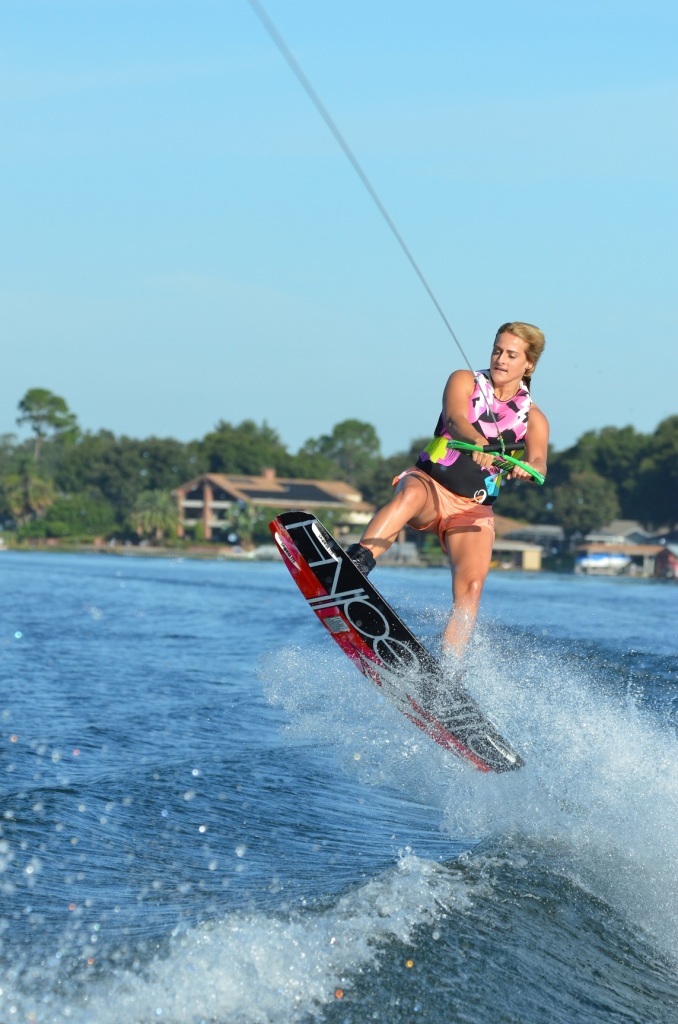
Wake Jump
Of course you want to learn to jump the wakes - it's a blast! But learning this effectively is crucial to all the new tricks that will follow, such as a grab, a rotation such as a 360, or an invert like a back roll.
All these tricks depend upon how well you do your wake jumps. When you start working on wake jumps, go for small air and land just inside the wake. As you develop your skill and confidence, you will clear more of the wake.
No matter where you start your jump, always begin your turn into the wake slowly and smoothly. Turning hard and going fast at the wake will only throw you out of position. Once your board is heading for the wake, keep your momentum moderate, which will keep you balanced on the board and keep the board on edge.
Riders have a tendency to let the board go off edge just before the top of the wake. Instead, concentrate on riding up the entire wake with the tip of the board pointing away from the boat across the wakes, even when you are in the air. This will give you the most air time.

When you can easily clear both wakes, and are comfortable with wake jumps on both sides of the wake, you are ready for air tricks and lots more fun. And because you've learned the basics correctly, by following these key tips, you'll be pleasantly surprised how easy it will be to take your riding to a whole new level of success. Hope your New Year is filled with lots of fun on the water.
Raimi Merritt wins her 10th World Cup with her recent win in Linyi City, China. Raimi is also 2 times IWWF Open Women Wakeboard World Champion and a Masters Champion. Raimi is sponsored by Mynt, Nautique, Hyperlite, Rollei Actioncam America, Breathe Boardwear, Proof Eyewear, OrigAudio, Wakami, Peripheral LS and Fly High. Visit www.raimimerritt.com for the latest news. Raimi also offers personalized coaching in Orlando, Florida. E-mail raimi@stevemerritt.com to schedule a lesson
Make Both Sides Your Strong Side
By Raimi Merritt
Are you unconsciously carving a less-than-maxed-out riding career for yourself? Many, many riders have convinced themselves that they have an "on side" and an "off side." It's natural (but wrong) to think that way. After all, some of us are right-handed and some left-handed. What could be more natural than to have a weak side and a strong side?
Because of this belief, most riders over-develop their skills on one side. This creates not only a strong side but a weak (neglected) side. I'm here to tell you that you don't have to go down that path. Instead, I want to show you how developing both sides equally can be a big help. Even development has certainly worked for me. I've been able to open up my run, putting in more spins and inverts like an air raley from either side of the wake.
Of course, technically speaking, thanks to the sideway feet placement on the wakeboard, cutting to the wake and jumping the wakes is easier to do from one direction.
If you are right foot forward and riding outside the wake on passenger's side of the boat, then you are on your strong side or heel side. Conversely, if you are on the other side, edging toward the wake from the driver's side, you are on your toe side. It's a position that offers less leverage than your heel side. For left foot forward riders, edging in from the driver's side is your heel side and provides more leverage.
But just because heel side provides more leverage, you don't want to get caught up into favoring the heel side jumps and tricks while neglecting everything on your toe side. The secret is to work the toe side equally or even harder than your heel side. The sooner you start working the toe side edging to the wake and jump, the better it is. If you are teaching a beginner, have the rider work both sides equally from the start.
Before you get into any toe side spins and inverts, I have various on-water drills that you could do to greatly strengthen your toe side. Use a 70' or 75' non-stretch wakeboard line. The wake is big and defined at that line length ,so you will get plenty of lift from the wake when jumping them.
Drill 1 - Equal Carving. Start right behind the boat inside the wake and just carve both ways while staying inside between the wakes. Though you will be working your heel side carves also, focus primarily on your body position on the toe side carves. The goal is to have equal weight on the both bindings, to stay tall over the bindings and to keep your shoulders closed to the boat on the toe side.
Start slowly and make smooth carves. As you get more comfortable, make quicker carves. As you get comfortable inside the wake, make these carving turns just outside the wake on each side. Start slow and then pick up the pace.
This training tip will improve you balance on you toe side position because you're developing equal skill on toe side as well as heel side.
Drill 2 - Jump the Wake from Inside. Start slowly inside the wake and pop the wake from inside to outside. At first, focus on body position -- you are directly over the board and relaxed. Then start using your legs to get some pop from the top of the wake. These will be small jumps from in to out. Focus on body position and technique, not distance.
Drill 3- Jump the Wake from Outside. Go outside the wake on your toe side and start jumping the wake toe side from outside to inside the wake. Start just a few feet outside the wake: this will focus your attention on body position, not on using speed or edging from way outside the wake. The key is to have equal weight over bindings by standing tall over them and keeping your shoulders closed to the boat. This body position will give you maximum leverage to do toe side jumps and tricks.
At first just pop the wake and land inside it. You will have to work toe side jumps harder than heel side. Start slow and work your way up. As you feel more comfortable edging up the wake from just outside the wake in the toe side position, your jumps will go farther. From just popping the wake and landing inside the wake toe side, you can aim for the middle of the wake, then three-fourths of the wake, and then go wake to wake. The better your body position is toe side, the farther you will be able to jump and do so easily.
Drill 4 Avoid the Jump. Go way outside the wake on your toe side. Turn in slowly and edge toward the wake. But instead of doing a wake jump, stop several feet from the wake and quickly carve away back to way outside the wake. Start this drill slowly. You don't need to go fast at first. Just edge in smoothly so that you get comfortable with a quick transition you will make just before the wake. As your body position improves toe side and you have more confidence in that direction, you will be able to edge more aggressively stop and carve back out quicker. These are signs that your toe side is getting stronger.
This is a great drill to improve balance and your toe side skills. I do 10 to 20 of them at the beginning of each training day. And of course these drills are perfect for your heel side, too.
Now it's time to start jumping the wake. The goal: make both sides equally strong so that you are not even thinking any more about toe side or heel side. Make these drills part of your time on the water. Start each set on the water with them. Do all these drills switch stance, too.
Once you can clear the wakes, you will be able to do spins and inverts from either direction without even thinking about direction. Remember, really fun wakeboarding means doing tricks from both directions instead of just one.
Raimi Merritt wins her 10th World Cup with her recent win in Linyi City, China. Raimi is also 2 times IWWF Open Women Wakeboard World Champion and a Masters Champion. Raimi is sponsored by Mynt, Nautique, Hyperlite, Rollei Actioncam America, Breathe Boardwear, Proof Eyewear, OrigAudio, Wakami, Peripheral LS and Fly High. Visit www.raimimerritt.com for the latest news. Raimi also offers personalized coaching in Orlando, Florida. E-mail raimi@stevemerritt.com to schedule a lesson.
