Learn how to measure boat control cables on an outboard or inboard/stern drive boat. Step by step instructions:
For a New Installation: Measure cable routing path from control head attachment point to engine connection. For a Replacement: Find the part number or length stamped into the plastic jacket of the old cable if possible. Cables are sold in one foot increments.
Outboards:
cable path + 4 ft. loop at engine + round up to next ft.
- Measure from control along cable routing to center of outboard.
- Add four feet to allow for loop which provides unrestricted engine movement.
- Round up to next whole foot.
- Order required cable part number.
Inboards & Stern Drives:
cable path + round up to next ft.
- Measure from control along unobstructed cable routing to shift and/or throttle connection.
- Round this dimension off to the next whole foot.
- Order required cable part number.
For Replacement of Existing Cable:If you removed the old cable, measure for replacement cable as follows:
- Measure your old cable from tip to tip.
- Round up to next whole foot, if necessary.
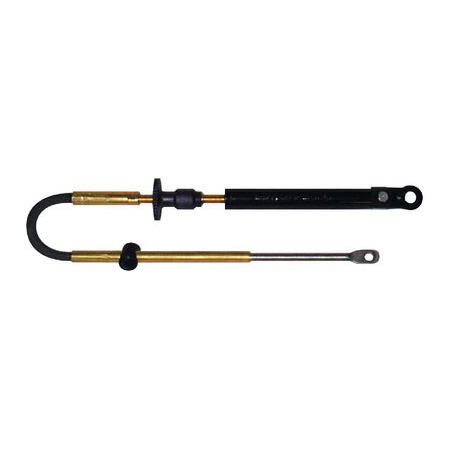
- Pick the proper end connections - OMC and Mercury use specific end connections on most of their cables but nearly all other manufactures use 33C style threaded control cables
For example:
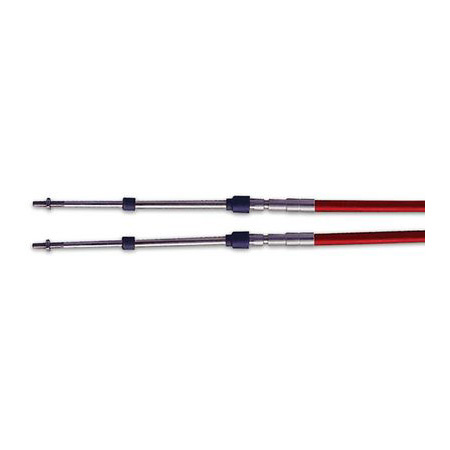
- Part Number CC63320 = 20 ft. CC633 Control Cable
- Part Number 032377-03-240 = 20 ft. 33C Control Cable (240" = 20')