


frozenokie
Petty Officer 1st Class
- Joined
- Feb 4, 2008
- Messages
- 309
Once, again... I've been busy all weekend with glassing stringers, finishing the aft battery and fuel tank compartment, preparing the front compartment deck and main floor deck for water seal and glassing - that will happen next weekend.
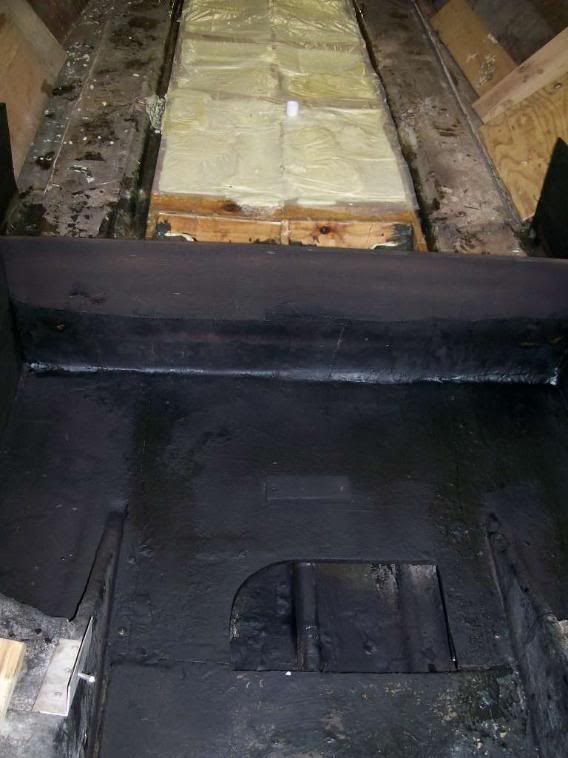
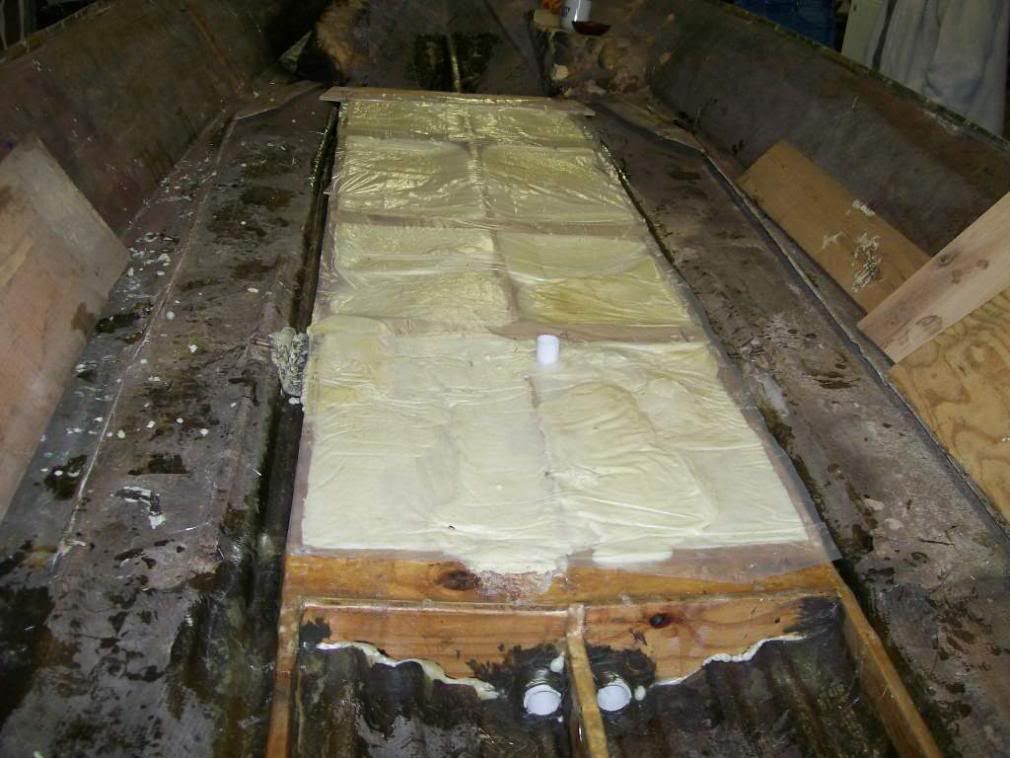
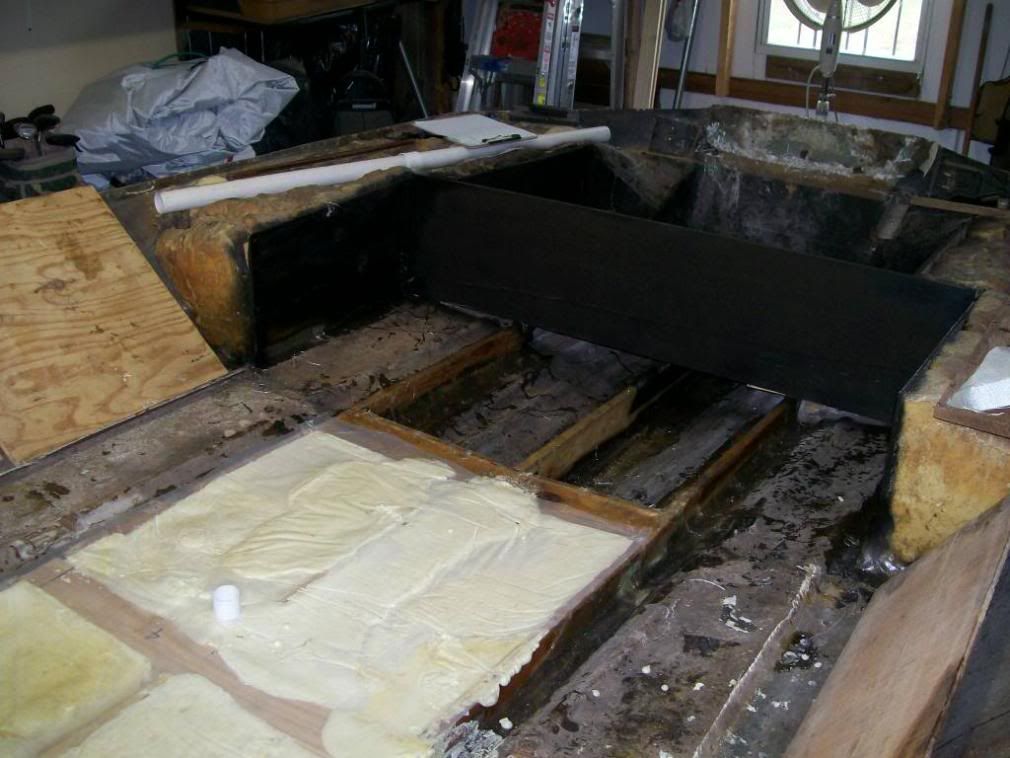
Details: I glassed all three stringers with poly and roven - matte - then roven. I'ts SOLID!!! Main stringer is 1x8 select Pine, both side stringers are 1x3 select poplar (strong and lightweight). I replaced the piece of wood below the transom where it steps inward with 3/4 treated ply and used fine hair/glass combo to glass it in place. Also SOLID!!! Two bilge drainways on ither side of the main stringer which is 1 1/2" PVC and used a tee part way down and stubbed up thru the foam for the install of a floor deck drain, which was non existent before. This will help greatly. 3/4 ply stops glassed in between the main stringer and the side stringers to contain the foam compartment. You can see the bilge drains poking thru the back. They poke thru the front stops at the back edge of the front strg compartment also. I again used the fine hair/glass combo to seal all the gaps and coat the corners. The foam that I used was 2 lb. density and came in two one gallon containers, part A and part B and was purchased through Aeromarine Products online. This stuff literally kept me on my toes!  That amount was good for 8 cu. ft. and I had about 1 inch of foam left in the bottom when done. PERFECT! I used 4 mil visqueen stapled to the top of the stringers to hold in the foam... err - well I also HAD to stand or sit on a small pice of plywood atop the stringers while the foam expanded or it would definitely have been a distaster!!!!! At one point, it actually lifted me up about 1/2" and a small amount escaped between the side stringer and the plastic while it pushed me upward. Strong stuff!
That amount was good for 8 cu. ft. and I had about 1 inch of foam left in the bottom when done. PERFECT! I used 4 mil visqueen stapled to the top of the stringers to hold in the foam... err - well I also HAD to stand or sit on a small pice of plywood atop the stringers while the foam expanded or it would definitely have been a distaster!!!!! At one point, it actually lifted me up about 1/2" and a small amount escaped between the side stringer and the plastic while it pushed me upward. Strong stuff!Now for a couple photos. My father snapped the shots on his camera, so I didn't want to take up all his camera space so all I have is three shots.
Much more photos next weekend and I'm sure, after that until done.
Til next time around....