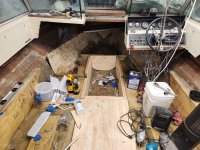
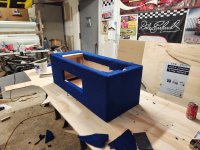
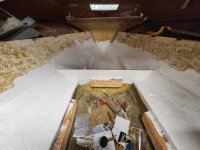
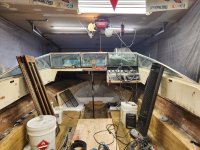
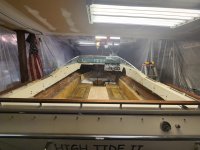
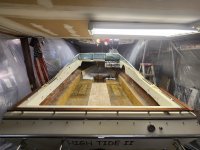
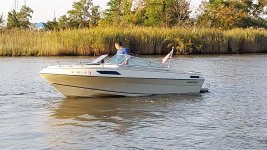
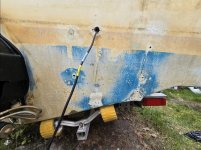
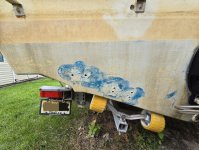
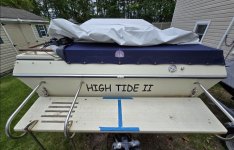
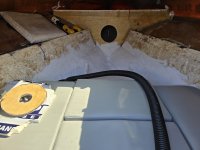
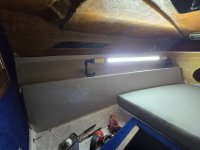
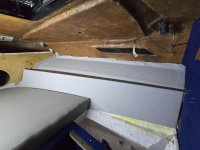
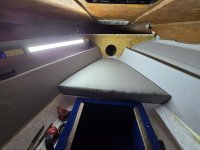
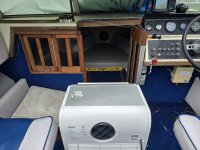
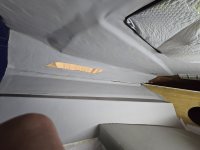
My 84 4winns horizon 195 project.

briangcc

Commander
Joined
Jul 10, 2012
Messages
2,415
I'm going to lean on another hobby of mine...aquariums. Stay with me for one hot minute...

The lids to glass aquariums usually are glass, and have a plastic hinge. You can get that hinge in black or clear for various thickness glass. That's where I would look. It'll more than likely be narrower so you may want to replace the other side for a consistent look.
 

Pmt133

Senior Chief Petty Officer
Joined
Jan 6, 2022
Messages
753
I'm going to lean on another hobby of mine...aquariums. Stay with me for one hot minute...

The lids to glass aquariums usually are glass, and have a plastic hinge. You can get that hinge in black or clear for various thickness glass. That's where I would look. It'll more than likely be narrower so you may want to replace the other side for a consistent look.
That's actually what I was looking for. And shower glass partitions.
 

Pmt133

Senior Chief Petty Officer
Joined
Jan 6, 2022
Messages
753
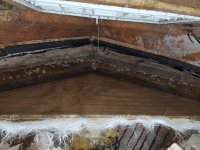
So here's a question. Sealing the windshield to the hull. It appears to have been done originally with silicone or some sealant. I see now people use foam tape. I'm curious what all you all have done to seal/bed it to the hull.
 

todhunter

Canoeist
Joined
Sep 15, 2020
Messages
1,324
Man, I don't think mine had anything. Maaaaybe a thin foam strip. It definitely wasn't bedded or sealed.
 

MikeSchinlaub

Petty Officer 1st Class
Joined
Jan 14, 2025
Messages
207
I would suggest the foam strip. It'll dampen any vibrations and give a bit of shock absorption. If you do silicone, you'll just squish out pretty much all of it, and you'll hate it if you ever have to take the windshield back off.
 

Pmt133

Senior Chief Petty Officer
Joined
Jan 6, 2022
Messages
753
I wanted to get the thread updated with all the pictures I couldn't upload in the middle there... So here goes.
7/24/24:
Got my continuous wrap of CSM in and over the side compartments.
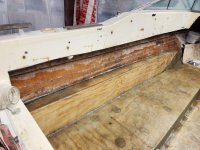
20240724_174944.jpg
As you can see, they tabbed nicely and I went about half way down the stringer. Completely encapsulating the deck again.
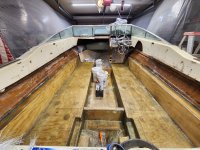
20240724_193918.jpg
Bulk heads also glassed in.

7/29/24:
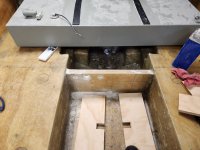
Worked on the deck structure above the fuel tank.20240729_115712.jpg
This was the plan to have the removable center hatch of the deck to pull the tank if need be. I also cleaned up the pass throughs for the fuel lines.
20240729_130301.jpg
Adhering one side with PB...

20240729_150000.jpg
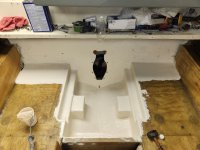
While that was drying, I gelcoated the bilge.
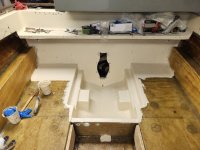
20240729_175310.jpg
Coat 2, pretty close match to the hull.
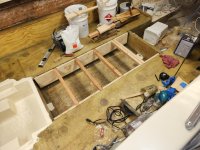
20240729_181707.jpg
Test fitting the boards the deck gets screwed to.
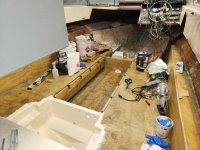
20240729_193922.jpg
Glassing in the panels to the hull structure. (I can say this now, they held 600lbs no issue.)

7/30/24:
Rebuilt and installed the gimbal assembly and dropped the fuel tank in its home.
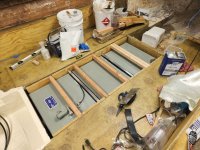
20240730_190008.jpg
Not a final install. Added some bracing front to back to help stabilize the tank.
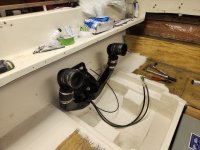
20240730_190004.jpg
Looking good.

20240730_165613.jpg
Also looking good.

8/2/24:
Filling in the egged out bow eye holes, grinding the bow for the anchor shelf/well, adding boards for battery, blower and trim pump mounting.
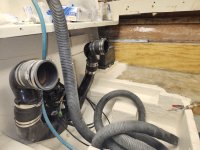
20240802_193935.jpg
Panels installed with thickened epoxy to hull and deck.
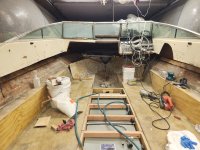
20240802_193440.jpg
If you zoom in you can see the ground area for the bow eye backer and shelf/panel.
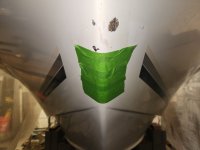
20240802_193411.jpg
Tape over holes to keep epoxy from running out.

8/3/24:
Work on the bow eye backing and anchor well.
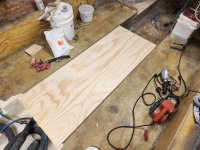
20240803_122433.jpg
Cut the fuel tank hatch to fit first.
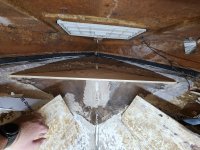
20240803_130036.jpg
Test fitting the shelf...

20240803_133927.jpg
This is how I choose to do the backing for the bow eye. I mixed some hairy PB and laid it down in the v notch.
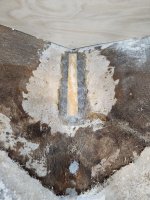
20240803_134339.jpg
I then floated in a strip of plywood.
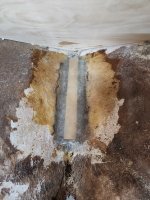
20240803_134708.jpg
Then a lay up of 1708 over it.

20240803_135221.jpg
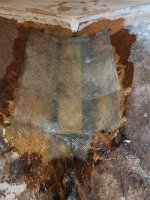
Then I did the same thing with a wider piece of plywood. Floated over PB then 2 layers of 1708. This is the middle of the second layup.
20240803_135917.jpg
All done.

20240803_153805.jpg
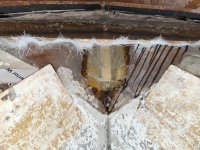
Tabbed in bottom and top the board is pitched to the front. I intend to add a small drain that runs out near the bow eye so the anchor well doesn't hold water. The original was level even when stopped.
20240803_153824.jpg
The nearly complete bow eye backing. More substantial than what originally was there.

8/7/24:
Finishing the bow eye and compartment.
20240807_114234.jpg
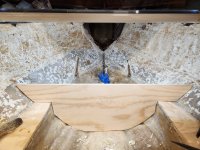
I test fit the cabin bulkhead for the V birth first. Looks alright.
20240807_151617.jpg
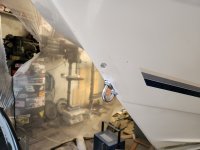
Followed by drilling and bedding the bow eye in 5200.
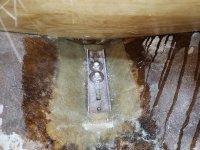
20240807_151734.jpg
This is my backing and support of the bow eye. If this pulls out, I deserved it honestly.
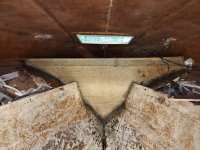
20240807_171319.jpg
Sealing off the cabinet. I will install an access port on the front here should I need to get to the back of the bow eye. The wood also makes the anchor well a tub instead of being able to flow water behind the panel into the cabin... worked out nicely.

8/8/24
Cabin work...
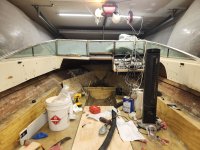
20240808_170844.jpg
20240808_170913.jpg
Nothing earth shattering here... got the cabin bits done some and installed the new rack at the helm....

8/12/24:
Built the seat boxes.
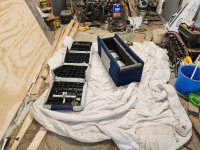
20240812_092940.jpg
The original I used to template. (very rotted)
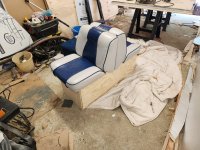
20240812_115506.jpg
The replacement. I made them a little taller and wider.
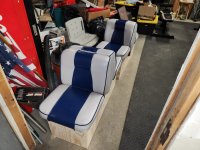
20240812_155505.jpg
All done.

8/13/24:
Installing screw downs for the seats...
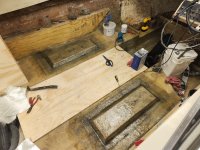
20240813_165257.jpg
I glassed in these bosses so I can screw to them rather than the sealed deck. The black line represents where the box ends so I have room to move it around if need be.
 

Pmt133

Senior Chief Petty Officer
Joined
Jan 6, 2022
Messages
753
8/16/24:
Test fitting all the cabin pieces:
20240816_120751.jpg
Looked like something with the original bits installed...

20240816_181234.jpg
Building all the trim pieces for the cabin...

20240816_194854.jpg
Mock up looks good.

8/17/24:
Carpeted the seat boxes.
20240817_171020.jpg
20240817_184020.jpg
Again, not earth shattering....

8/18/24:
Gelcoated the cabin and finished carpeting trim pieces...
20240818_122628.jpg
20240818_130137.jpg

8/21/24:
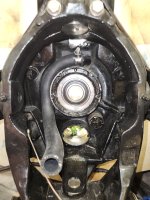
Remote oil filter setup on the 4.3l
20240821_111203.jpg20240821_111225.jpg20240821_112241.jpg20240821_114553.jpg20240821_140101.jpg

8/22/24:
More rigging of the trim pump/blower.
20240822_174353.jpg
Note the epoxied zip tie holders for no screw holes.

8/26/24:
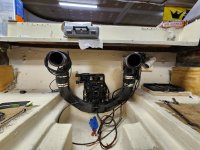
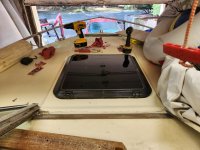
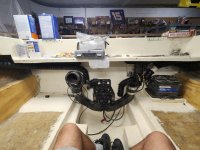
Rigged the blower tubes and deck hatch.
20240826_130329.jpg
Deck hatch installed
20240826_160031.jpg
Blower tubes installed.

8/27/24:
Cleaned up to get ready for her to get out of the garage!
20240827_093852.jpg20240827_170813.jpg20240827_181241.jpg
She's ready.
 
Top