wreckingball
Cadet
- Joined
- Jul 16, 2018
- Messages
- 25
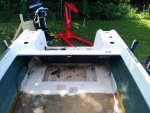
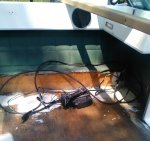
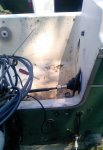
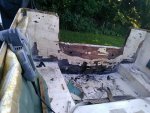
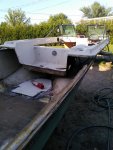
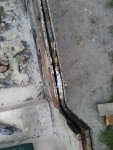
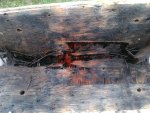
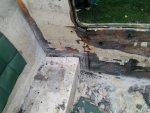
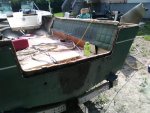
So I figured with all the wiring that has to get redone and the transoms and finally the interior , might as well start a project and hopefully finish this year to see if it flys


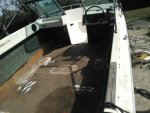
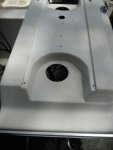
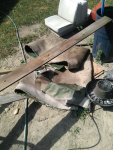
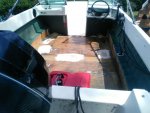


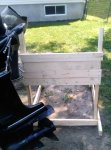


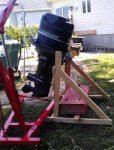


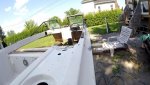

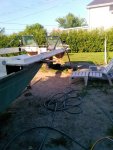
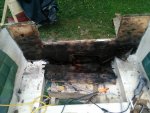
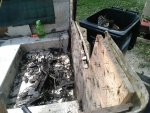
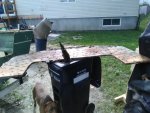
day 2 complete


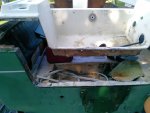


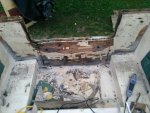

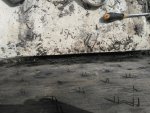

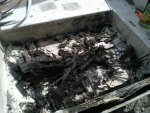

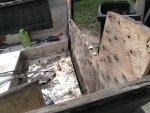
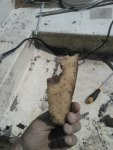
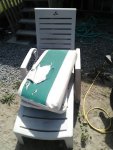
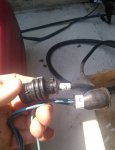
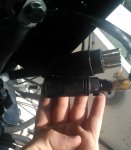
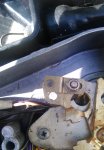
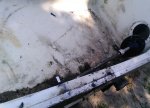
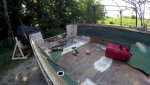
That thing in your hands would be wet flotation foam
Lots more of it on the other side of your stringers under the floor. Probably making your boat weight a couple hundred pounds more than it should.