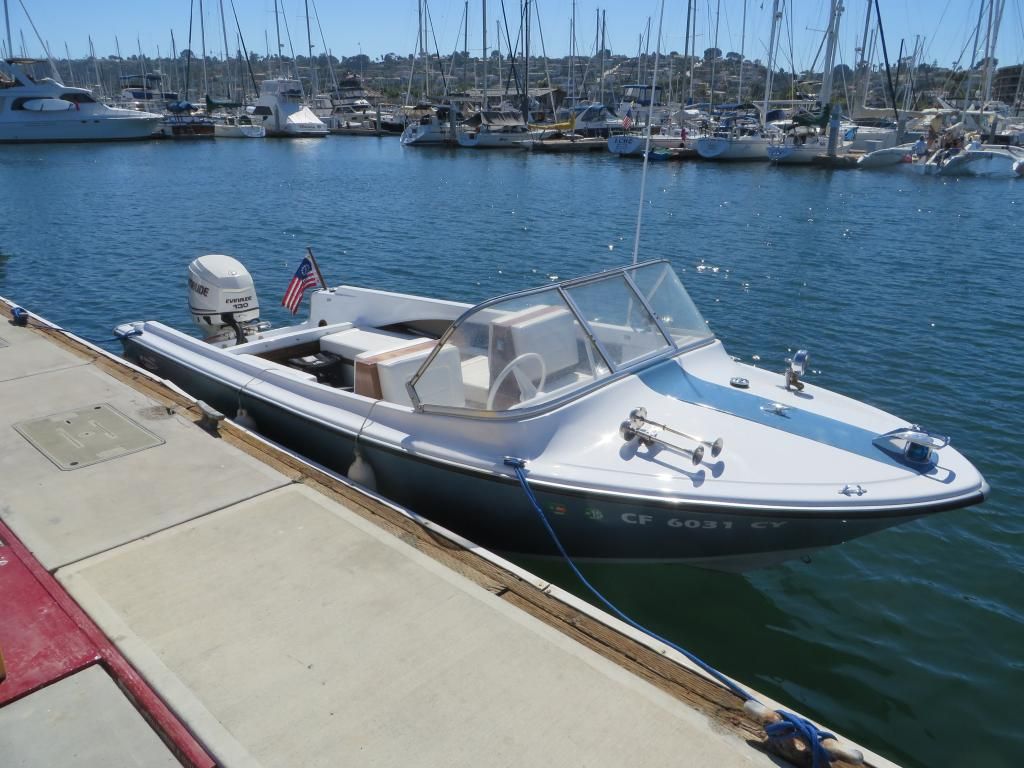
1967 18' Larson All-American 186

Nabstar

Seaman Apprentice
Joined
Jul 7, 2011
Messages
41
Re: 1967 18' Larson All-American 186

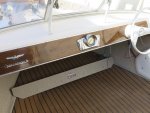
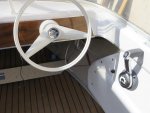
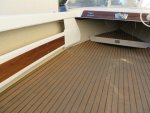
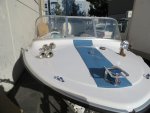
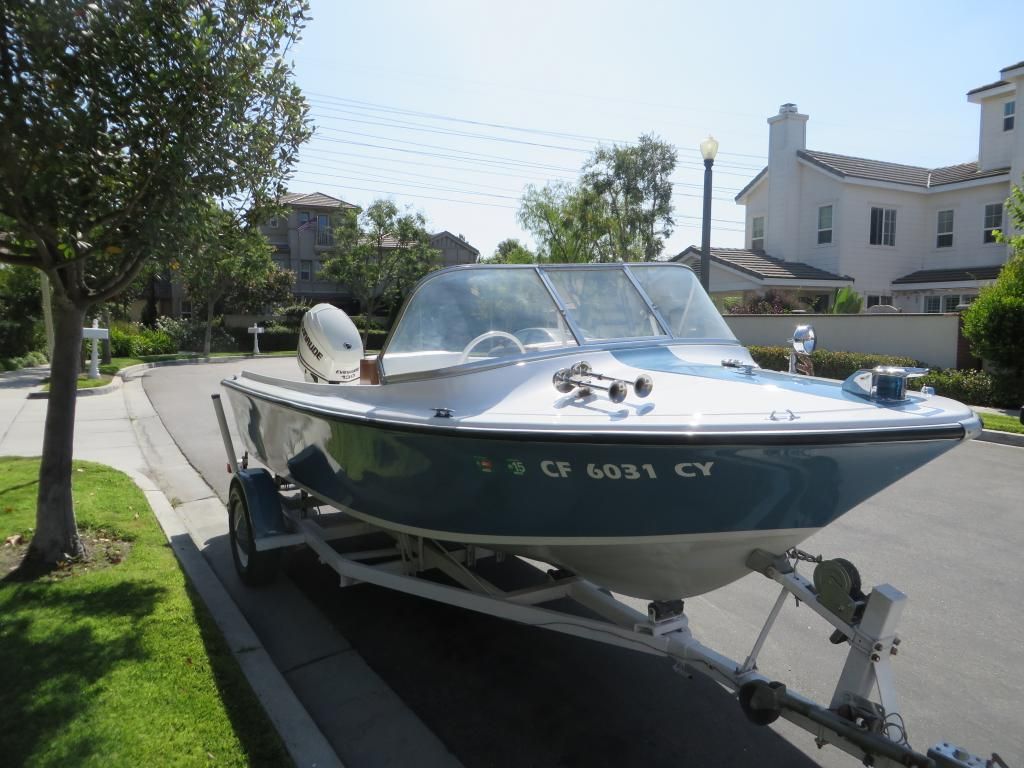
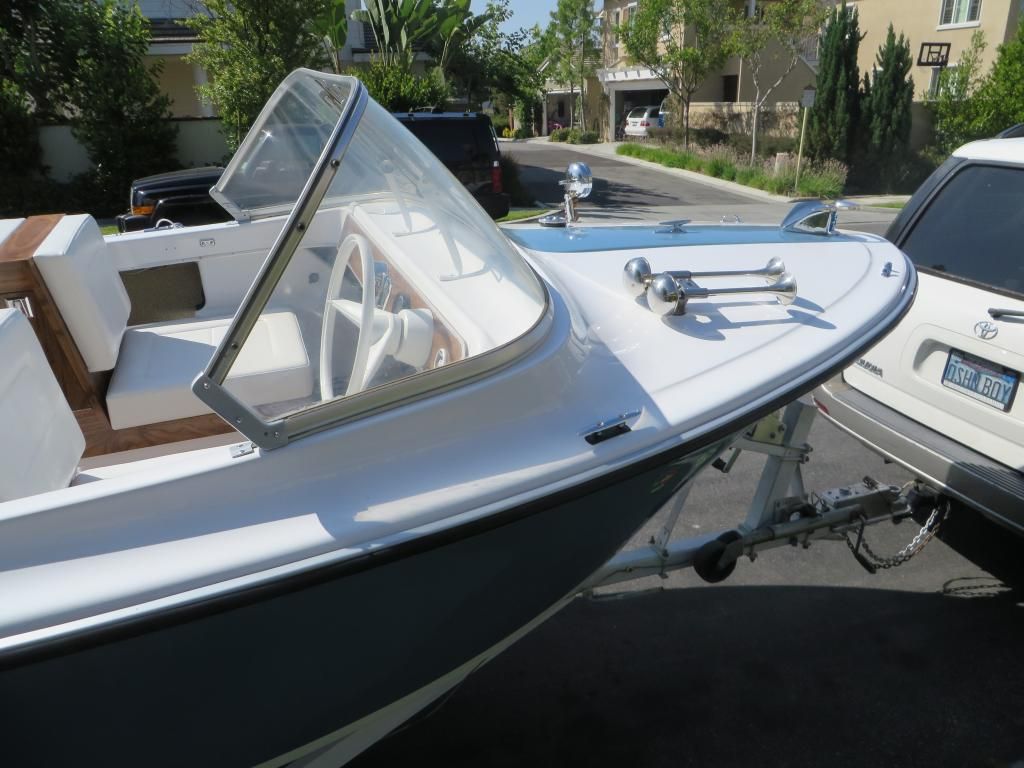
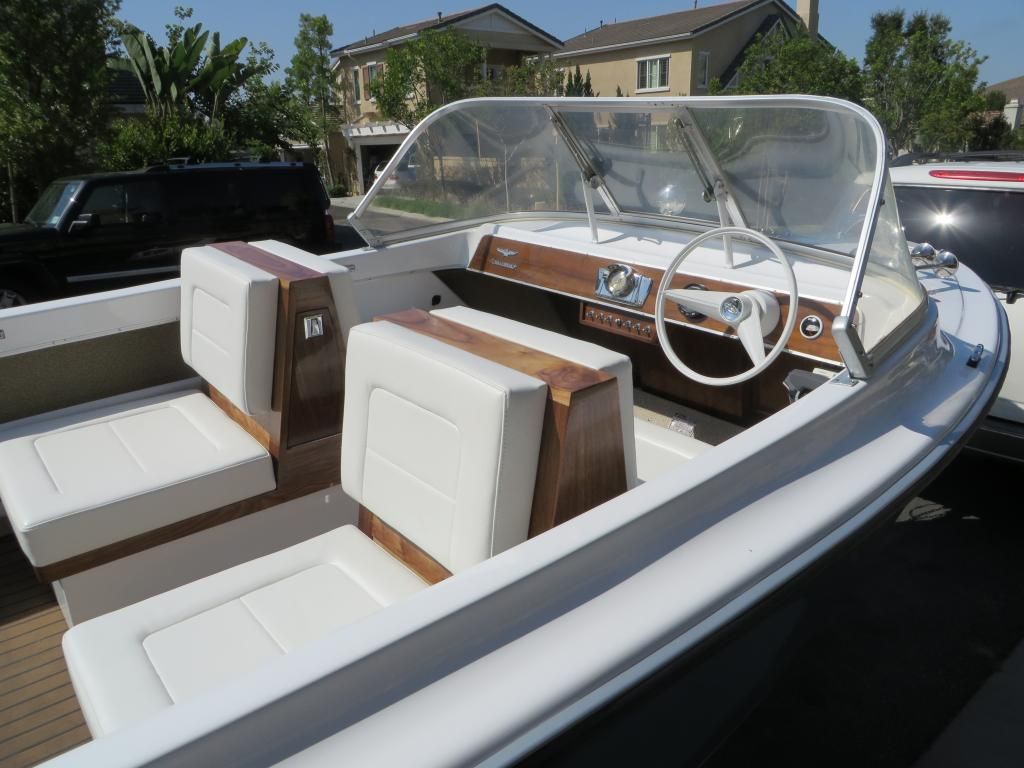
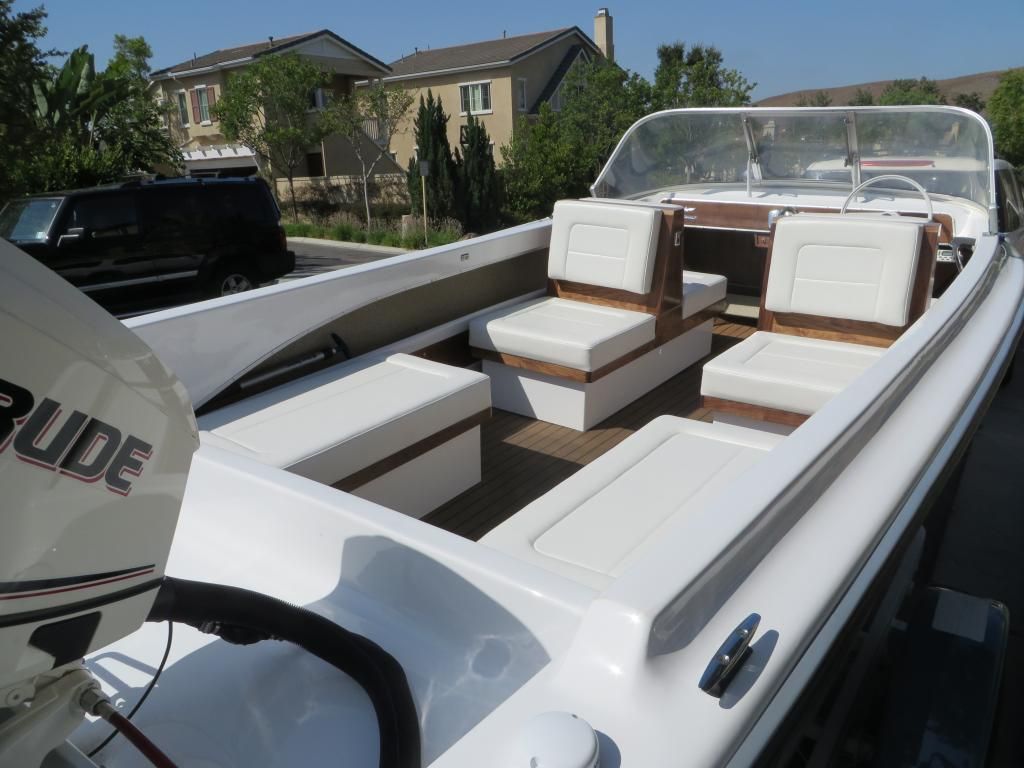
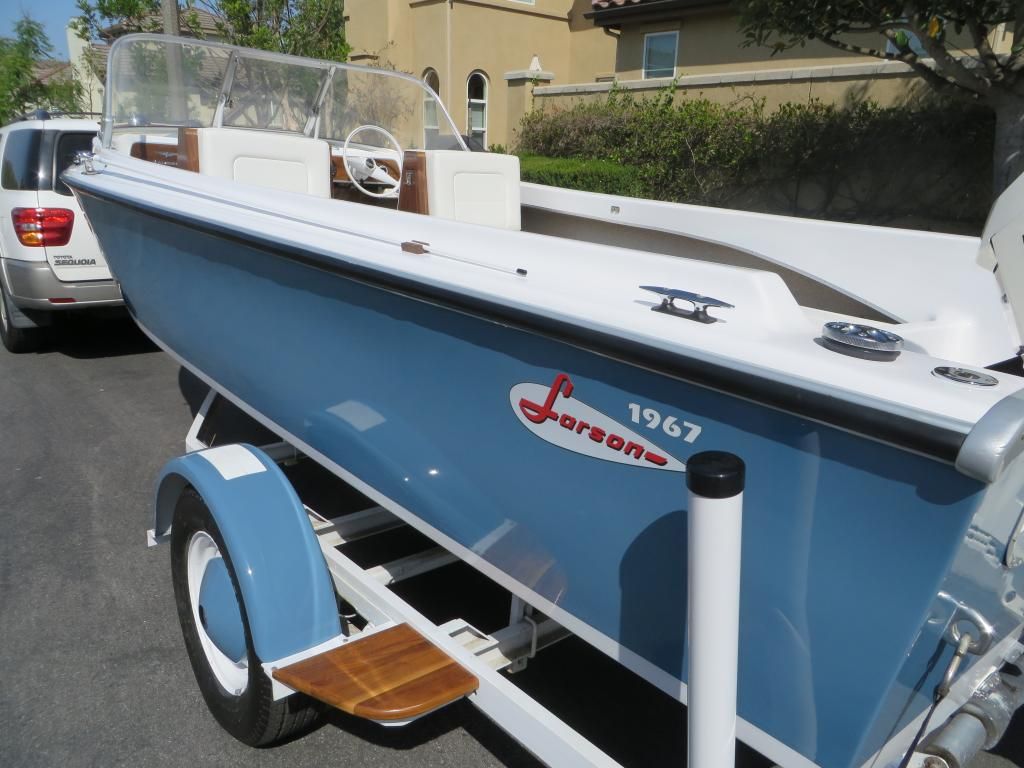
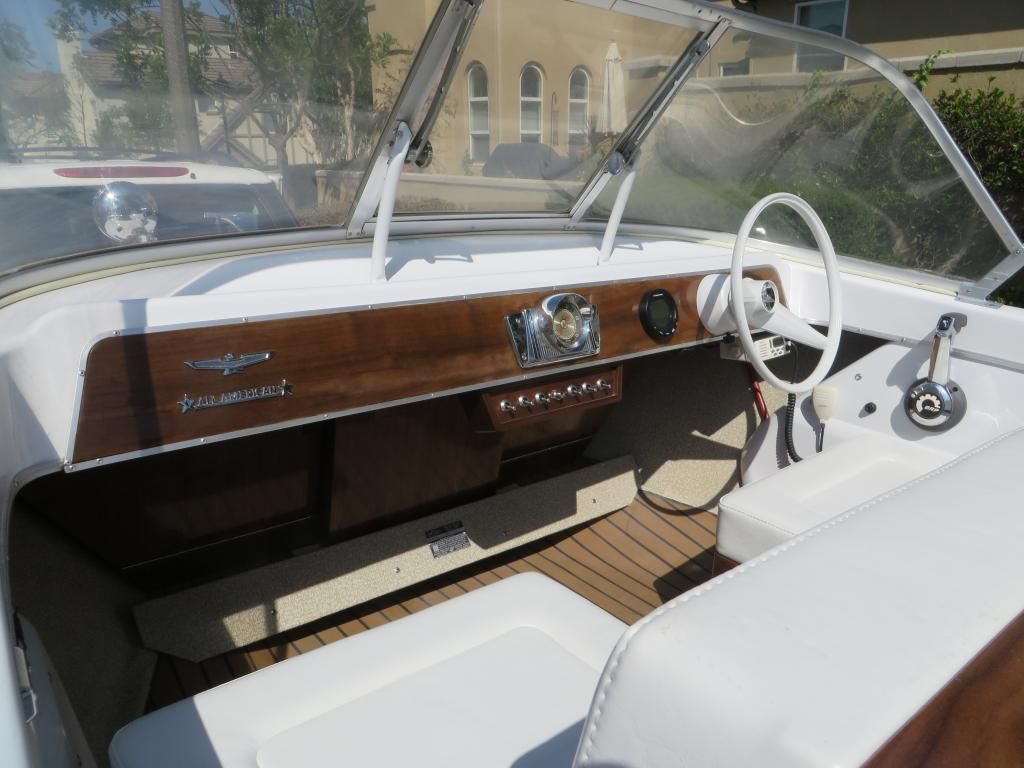
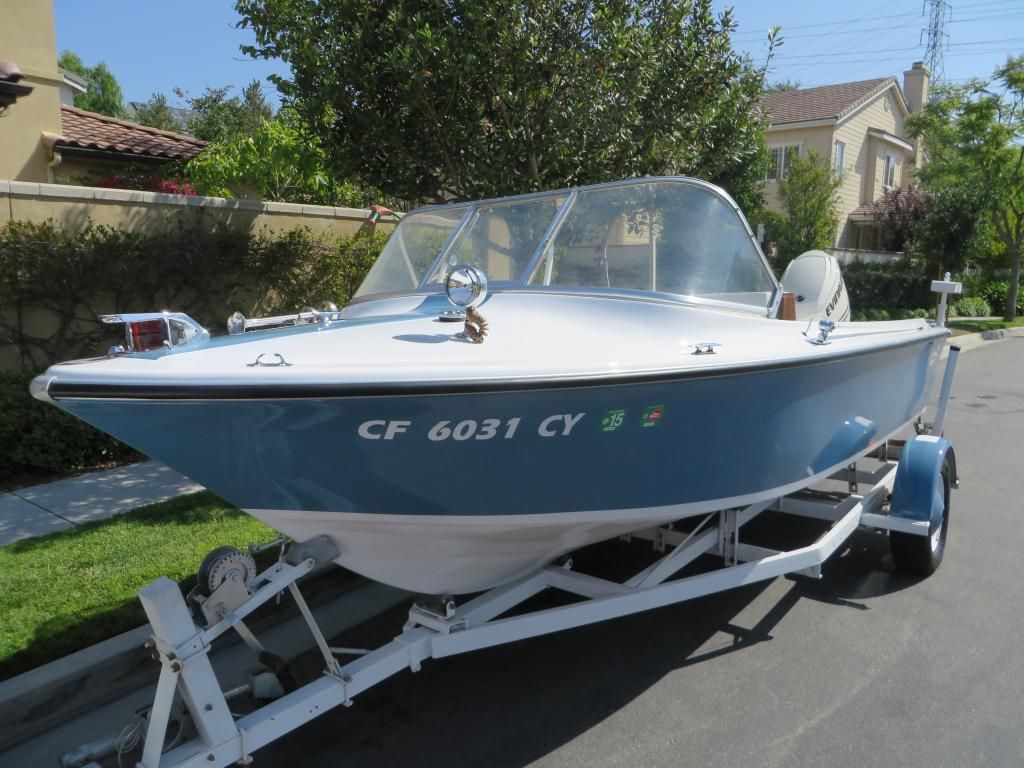
Finally I've been working on it. While it looks far along, there's still so much to do. I will be adding all new wiring and a custom interior. The bow has a refurbished trumpet horn & refurbished 1958 search light. All new hardware has been added to the bow. I cleaned the rub rail aluminum and had it powder coated with silver, then with a UV clear. I added new black rubber into the rub rail. Attaching the rub rail took a huge amount of elbow grease but I finally got it to conform to the shape of the boat. I had the navigation light, All American logo, speedo and Larson logo in the steering wheel re-chromed. They look absolutely awesome. On the side panels that run the length of the cockpit, I used walnut wood & repainted the long plastic caps on top & bottom. The dash/helm is solid walnut with a clear resin over the top to keep a glossy finish. I also had strips of aluminum cut to surround the walnut then gave them a brushed finish. The steering wheel is now white rather than it's former black color. At present, the teak floor is pretty dirty but when cleaned, should look new again. For now that's it. Time to take a break ... and remove the fiberglass from my forearms.
 

jbcurt00

Moderator
Staff member
Joined
Oct 25, 2011
Messages
25,169
Re: 1967 18' Larson All-American 186

Pix when you get time............... Sounds like a lot of stuff's been done.
 

Nabstar

Seaman Apprentice
Joined
Jul 7, 2011
Messages
41
Re: 1967 18' Larson All-American 186

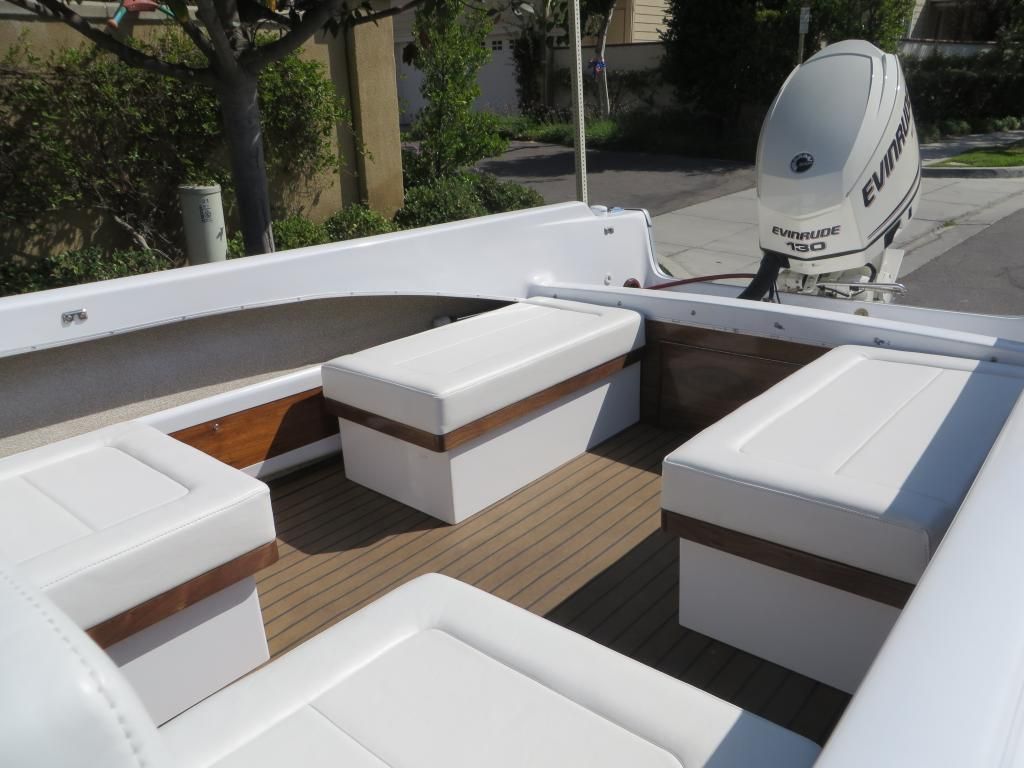
2a.jpg3a.jpg4a.jpg5a.jpg

Here's a couple photos. I'll take more shortly. Thanks.
 

coolbri70

Lieutenant Commander
Joined
Oct 6, 2011
Messages
1,554
Re: 1967 18' Larson All-American 186

nice work,:applause: I like the wood:thumb:
 

jc55

Senior Chief Petty Officer
Joined
Nov 3, 2006
Messages
665
Re: 1967 18' Larson All-American 186

Wow, what a cool build. Nice job!
 

Nabstar

Seaman Apprentice
Joined
Jul 7, 2011
Messages
41
Re: 1967 18' Larson All-American 186

I've been working too much to spend time on the boat lately but have been able to finish some walnut steps for the trailer which I'll install this week. Other than that, I've run into a design issue. My goal has been to keep the dash/helm as vintage as possible and avoid cluttering it with new instruments that don't fit the era. Because of that I designed a center console that will sit between the front seats and below the dash/helm to hold additional instruments. I made a sample of it using cardboard but was unhappy with its look so I'm revising the design. I plan on finishing that by the end of next week as well as completing the new wiring. Once that's done I'll take more photos. And then it's on to the interior. I hope your boat is going well and would love to see photos of it as well. Thanks.
 

Nabstar

Seaman Apprentice
Joined
Jul 7, 2011
Messages
41
To all of you that thought I'd vanished ..... nope ..... just busy with 2 young kids, a wife & work, however, the last two weeks I've spent a significant amount of time finishing little details on the boat and working on the interior building custom seats and so on. Next week I'll post photos and explain what I've worked on. I'm getting close. I can almost smell the salt water. To all of you restoration gurus, thank you for sharing information & a continual dose of inspiration.
 

Nabstar

Seaman Apprentice
Joined
Jul 7, 2011
Messages
41
Well, essentially it is complete ..... or enough for me to enjoy the boat this summer. Everything happened in a flurry just before the July 4th weekend. I'll still be adding some upholstery along the gunwales to make the benches a bit more comfortable. I'm pretty happy with the seating. I used solid walnut (where visible) and placed a band of it below & flush with the cushions. I also created a hinged door to the space below the splashwell to access the batteries, oil tank & aft fuel tank. I used a threaded attachment clip inside the bench seats so that they can quickly be removed before a fishing trip when space in premium. They'll go back in place during those pleasure cruises. I also made a walnut (plywood veneer) facial plate in the bow to hide the plastic fuel tank. On either side I inset hinged doors that drop down to access the space on either side of the tank as it can hold extra life jackets & a canvas cover. I wanted to keep everything hidden when not needed to keep the appearance of the boat clean. Also, while making the seats, I noticed that the space between the forward & rear-facing seats had quite a bit of unused space so I added hinged and locking doors that'll drop down to hold valuables when the boat is left at a public dock during lunch ..... and a beer. I even added a portable head below the passenger seat cushion on the port side. Will no doubt come in handy at some point. Anyway, as I finish up the final touches, I'll be certain to post more pictures if others seem interested. Thanks.


Nabstar

Seaman Apprentice
Joined
Jul 7, 2011
Messages
41
No Title

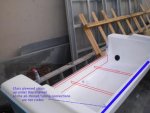
Okay, all, I'm back and need some guidance. I was going through my boat after a summer of fun & noticed that the transom, above the splashwell, was sagging/bowing in the center near the motor. I grabbed the lower end of the outboard and gave some hefty tugs and noticed quite a bit of flex ..... enough to make me say, "Uh-oh". A boat restoration specialist/friend of mine suggested that I place a 3/8" thick aluminum angle at the top of the transom. Then he suggested glassing in a couple layers of fiberglass/plywood against the front of the splashwell (under the lip) and finally, run two lengths of all-thread between the two, spanning the splashwell to prevent torsion while underway. He suggested covering the all-thread with polished stainless tubes for a clean look as well as painting the metal angle near the motor. I'm attaching a photo of a small runabout that has the same method ....but not finished to look clean. Mine would look much more clean than this one but I wanted to see if this theory in sound. Any thoughts or suggestions would be greatly appreciated.
 

Attachments

  • photo215186.jpg
    photo215186.jpg
    25.1 KB · Views: 6
  • photo215187.jpg
    photo215187.jpg
    17.4 KB · Views: 6

kcassells

Fleet Admiral
Joined
Oct 16, 2012
Messages
8,738
May work for awhile. Don't believe that the splashwell was designed to take that kind of weight/force displacement. House of cards.
The transom replacement is the correct repair and of course now a can a worms are coming at ya with the integrity of the rest of the innerds.
 

Nabstar

Seaman Apprentice
Joined
Jul 7, 2011
Messages
41
Do you have suggestions? Seacast? I just fear that any partial "fill" solution (having dug out the rotted wood) may still allow for weakness at its contact point with the remaining "good wood" in the transom.
 

jbcurt00

Moderator
Staff member
Joined
Oct 25, 2011
Messages
25,169
If any of the transom wood is soft, there is NO good wood, it ALL needs to come out
 

kcassells

Fleet Admiral
Joined
Oct 16, 2012
Messages
8,738
You could do core samples of the transom from the bottom up. Like 3/4" to 1". I'm really surprised that this really nice renovation got that far with out that. Typically a transom can rot out from improper penetrations allowing water to come in from the top, middle down. Alot also start from the bottom up, so that's why I'm saying, after I just read your thread, none of this appears to have been done. So hence the stringers may also be shot.
I only saw a quick fix for a soft spot but looking back since you had that soft spot more than likely there is work required under the entire floor. Sorry for the bad news...maybe you'll surprise us.
Boats beautiful!
 

Tnstratofam

Commander
Joined
Aug 18, 2013
Messages
2,679
The best thing would be to replace the transom as one solid piece. That is how they are designed to provide strength. Trying to only replace what appears to be rotten will not increase the strength of the remaining wood. Seacast may be an option I'm not familiar with it. Replacing the transom is what I would do on such a beautiful boat.
 
Top