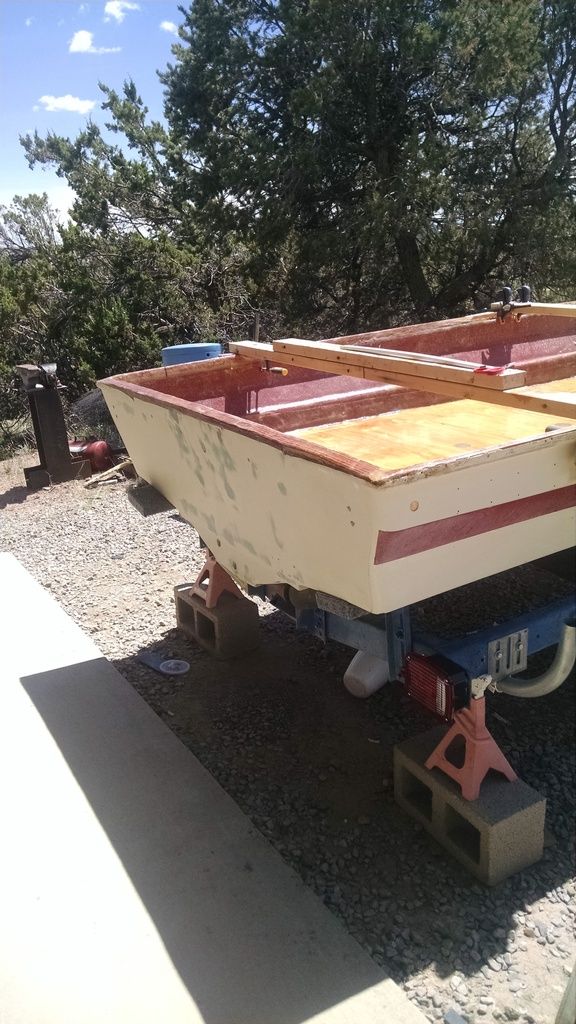
1978 Kingfisher 170 Transom overhaul (first one)

crovowen

Seaman Apprentice
Joined
Jun 1, 2012
Messages
49
Re: 1978 Kingfisher 170 Transom overhaul (first one)

Thanks-I have read the articles (they answered almost all of my questions), but just makin sure-
 

crovowen

Seaman Apprentice
Joined
Jun 1, 2012
Messages
49
Re: 1978 Kingfisher 170 Transom overhaul (first one)

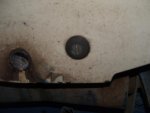
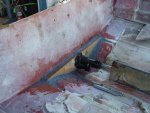
tear down almost done- gettin ready to grind the transom area down to prepare for the new one.
DSCF0045_zpsdd940640.jpg
a couple of questions: this looks to an electrical ground/ used for ther bilge maybe? had an old ring terminal on it and is made of brass. keep it?
transom question: would a layer of csm or 1708 on the inside of the transom skin be beneficial before glueing up the transom? or would it be sufficient to just have it on the new transom wood?
I would like to make the holes oversize in the wood, fill them w/PB and redrill to correct size. do this ahead of time? or when assembling the transom? these may sound tlike stupid questions, but any advice is valued- Crow
 

crovowen

Seaman Apprentice
Joined
Jun 1, 2012
Messages
49
Re: 1978 Kingfisher 170 Transom overhaul (first one)

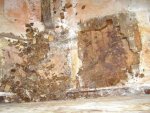
well, got a little surprise today and hope it doesn't 'sink' the project...
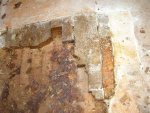
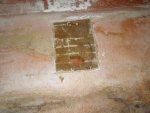
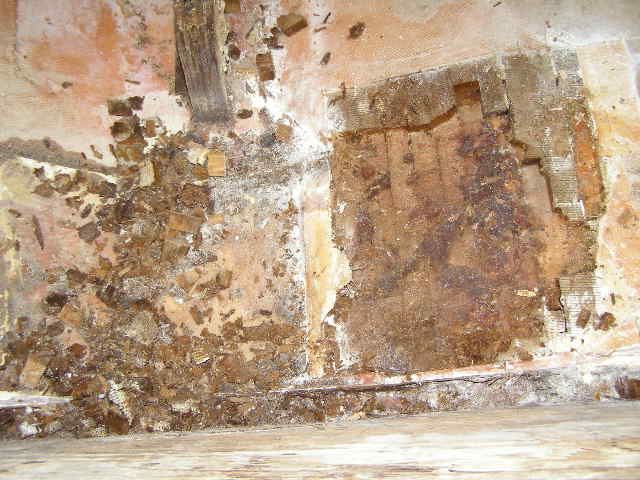
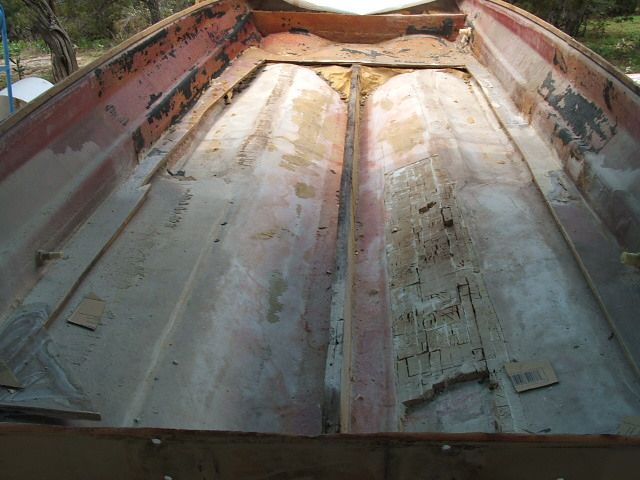
some of the measurements didn't jive and i after digging around on the back of the hull, found this-
P7270053_zps5f5e559e.jpg (looking down on the bilge area)
P7270054_zpsd5a85ffa.jpgP7270055_zpsd43d9643.jpgP7270056_zps48007d47.jpg
looks like a Balsa core that is saturated. different thicknesses on both sides, so it looks like a search, cut, and replace mission.would explain the single center stringer. any help is appreciated- Crow
 
Last edited:

crovowen

Seaman Apprentice
Joined
Jun 1, 2012
Messages
49
Re: 1978 Kingfisher 170 Transom overhaul (first one)

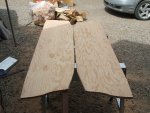
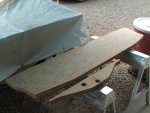
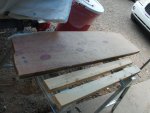
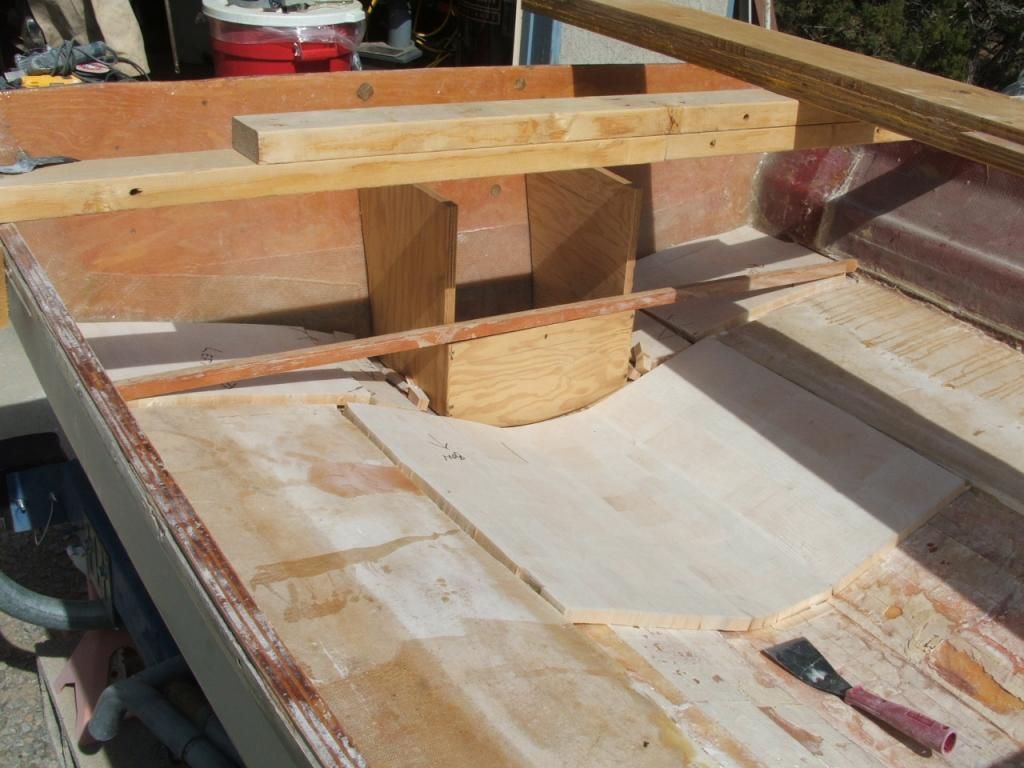
good day today- got the 3/4 ply cut and glued (used Gorilla glue- misted both sides with a spray bottle and troweled the glue) screwed and weighted- let stand for 2 days. coat of resin, oversized the known mounting holes, holes for the tie downs and filled with PB, them CSM both sides. found some bubbles (didn't put enough radius on edges) ground those out and re did it. better the second time. putting the lower transom back together. learned a few lessons also...
DSCF0054_zpsc9c231bf.jpgDSCF0055_zpsff9e741d.jpg
two pieces due to the 10* angle at the bottom of the transom-
DSCF0056_zpsa9998962.jpgDSCF0061_zpsa3df6c69.jpg
transom pieces csm'd both sides, lower part of transom PB'd in..

lesson #1- nice cool morning (65*) nice cool resin bucket, mix per instructions- 2 1/2 HOURS TO KICK !!!
lesson #2- Don't open cabosil bucket in a breeze !

started wood rivet rails (for lack of a better term) PL'd and riveted them on- they were soaked with resin also-

boat will have a couple of days to set before I can work on it some more-

always forward- Crow
 

crovowen

Seaman Apprentice
Joined
Jun 1, 2012
Messages
49
Re: 1978 Kingfisher 170 Transom overhaul (first one)

Since i have to replace part of the balsa core in the hull, what would be a better rebuild method?
core question.jpg
original stringer was just stuck on top of the core roving (first one) and just came off when i pushed it to the side. any suggestions?

Thanks- crow
 

GT1000000

Rear Admiral
Joined
Jul 13, 2011
Messages
4,916
Re: 1978 Kingfisher 170 Transom overhaul (first one)

I like #2...just seems to be better structurally, but then again, I ain't no marine engineerin type...:noidea:
 

jbcurt00

Moderator
Staff member
Joined
Oct 25, 2011
Messages
25,137
Re: 1978 Kingfisher 170 Transom overhaul (first one)

If #1 is closer to original design, I'd follow that method during put back. Depends on the stress the stringer imparts to the hull & whether the balsa core was considered part of the hull.


You'll tie the stringer to the hull w/ tabbing & additional layers of CSM &/or 1708, it will not be easily pushed over like you were able to do during demo.

I'd recommend using WOG's stringer, transom & deck graphic layup schedule. After you get the hull squared away, after the balsa core is applied.

"Fabricating Decks, Stringers, and Transoms"
 

crovowen

Seaman Apprentice
Joined
Jun 1, 2012
Messages
49
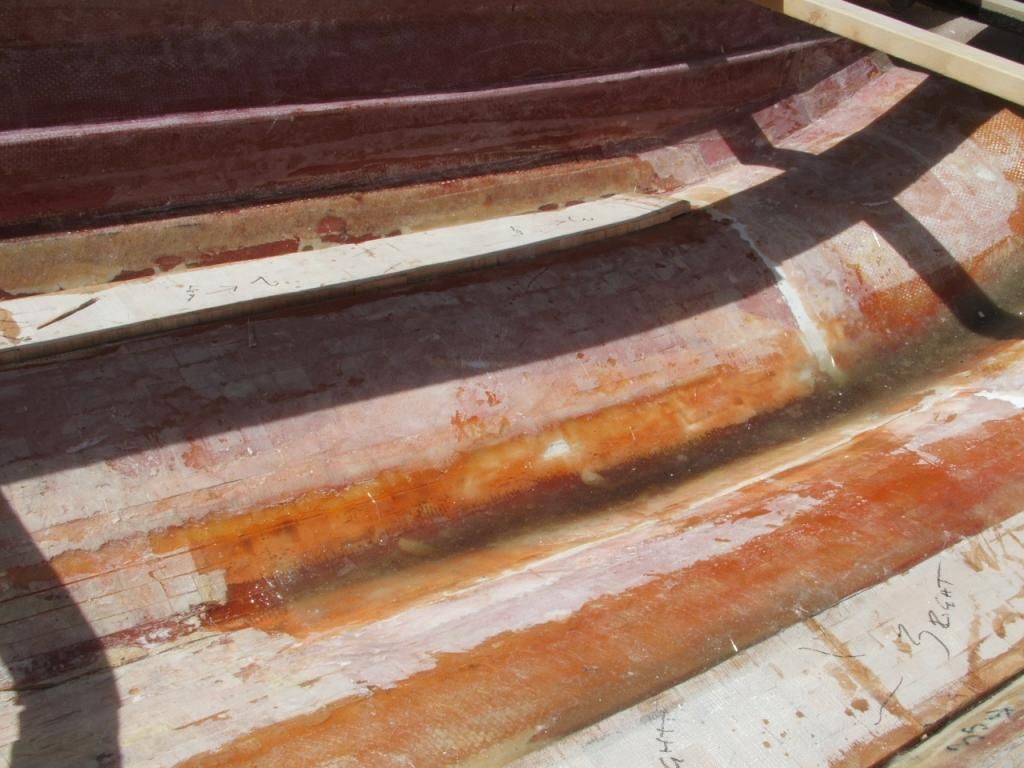
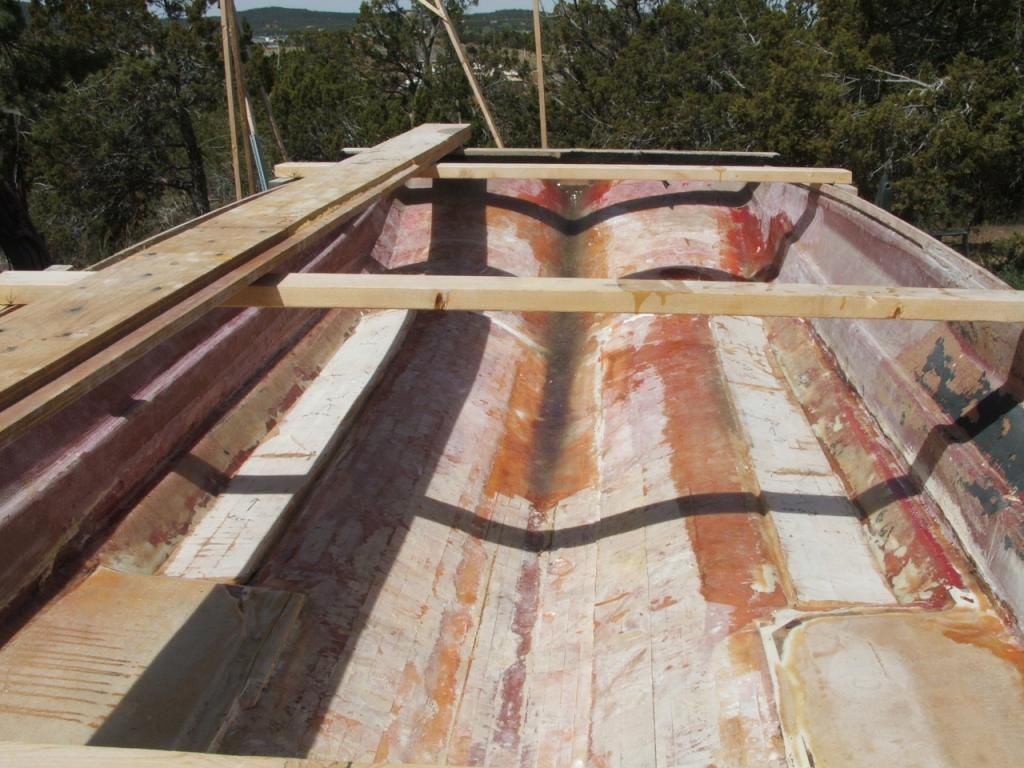
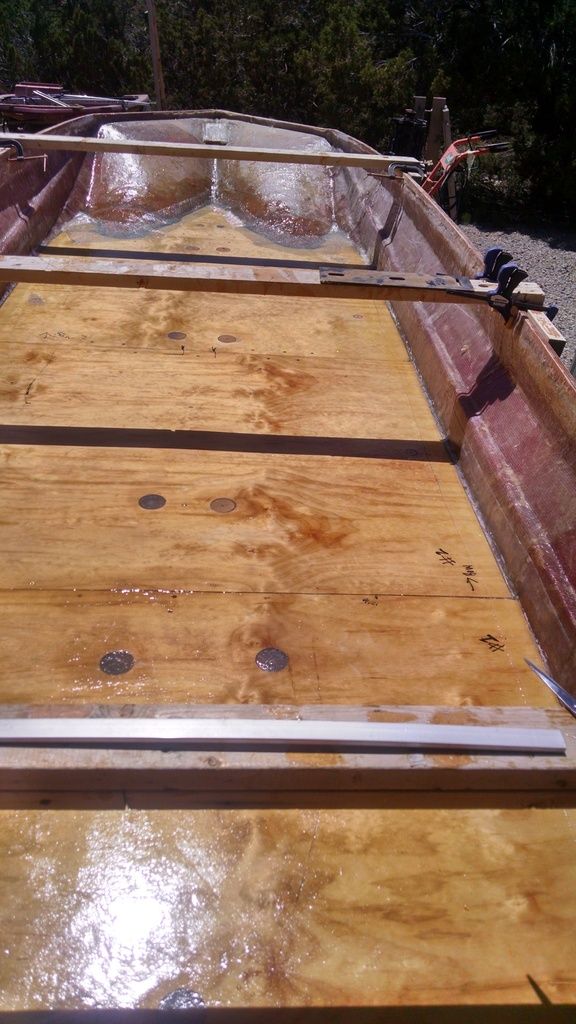
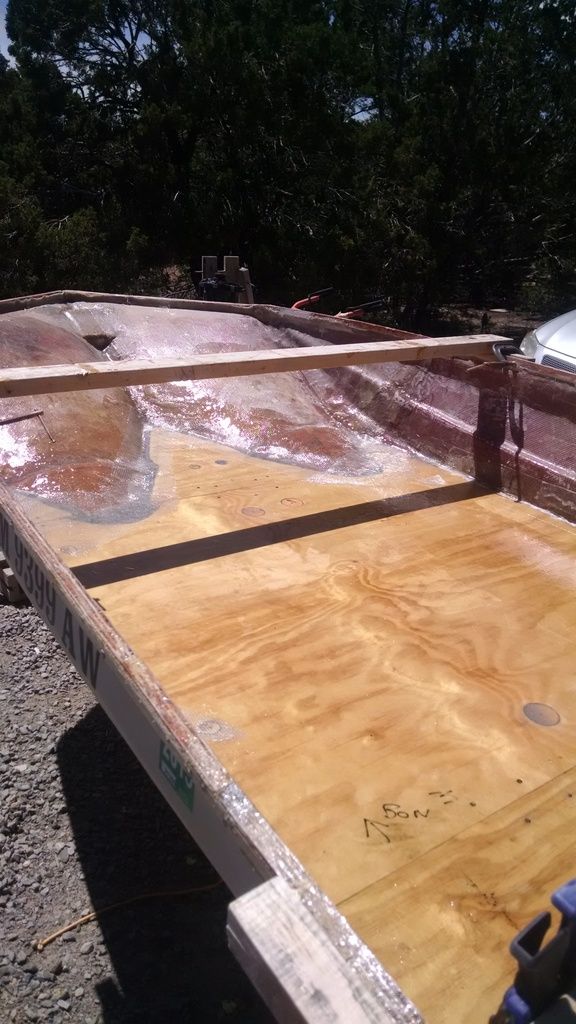
Well, it has been almost two years since starting this project- all of the aspects of life kinda get in the way, hip and ankle replaced, broken water lines, car troubles, and grandkids. but it looks like the storm has passed. over the last year, i glassed in an additional layer of 1708 and repaired all of the thin spots, defects, and poor hull layup from the factory. I was amazed at how much of the roving was not wetted out and had little attachment to the hull. using a 500 watt worklight, I found alot of bubbles, delaminations and just general sloppy work. sorry- before this was done, the balsa core was completely removed, new wood installed and faired in , and a layer of csm and two layers of 1708 to finish. the center stringer and bilge box was made with marine ply and reinstalled with PB bedding and fillets, with csm and 1708 tabbing and final layer. looks like I am ready to install the decking, using ACX ext ply with csm on the underside. I cannot believe this has already used 20+ gallons of poly resin, 20 yds of 1708 and 10yds of csm and a roll of 6" tabbing! anyway, pictures to follow soon and hopefully this summer will be productive and this youngster will finally get back in the water.

Crow
 

Mark72233

Ensign
Joined
Jul 11, 2014
Messages
926
crovowen just ran across your thread. Tagging along and wishing you a productive summer. The last pictures you had of the boat it was looking good.
 

crovowen

Seaman Apprentice
Joined
Jun 1, 2012
Messages
49
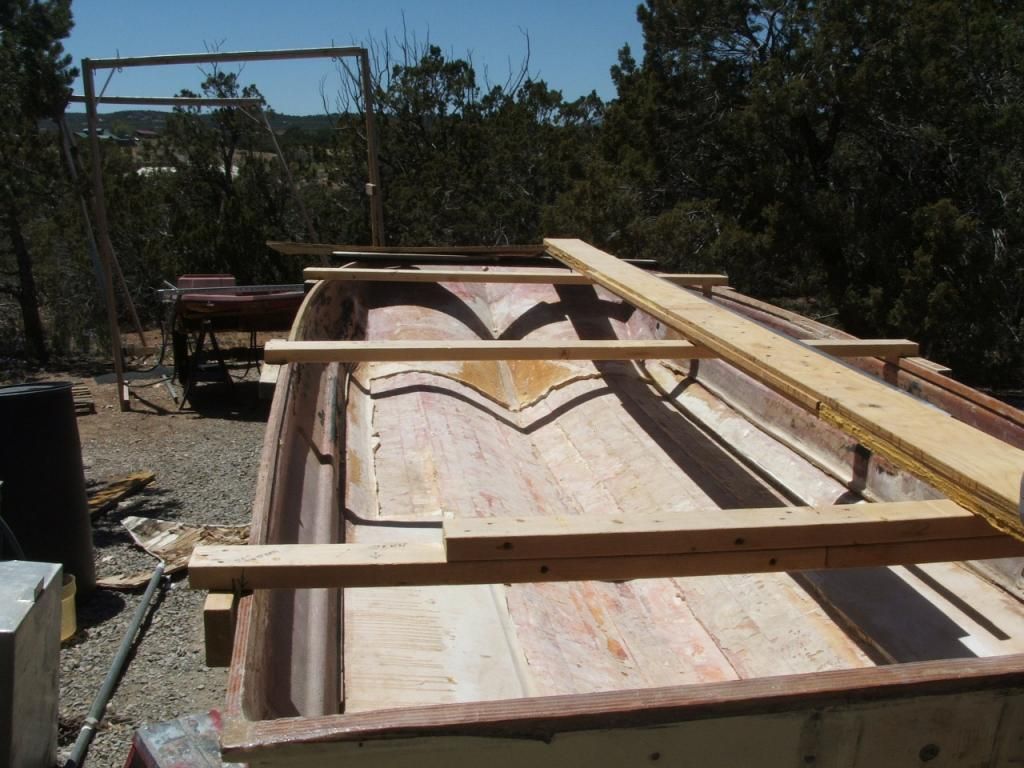
Ok- here are some pictures i was able so salvage off of a thumb drive that i used for saving pics. bad part- many were labelled as corrupt and i could not upload them to pb removing wet core. bad core removed. <a
 

crovowen

Seaman Apprentice
Joined
Jun 1, 2012
Messages
49
And here is were I got peeved- i have no pictures of the completed balsa core process with the top layer of glass on it- i have no pictures of the finished keel stringer or of that process- I also have no pictures of the deck going in or the foaming process- i really wanted a good history of this project- but as they say if there are no pictures, it didn't happen. SO here is some proof it did happen and is making progress- ready for a layer of CSM-

transom after all the spiders, holes and old damage have been repaired, sanded down and filled and sanded smooth with marine filler.

Always forward-

CROW
 

crovowen

Seaman Apprentice
Joined
Jun 1, 2012
Messages
49
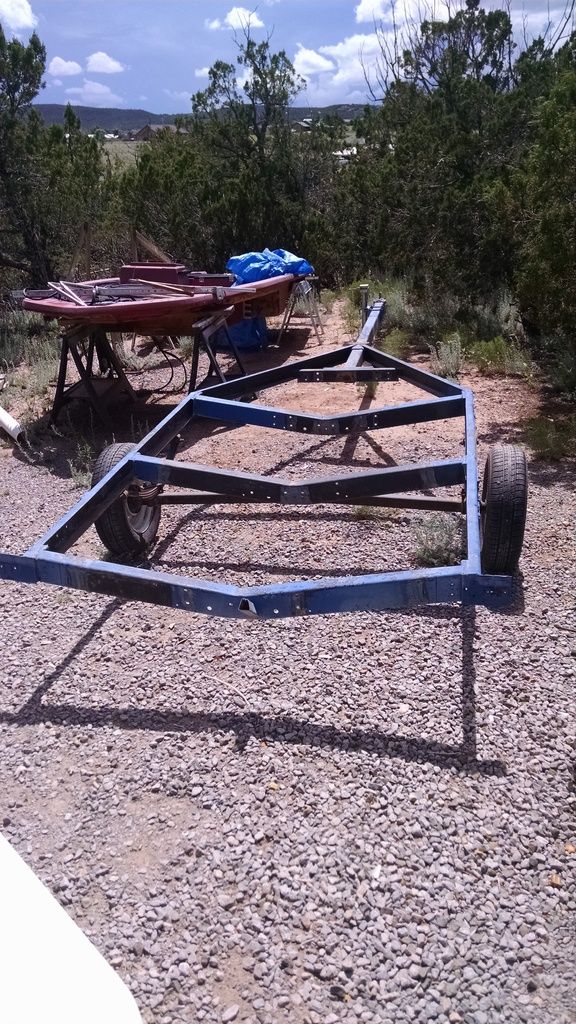
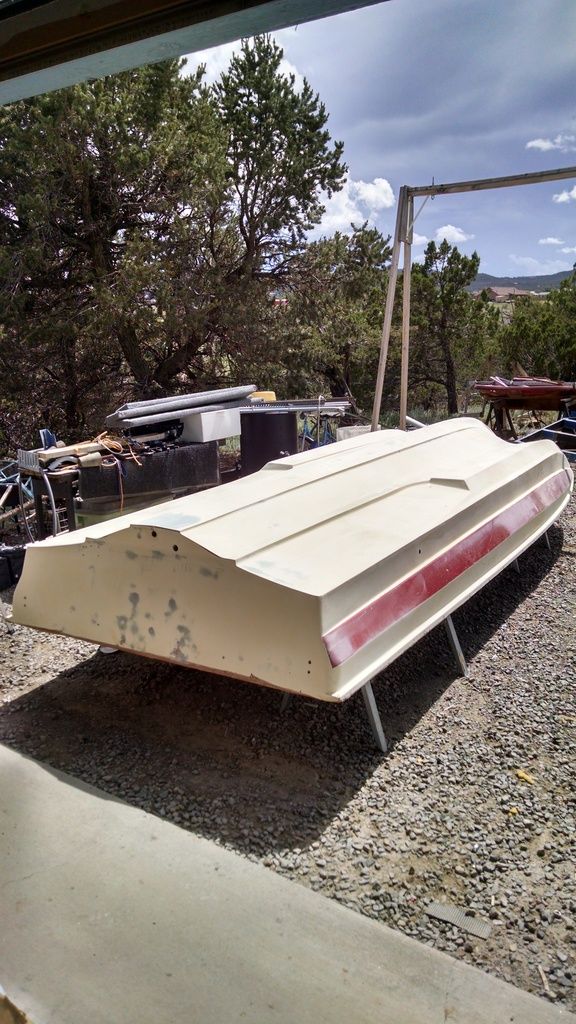
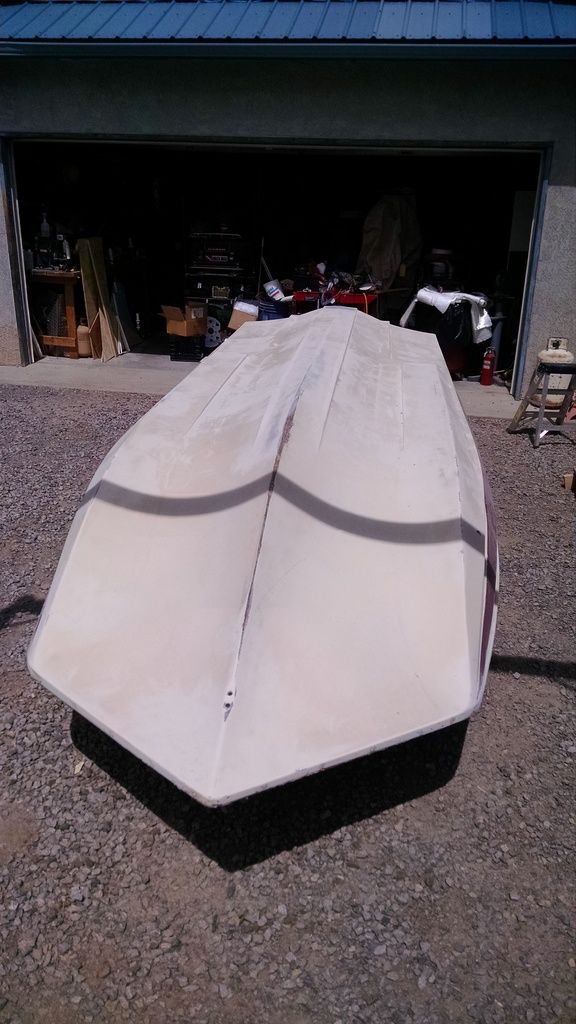
deck is in- used 1 layer of csm and two layers of 1208 ( got it for a song) after 1708 tabbing- front and rear flotation boxes will be added when hull is finished. hopefully i won't have to that again- flipped the hull to start that process (sand, fill, sand and repeat) and prep for primer and paint using the method as described by wog- also got the trailer torn down and ready for grinding, sanding and painting. The tilt trailer was homemade by the POs father, and actually is pretty well done. it will be completely disassembled.
gonna be painted black


flipped- pretty cool hull design-
 
Top