1992 Skimmer 18' Flat Bottom Skiff Restoration

studioq

Petty Officer 1st Class
Joined
Apr 11, 2014
Messages
201
It took a while.. If you recall - I have a lot of obstacles. Being 180 miles from the boat is only one of them..
But yes - I'm really happy to be back at it.
 

studioq

Petty Officer 1st Class
Joined
Apr 11, 2014
Messages
201
At the 2:29 mark of the video on this page they show a molded hatch door for a battery box which is fabricated and glassed on the the back of the boat. Does anyone know where or if those doors with the drip rails are made or sold? Does anyone out there make them? Or would I have to make them myself?

I really just want to know how to make the hinged lid and the drip rail that it nests into.. I don't know if the molds exist somewhere...

http://www.dailymotion.com/video/x6059i_teleflex-qc-ii-steering-cable-insta_lifestyle
 

jigngrub

Fleet Admiral
Joined
Mar 19, 2011
Messages
8,155
Those should be pretty easy to make, cut them out of plywood and start glassing. Sand, fair, and smooth... sand, fair, and smooth until you get it like you want. After you get the first one made the others will go quicker and easier. Do you have a router?
 
Last edited:

studioq

Petty Officer 1st Class
Joined
Apr 11, 2014
Messages
201
Nope - No router... I could add it to the list... What I really want is a battery box on the back that doubles as the outlet for the electrical raceway and steering cable... I think I need to study some mold making..

I'm still hung up on exactly what to do with the cabling - aside from what was done last time - by laying it through PVC pipe which went beneath the deck and came out below the motor. If you look at the old design on the first or second page of the thread you can see the fault of that execution the first time around. I can repeat that idea certainly, but I'd like a box to hold the battery and protect the raceway/conduit from rainwater and splash.
 

studioq

Petty Officer 1st Class
Joined
Apr 11, 2014
Messages
201
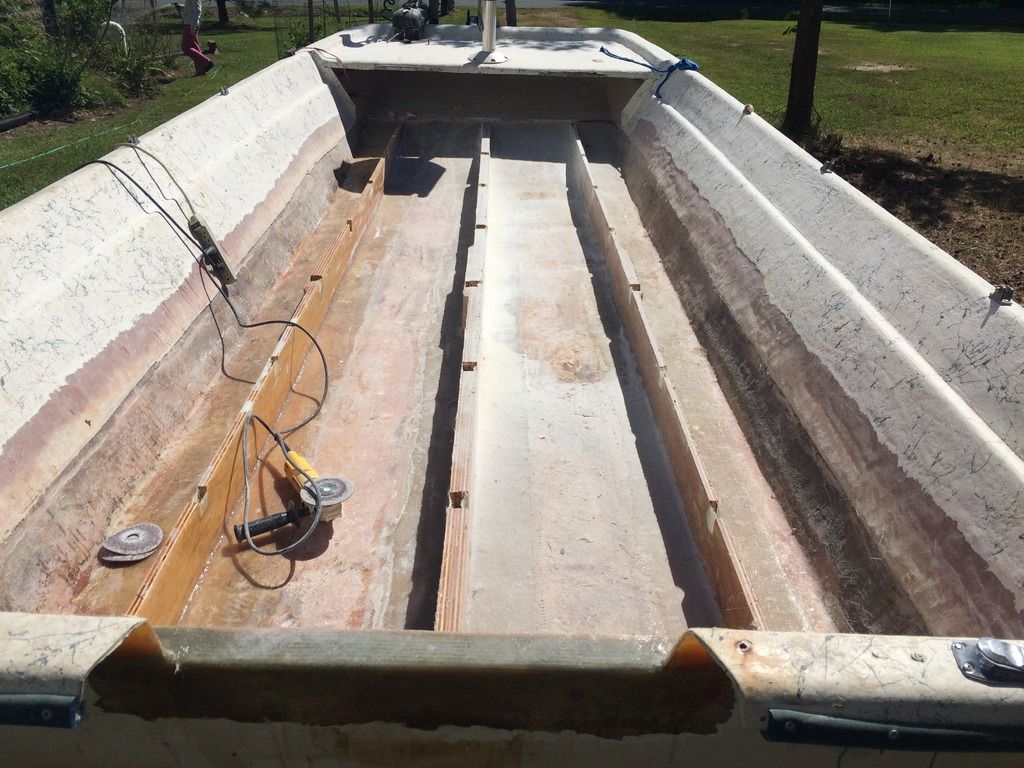
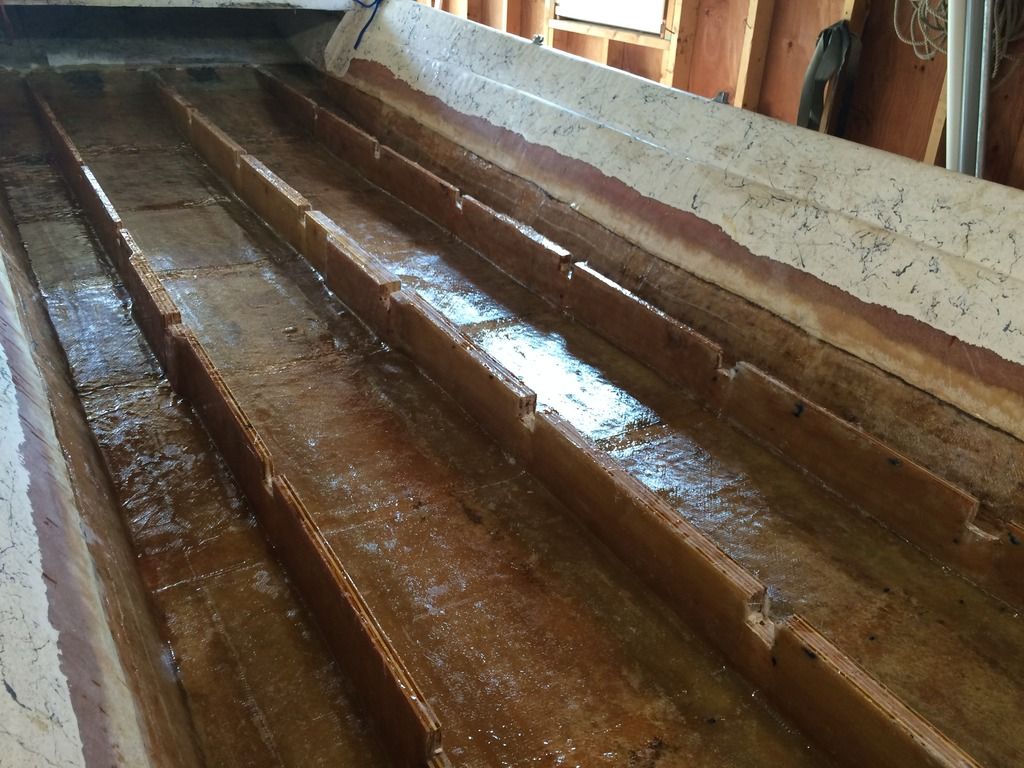
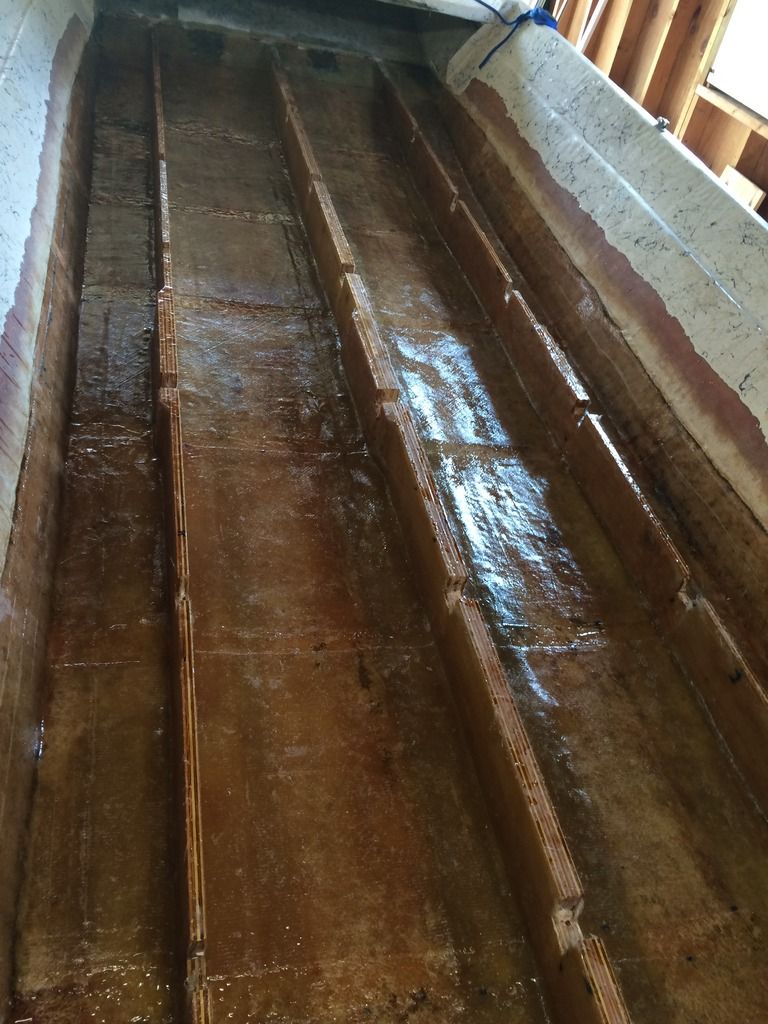
After a long slumber in the shop I got her back out into the sun and did some more grinding. There was a bad section of layup with some air bubbles that had to come out as well as some leftover crap from the initial grinding session and big resin boogers from some of the other work I've done...


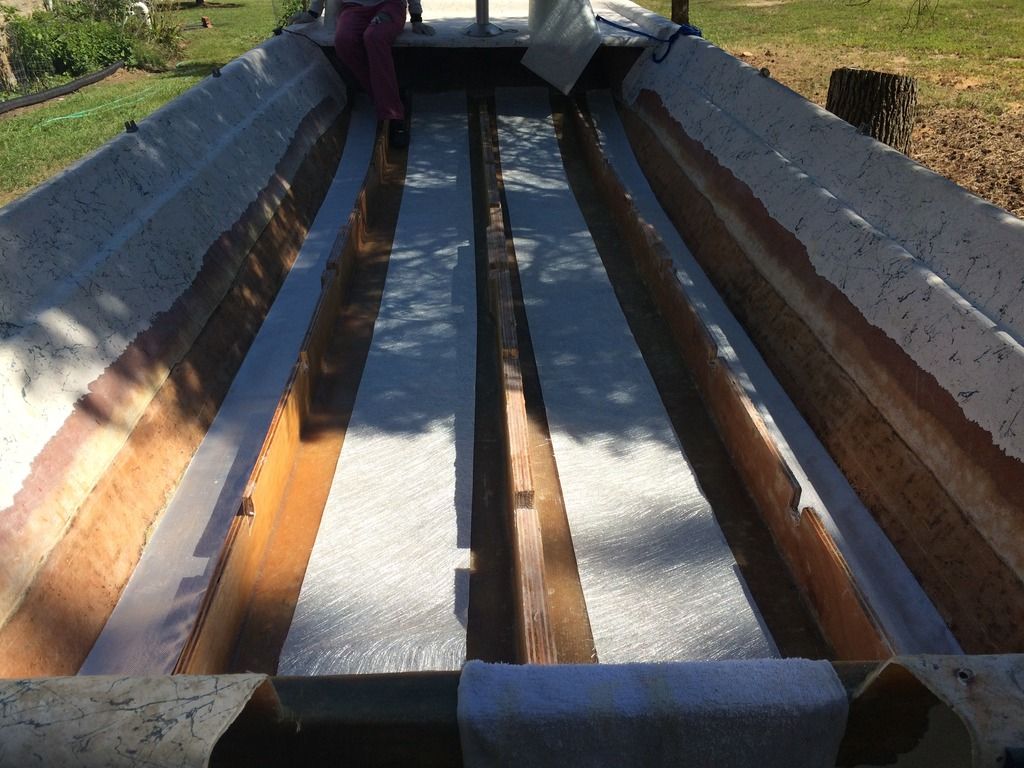
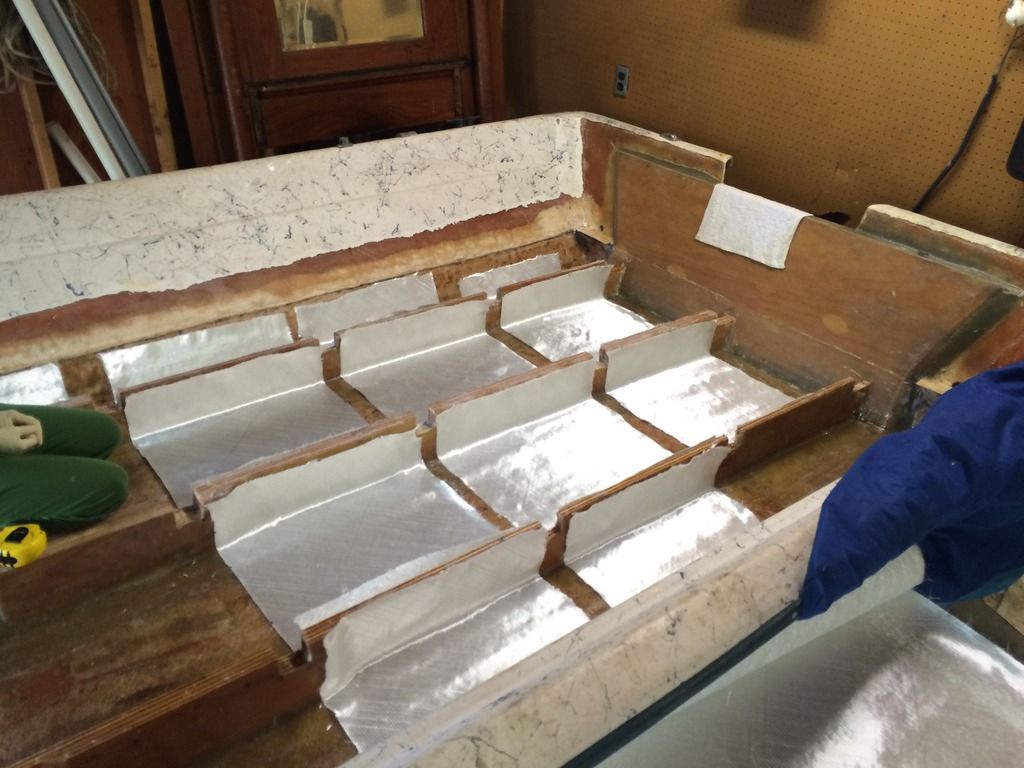
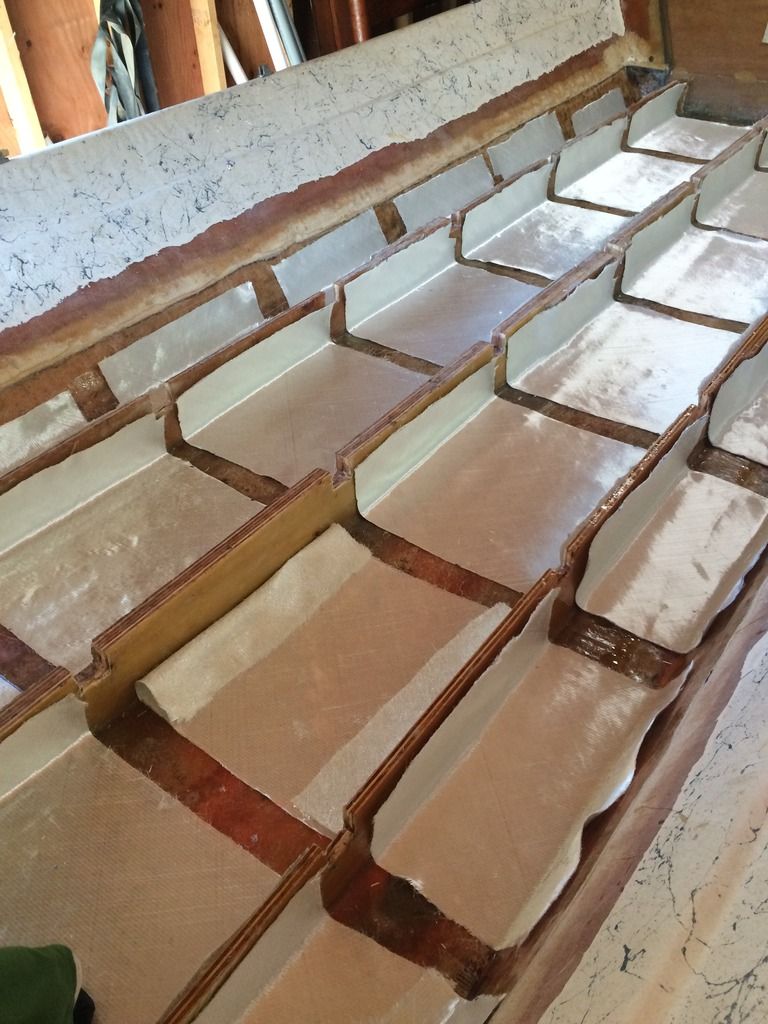
After a wipe-down with acetone - I wet out some CSM in the center and some 6oz cloth along the crease where the hull bottom meets the sides. I just wanted to provide fresh mating surfaces for the final structural tabbing.


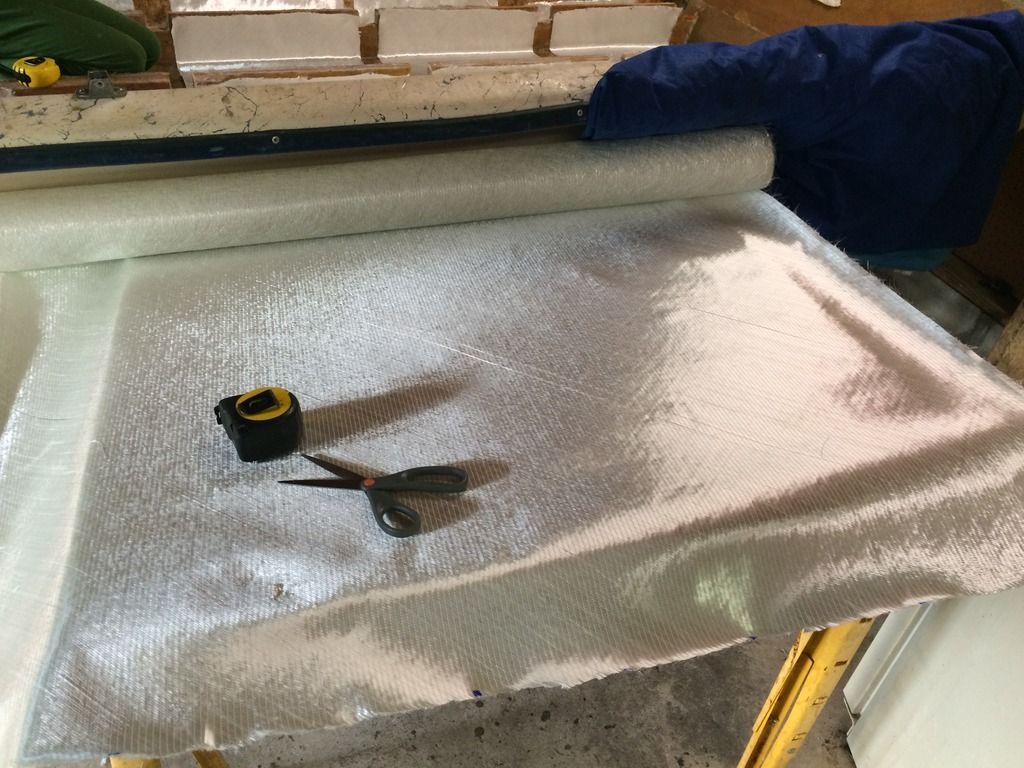
Then onto cutting the 1708... Scissors basically gave up toward the end.


At this point I'm thinking - after this entire journey...
"You know? Did you make some mistakes? Yes."
"Are there things you'd do again differently if you had a choice? Yes."
"Did you let your ego get in the way a few times? Yes."
"Did you rush a few things? Yes."
"Did you learn a few things? Yes."
"Are you better off for them? Yes."


Given that starry-eyes look I had when I first dragged this thing home on a trailer - to the look on my face when I first ran a circular saw through the deck - to the look on my face when I started digging out all the crappy waterlogged foam...

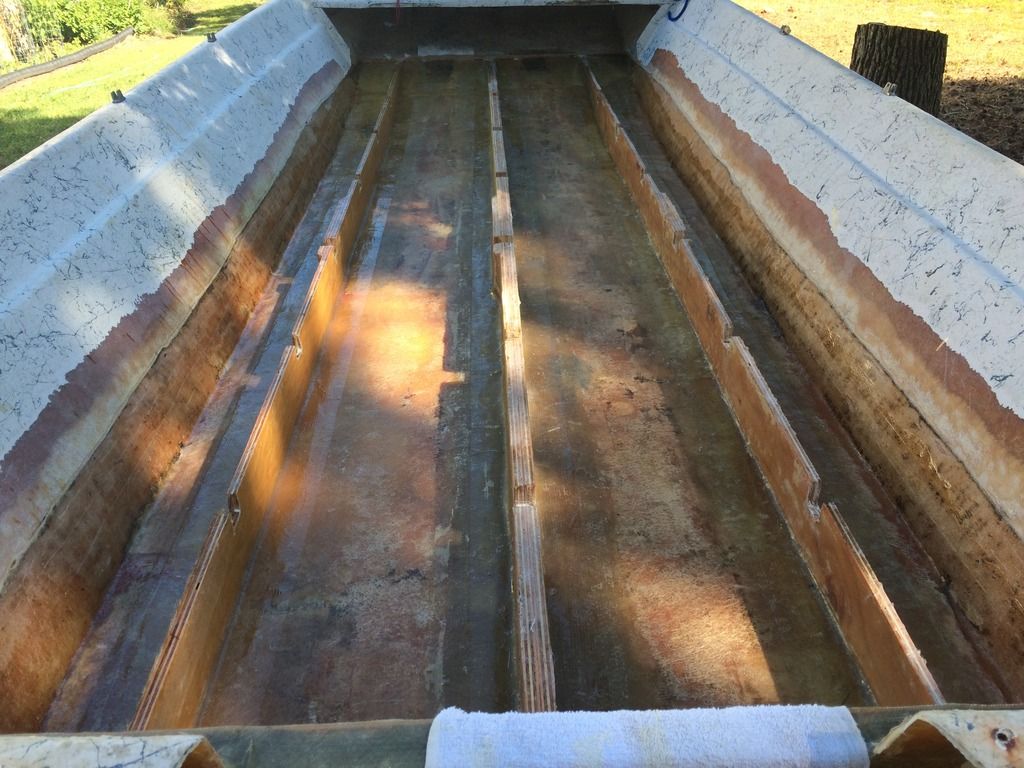
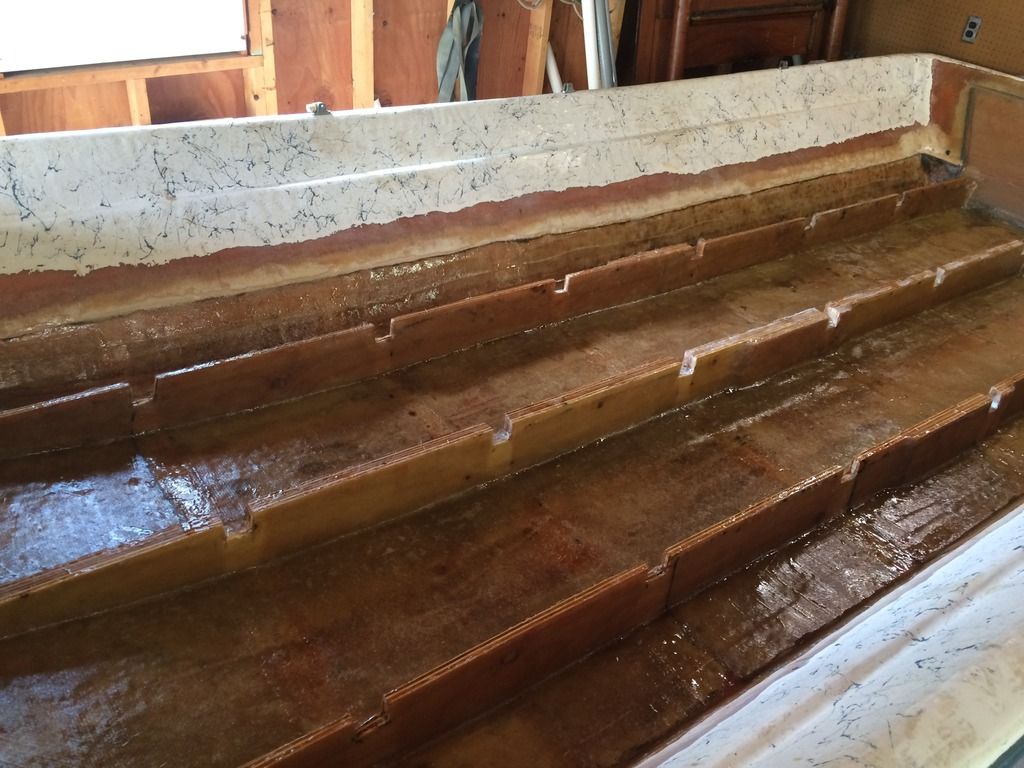
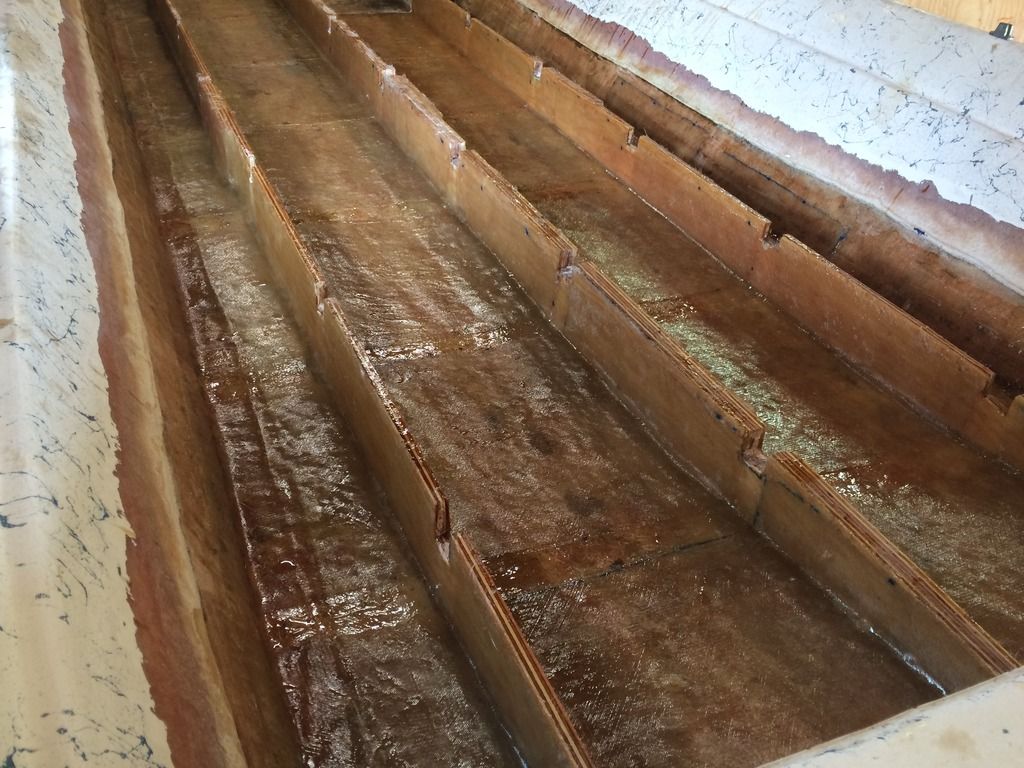
I'll take the look on my face now any day... The major hull interior work is complete - for the most part. Now to start looking forward to the deck cleats - decking - foam and console installation.. That's a very good place to be.
 

Woodonglass

Supreme Mariner
Joined
Dec 29, 2009
Messages
25,929
Those last few pictures of your glass work, are a fine example of how it SHOULD be done!!! This is a Classic example of what this forum is ALL about. Someone with little to no experience comes on here with a an old rotten boat, asks for help, and the members come along to guide him/her with advice and encouragement. Then that individual uses that advice and encouragement and their own GOD given skills to put in the time and work to get the job done.
My+Hats+Off+to+you.jpg
 
Last edited:

studioq

Petty Officer 1st Class
Joined
Apr 11, 2014
Messages
201
Well - those are some pretty big words.. Thanks for the encouragement.. It means a lot and keeps me going!
 

studioq

Petty Officer 1st Class
Joined
Apr 11, 2014
Messages
201
I've read that 1/2 inch decking is plenty as far as thickness.. But I'm pretty sure the deck that came out of it was a bit thicker...
I still have a piece and can measure for it once I'm back down there - but is there any reason why 5/8 shouldn't be used? Reason I ask is that they only have 1/2" Doug-Fir AB grade or 5/8" AC exterior where I buy my supplies.


Also - upon original construction they didn't fill the gap between deck and hull with anything that was forced down into the void. Rather they simply glassed the hull to the deck and fared it out with heavy duty putty and additional glass. It was over a 1/4" to near a 1/2" thick in a few places.
Should I just build it back the same - or is there something I'm missing and some very good reason to pack this seam with PB?


Woodonglass

Supreme Mariner
Joined
Dec 29, 2009
Messages
25,929
You need to fill the gap between the deck and hull sides with PB. Two reasons...1.) Ensures the deck is waterproof and no water will get below deck, and 2.) Makes it a lot easier to do the tabbings between the sides of the hull and the deck. ;) Note: The Factory boys don't always do things the "RIGHT" way!!!!:facepalm::faint2:
 

studioq

Petty Officer 1st Class
Joined
Apr 11, 2014
Messages
201
I was more concerned with creating a hard edge along the sides of the hull.. I thought they did it this way to provide some flex to the hull sides..
 

Woodonglass

Supreme Mariner
Joined
Dec 29, 2009
Messages
25,929
As long as the wood is not touching the hull sides there will be no hard edge.;)
 

studioq

Petty Officer 1st Class
Joined
Apr 11, 2014
Messages
201
Got some good news and it looks like the craft might get done this season (asking a lot I know).. But it looks like we can really get a lot done and do some touch-up next spring. I won't push it if it isn't gonna fall together - but I'm pretty sure I'll get her foamed and decked in the next 3 weeks and then start with all the little details..
I still have to get EVERYTHING else on the coast guard list as well as other shakedown items to have on hand..
 

studioq

Petty Officer 1st Class
Joined
Apr 11, 2014
Messages
201
Planning on spending this weekend + 1/2 Monday - then Tues thru Thursday - the Sat thru Tues down on the boat.. Ordered all of the foam - deck glass - gel-coat - cabosil for fillets and non-stick - epoxy for bonding the motor fasteners... Just picked up new stickers/decals.. My object is to have a shakedown in two weeks...
We'll see how it goes..
 
Last edited:

studioq

Petty Officer 1st Class
Joined
Apr 11, 2014
Messages
201
Well - I have returned.. Beaten, battered and sore... But with pictures - and stories of battle... More later when I get my act together..
 

studioq

Petty Officer 1st Class
Joined
Apr 11, 2014
Messages
201
So we started by dry fitting the cleats/cross-members for the deck and cutting them to their final length... And installing the conduit for control cables and additional electronics in the bow.


What's not shown is that each of the cleats was fastened in place with thickened resin once they were determined to be the right size. Afterward they were all pre-drilled and fastened to the stringers with 3" treated deck screws.
 

studioq

Petty Officer 1st Class
Joined
Apr 11, 2014
Messages
201
Then we started foaming the hull.. There was a lot of give and take with this project. I was up against the wall for time, temperature, money and the location of the boat didn't help.. So I had to make a few calls here and there that might not jive with everyone's way of doing things... But I had to make it happen no matter what.

After deciding to go with the original deck thickness of 3/4 inches - I decided that sawing my deck full of fill holes for foam just wasn't in the cards. So I stuck with what the original builders did and poured the foam before the deck went on. Seeing as how the whole boat is pretty much all deck anyway - it turned out to be the easier, faster solution.


And then back on with the console...

 
Last edited:

studioq

Petty Officer 1st Class
Joined
Apr 11, 2014
Messages
201


Then I took my orbital sander with a sheet of #40 grit and took off all of the high spots and gave the whole thing, wood and all a final sand...


Top