wingmastr23
Petty Officer 1st Class
- Joined
- Oct 26, 2009
- Messages
- 211
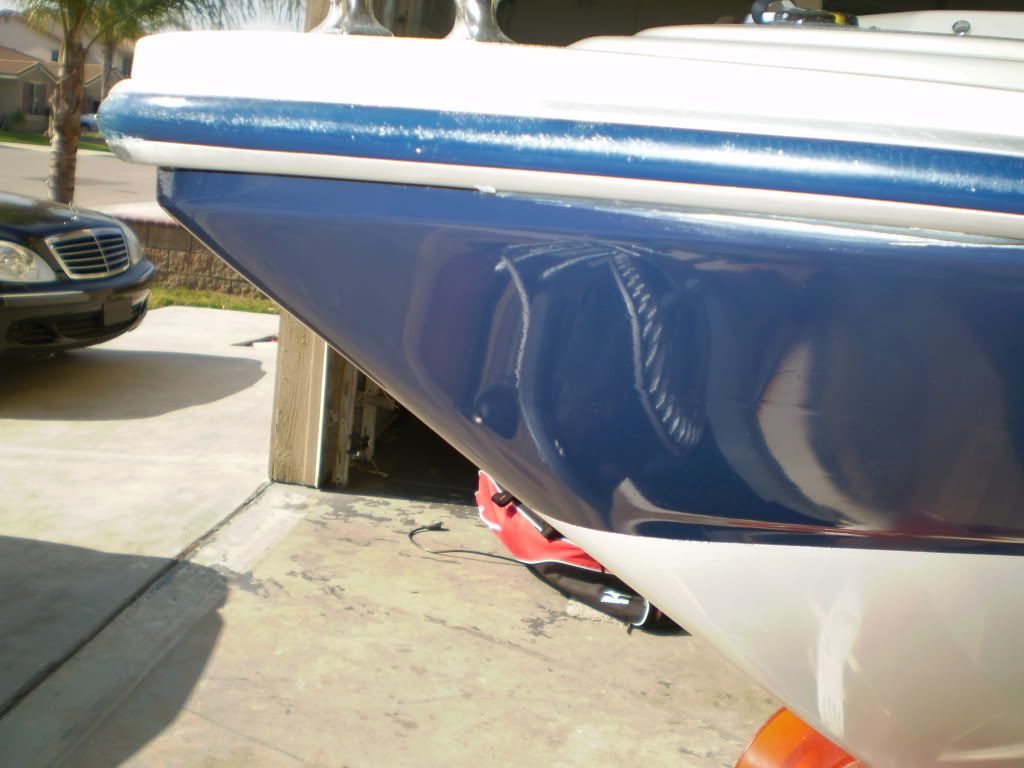
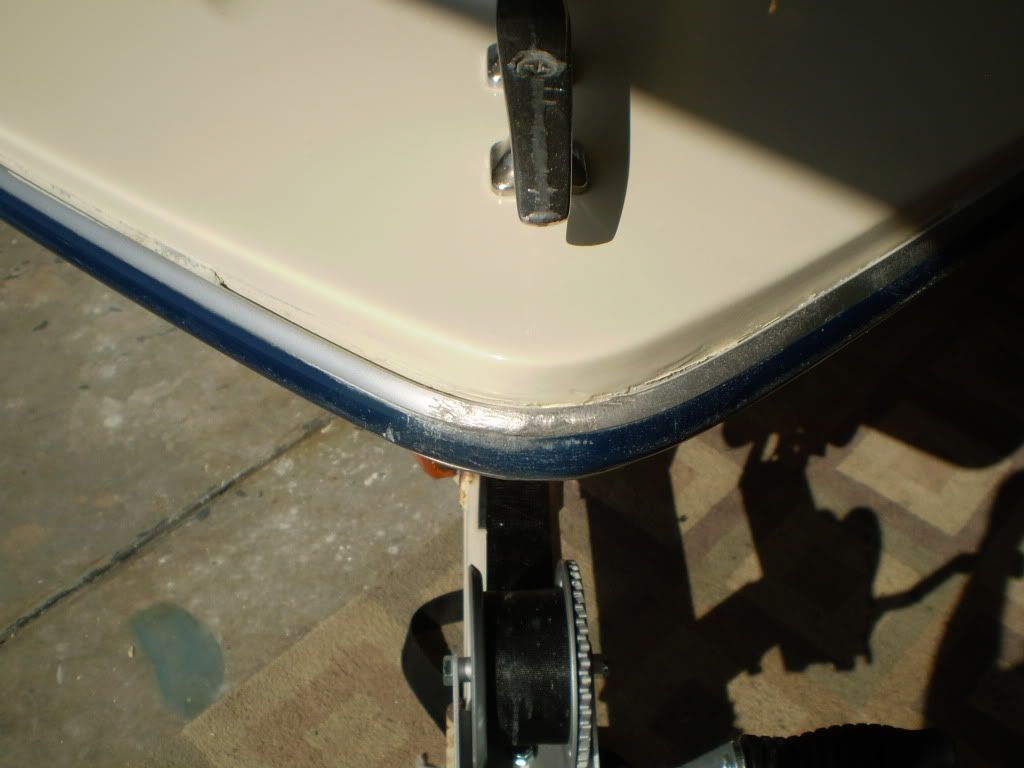
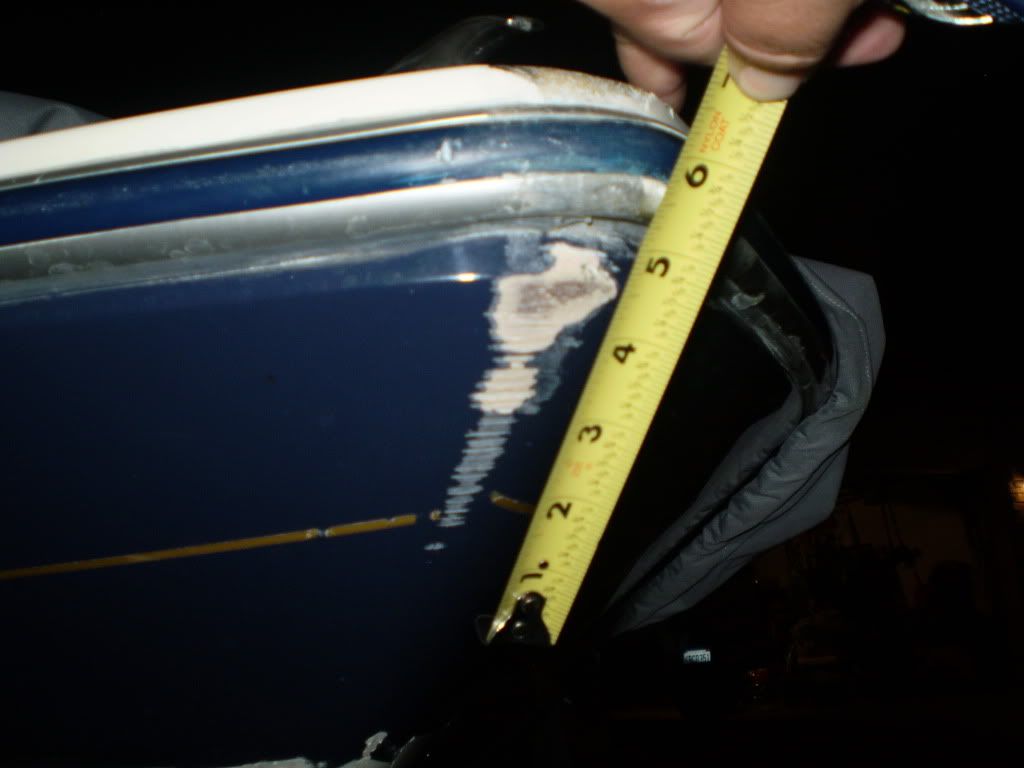
Well - after leaving my boat in a slip during a major storm - It took a beating on the nose.....After reading a ton on this site I decided to give it a fix. This was a very tough task....Not so much with the actual repair - but doing the color match was a task I NEVER want to repeat again. It was so frustrating (I am sure that the pro's on here may not think so...but to me it was brutal!)
It was so brutal in fact - that I failed to take pictures during that phase. It literally took me about 4 hours "trial and error" guessing (and wasting my buddies paint....:facepalm")
Here are some pics:

I am a horrible picture guy - so here is my explaination of what I did to fill in the blanks.....
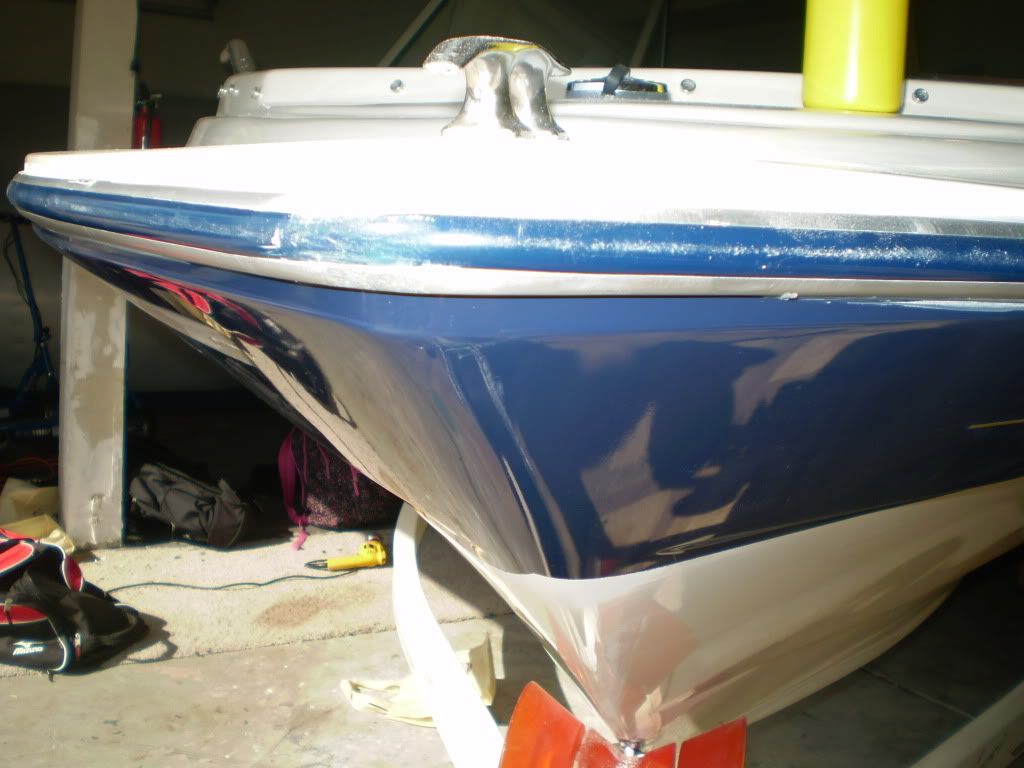
First I took my dremel tool and ground around the areas. I wanted to create a nice 30 degree angled edge around the outside of the repair so that the filler would bond well, and would keep from chipping away after the repair was complete.
Once this was done I rubbed down the area with Acetone. This is where the BRUTAL part began. I started color matching both the blue and the white. This took such a long time I swear the only reason I didn't give up was because I hate to admit defeat. This nearly did it. Finally - after over 4hrs I finally got it "right". (Or right enough!!!!)
Then I let the paint sit while I used the filler. For this I used the Clearcoat Formula 27. This was also a first for me, and I must say this stuff was AWESOME!!! It kicks pretty quick, so you gotta make sure you are ready.
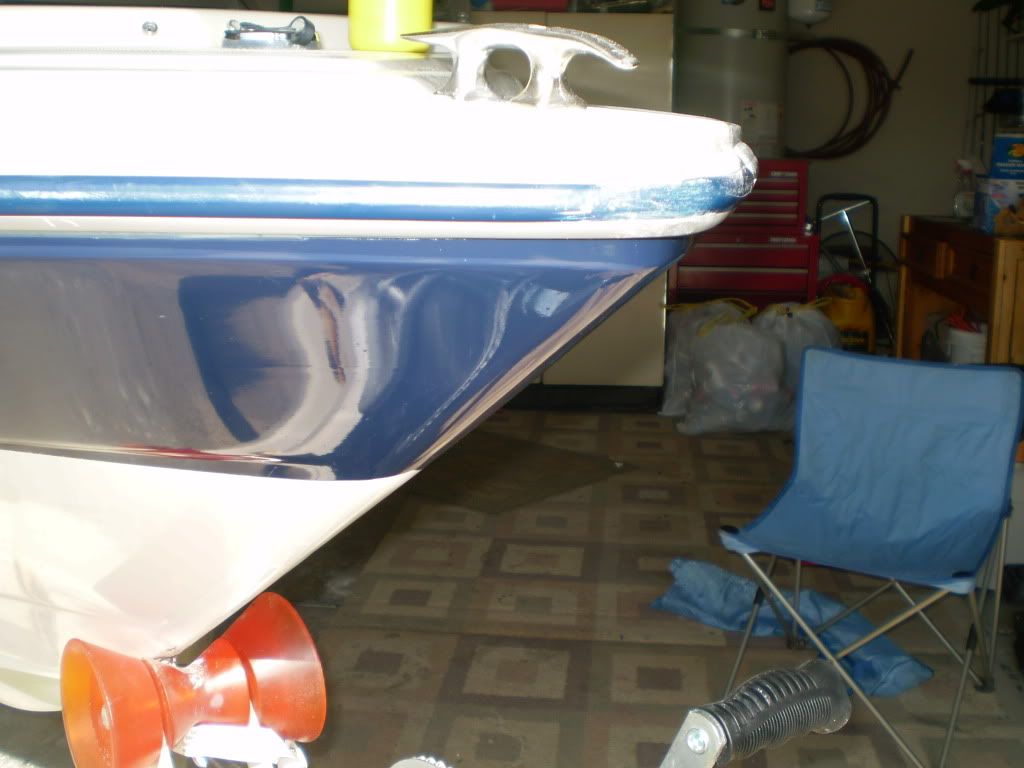
I had to sand and fill, sand and fill a few times to get it to the desired shape. The amazing part was I was able to sand about 10 minutes after application. I can't say enough about how cool this stuff is!!
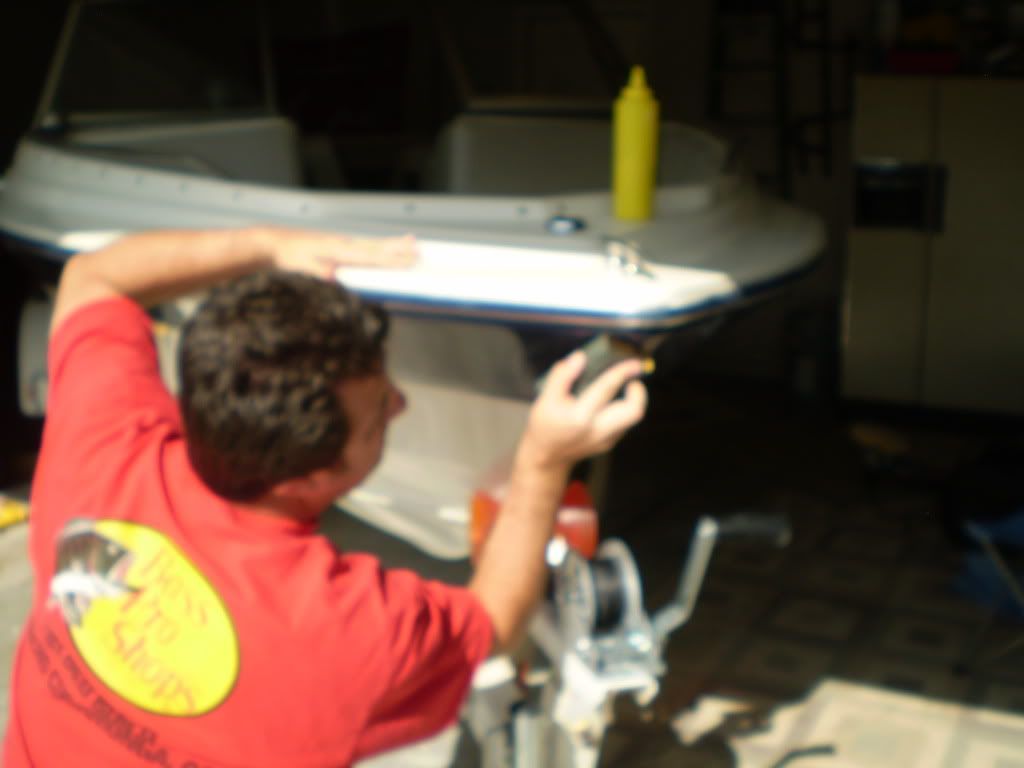
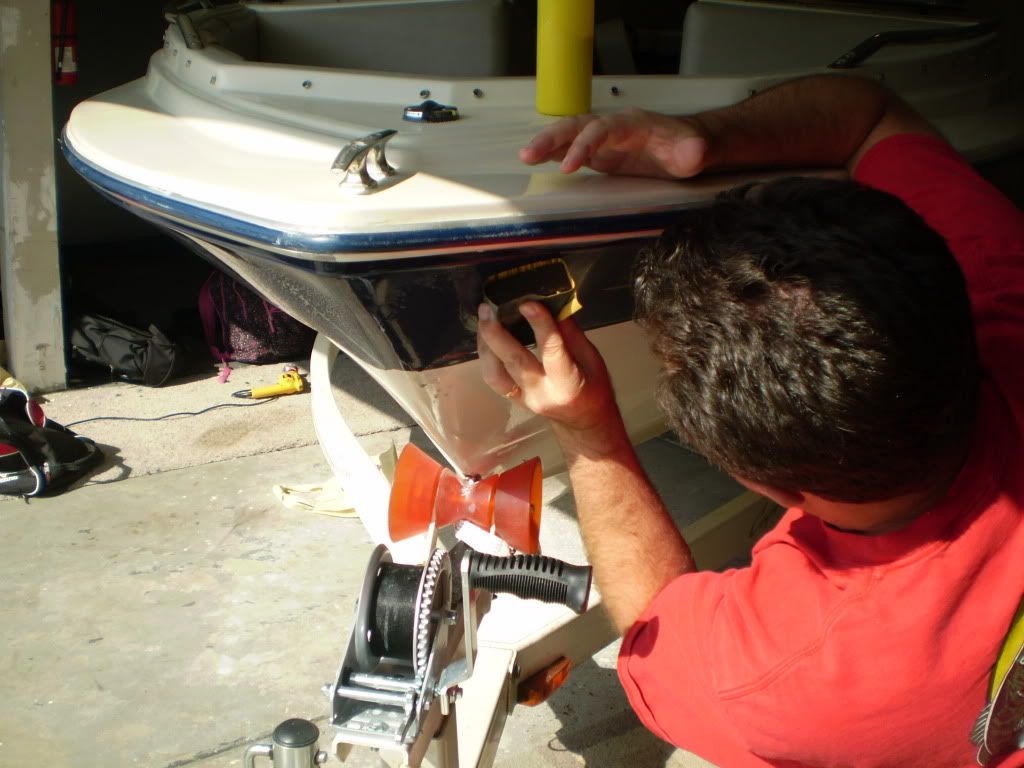
Once that was shaped to my liking I dropped the hardener into the paint and whipped out the airbrush. I gave it 4 coats - and I painted out about 4 inches to each side of the repair to get a decent blend.
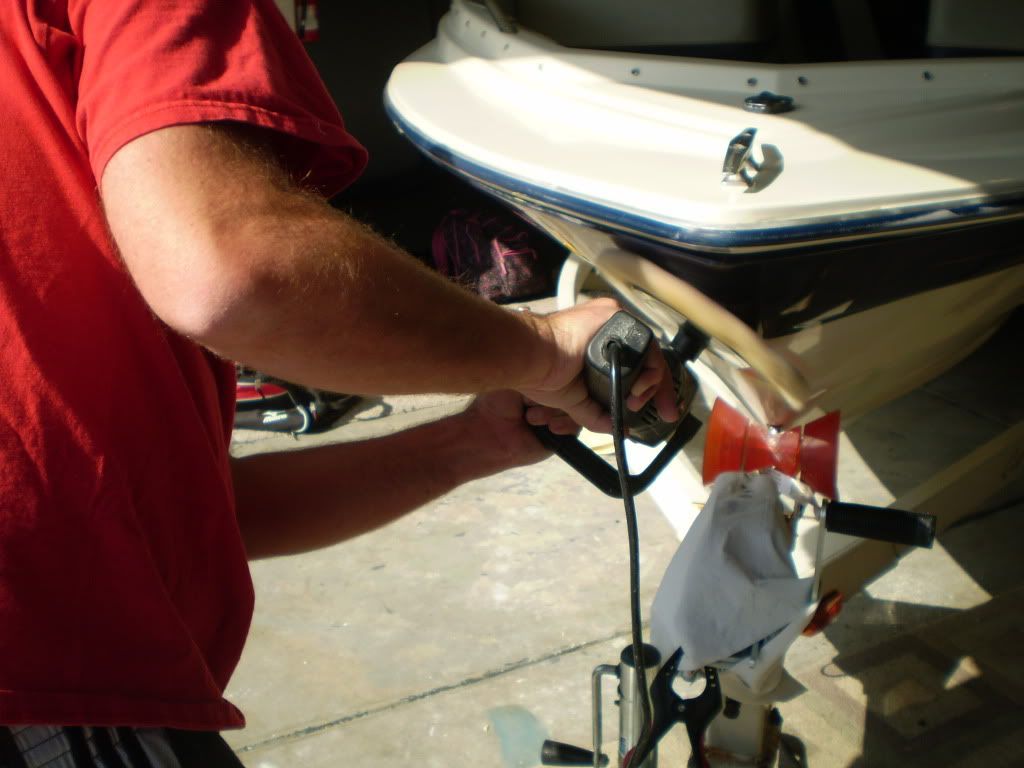
Once that was dried for about 3 days I wetsanded using 1500 grit. (Thankfully my wife was there to take a few pictures or I wouldn't have ANY action shots...lol)

It was so brutal in fact - that I failed to take pictures during that phase. It literally took me about 4 hours "trial and error" guessing (and wasting my buddies paint....:facepalm
Here are some pics:
I am a horrible picture guy - so here is my explaination of what I did to fill in the blanks.....
First I took my dremel tool and ground around the areas. I wanted to create a nice 30 degree angled edge around the outside of the repair so that the filler would bond well, and would keep from chipping away after the repair was complete.
Once this was done I rubbed down the area with Acetone. This is where the BRUTAL part began. I started color matching both the blue and the white. This took such a long time I swear the only reason I didn't give up was because I hate to admit defeat. This nearly did it. Finally - after over 4hrs I finally got it "right". (Or right enough!!!!)
Then I let the paint sit while I used the filler. For this I used the Clearcoat Formula 27. This was also a first for me, and I must say this stuff was AWESOME!!! It kicks pretty quick, so you gotta make sure you are ready.
I had to sand and fill, sand and fill a few times to get it to the desired shape. The amazing part was I was able to sand about 10 minutes after application. I can't say enough about how cool this stuff is!!
Once that was shaped to my liking I dropped the hardener into the paint and whipped out the airbrush. I gave it 4 coats - and I painted out about 4 inches to each side of the repair to get a decent blend.
Once that was dried for about 3 days I wetsanded using 1500 grit. (Thankfully my wife was there to take a few pictures or I wouldn't have ANY action shots...lol)