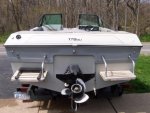
Re: Here are pic's of my Project
Doing transom work with the cap on is difficult at best. I resisted taking the cap off and spent a week drilling, digging, & chipping while trying to contort myself under the splashwell. That was a week wasted for something I could have accomplished in a few hours. And I didn't even get all of it out.
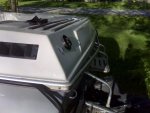
I then gave in and removed the cap. Still kicking myself in the rear for not doing it sooner. Removing the cap, seems insurmountable at first. In reality it is a pretty simple process and refitting isn't much more difficult. In your case, with a boat your size, the only way I would consider not remove the cap is if you are going the seacast route.
If you are going to install a traditional wood/glass transom, you will want to remove the cap for the following reasons.
1. Simpler removal of the old transom.
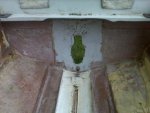
2. Access from the top to completely grind the inner side of the outer skin.
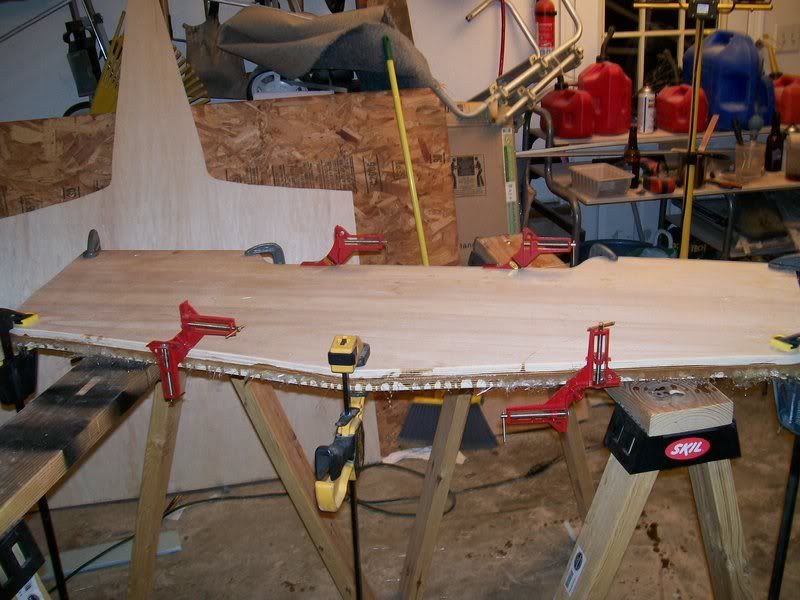
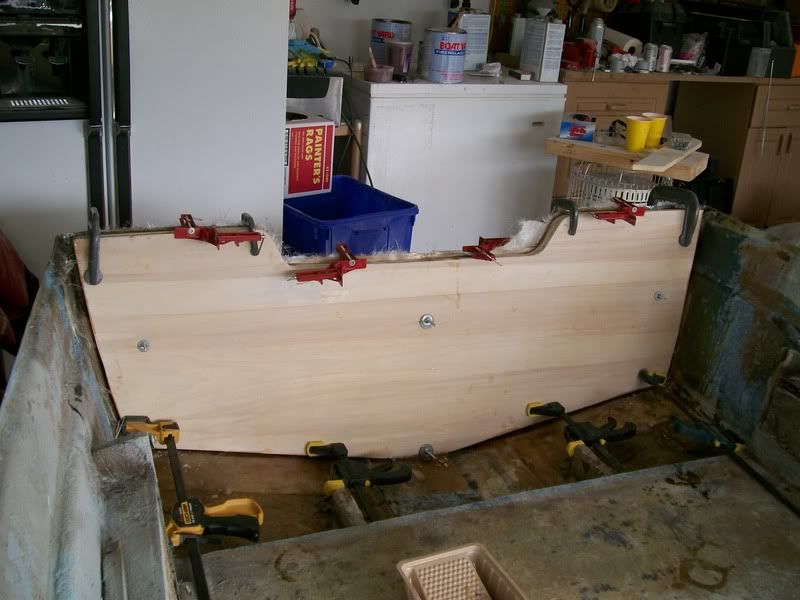
3. You have to clamp the new transom to the outer skin (whether you glue it or glass it, to get a proper bond and prevent future water intrusion. Unless you want to drill a bunch of holes and install thru bolts in your new transom, clamping it with the cap on would be impossible. Think of a new transom as a Fiberglass-Wood-FiberGlass-Wood-Fiberglass sandwich that needs to be squeezed together as tight as possible. Air pockets in any layer of the sandwich are targets for moisture intrusion.
4. Installation of the inner skin. It is tough to get the top of your new transom encapsulated correctly if you can't see it.
When it comes down to it, it is easier to remove the cap than it is to contort for the removal, make modifications to bond the transom to the outer skin, and have the proper access to seal the inside.