My 1988 6hp Johnson Rebuild

NoEcm

Petty Officer 3rd Class
Joined
Jan 22, 2010
Messages
90
Re: My 1988 6hp Johnson Rebuild

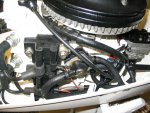
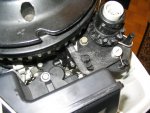
Ignition coils mounted:
IMG_5368.jpg

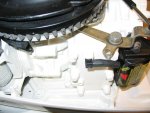
Power pack and tell tale hose:
IMG_5367.jpg

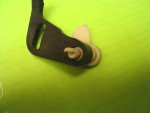
I broke the cam follower & lever trying to remove it due to the brittle plastic:
IMG_5417.jpg


IMG_5407.jpg
A new cam follower was ordered for $16 because I wanted the safety feature.
 

riverdog01

Seaman Apprentice
Joined
Apr 21, 2010
Messages
48
Re: My 1988 6hp Johnson Rebuild

Great work !! I'm following your lead with my 8Hp 1985 Evinrude, they are very similiar so I really appreciate the pictures. I'm still getting the parts rounded up.

Thanks for posting
 

NoEcm

Petty Officer 3rd Class
Joined
Jan 22, 2010
Messages
90
Re: My 1988 6hp Johnson Rebuild

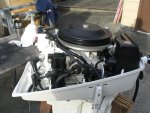
Nice sunny day here yesterday to I got the rest of the powerhead finished and bolted the lower unit onto the midsection. The primer pump on this outboard made it very easy to restart. On the 2nd pull, it fired right up:

Notice tht the knob for the primer pump goes through the air silencer:
IMG_5370.jpg
 

NoEcm

Petty Officer 3rd Class
Joined
Jan 22, 2010
Messages
90
Re: My 1988 6hp Johnson Rebuild

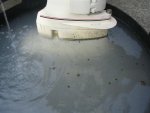
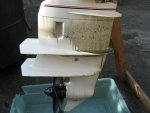
Running 25:1 in a test barrel is really messy:

IMG_5371.jpg

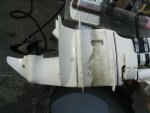
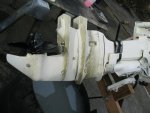
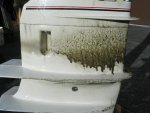
Going to have to really degrease this thing before painting:
IMG_5379.jpg

IMG_5380.jpg

IMG_5382.jpg

IMG_5385.jpg
 

NoEcm

Petty Officer 3rd Class
Joined
Jan 22, 2010
Messages
90
Re: My 1988 6hp Johnson Rebuild

A couple of youtube videos:


NoEcm

Petty Officer 3rd Class
Joined
Jan 22, 2010
Messages
90
Re: My 1988 6hp Johnson Rebuild

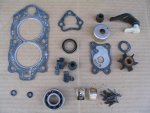
Here are some of the leftover parts that didn't get destroyed during the disassembly:

IMG_5426.jpg

In the bottom right of the photo: Liners and needles from the connecting rod. I replaced this because of the discoloration in the liner.

Bottom center: Ball bearing from the lower crankshaft. I replaced this because of the possibility of water intrusion/contamination. In retrospect, I could have probably reused this part though.

Piston rings: I reused the old piston rings but I did lightly scuff up the cyliner walls with a extra fine scotchbrite pad prior to reassembly.

Keeping this in mind, how long do I need to run the 25:1 fuel mix for?
 

jasper60103

Commander
Joined
Sep 18, 2008
Messages
2,055
Re: My 1988 6hp Johnson Rebuild

Beautiful job. Looks like a brand new motor. Great thread. Thanks for sharing.
 

NoEcm

Petty Officer 3rd Class
Joined
Jan 22, 2010
Messages
90
Re: My 1988 6hp Johnson Rebuild

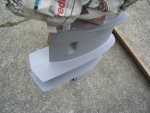
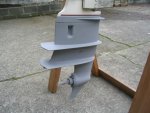
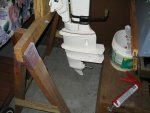
Cleaned the lower unit really well with degreaser, wet sanded with 400 grit sandpaper, masked and primed:
IMG_5392.jpg

You can see that I used the Johnson stripe as my masking line. Tape removed and I'll let it dry for a few days before wet sanding again in preparation for the finish coat:
IMG_5399.jpg
 

BoatingCop

Chief Petty Officer
Joined
Aug 28, 2007
Messages
407
Re: My 1988 6hp Johnson Rebuild

Great job! Looks and sounds like new!
 

NoEcm

Petty Officer 3rd Class
Joined
Jan 22, 2010
Messages
90
Re: My 1988 6hp Johnson Rebuild

Getting towards the end of the project now.

Here is a photo of the painted gearcase:
IMG_5422.jpg


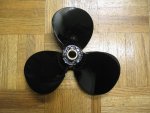
And after running the prop through the media blaster and all painted up:
IMG_5430.jpg
 

NoEcm

Petty Officer 3rd Class
Joined
Jan 22, 2010
Messages
90
Re: My 1988 6hp Johnson Rebuild

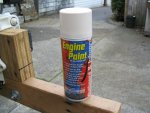
And the paints that I used for this project:

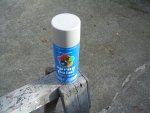
The main color. I think Johnson originally called it "Arctic White"? This Moller brand paint had a good color match to my original as indicated in the above photo. Even up close the match was pretty good. This paint seem just a little thin but applied properly it worked out great.
IMG_5391.jpg


The primer that I used. Fast drying and very sandable:
IMG_5429.jpg


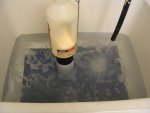
And a trick that I learned to make the paint flow better. Before spraying I soaked each can in hot water (~120 degrees) for 10 - 15 minutes. The bottle of wood glue is being used to keep the can from floating:
IMG_5428.jpg
 

NoEcm

Petty Officer 3rd Class
Joined
Jan 22, 2010
Messages
90
Re: My 1988 6hp Johnson Rebuild

And my summary to this project.

1. Aside from the screw ups by the parts house everything went pretty smoothly. To those of you thinking about a similar project, go for it!!! It's not that difficult.

As suggested by the many threads that I read in this forum:
-take lots of digital photos through out the disassembly and assembly process
-buy a factory manual (it saved me more than once)
-work slowly and methodically
-read related threads in this forum and ask question when needed. The members here are great and there is a lot of experience available for the asking


2. As a follow up (and to provide some closure), I'll update this thread with a "how she runs" in a few months after I get some hours on this outboard; probably late spring or early summer.


3. And it never seems to end. I found a New/Old Stock battery charging kit for $40 that I'm thinking about adding to this outboard but that will be an entirely new thread........................


Thanks for everyones help and all the great comments!!!
 

riverdog01

Seaman Apprentice
Joined
Apr 21, 2010
Messages
48
Re: My 1988 6hp Johnson Rebuild

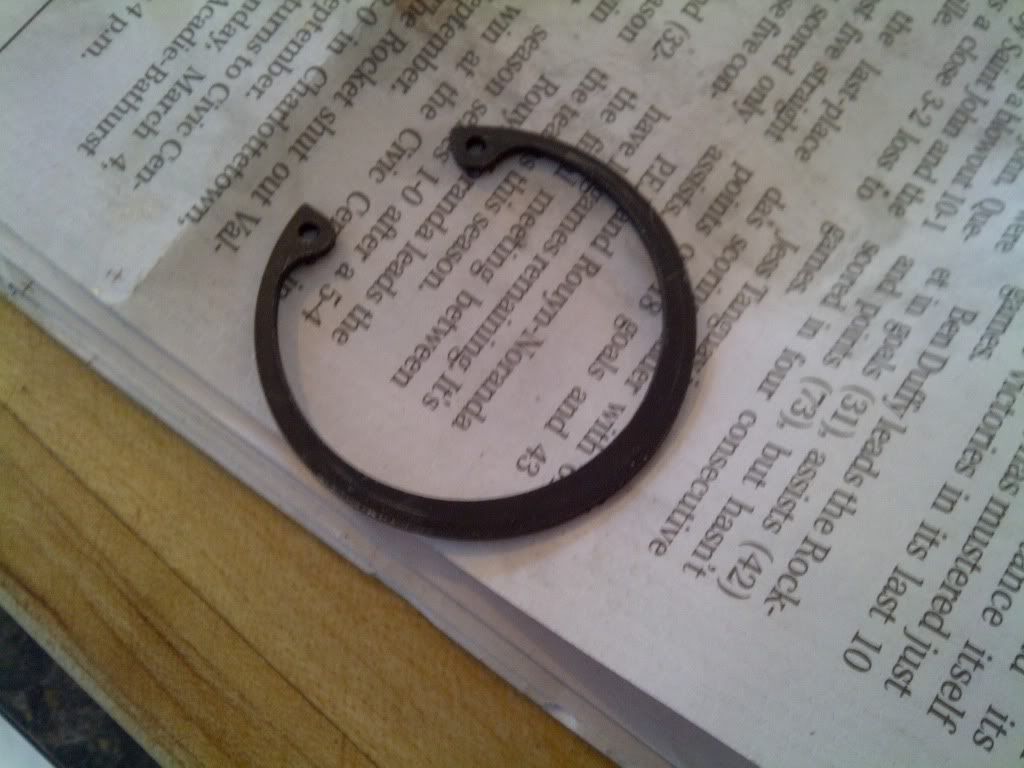
Your rebuild and pictures are a great help to me rebuilding my 1985 8HP evinrude. Do you recall how you installed this bearing retaining ring, did you use special pliers or just push it in ?

Thanks for your help.

IMG-20120225-00260.jpg


IMG-20120225-00261.jpg
 

raczekp1

Lieutenant
Joined
Mar 30, 2010
Messages
1,327
Re: My 1988 6hp Johnson Rebuild

when i rebuild one of my motors, i puted this ring almost at the end block assemble job,
you need to use specila; pliers, with needle nose at the end.just to squize this ring, instal in groove and relase
 

NoEcm

Petty Officer 3rd Class
Joined
Jan 22, 2010
Messages
90
Re: My 1988 6hp Johnson Rebuild

Your rebuild and pictures are a great help to me rebuilding my 1985 8HP evinrude. Do you recall how you installed this bearing retaining ring, did you use special pliers or just push it in ?

Thanks for your help.

IMG-20120225-00260.jpg


IMG-20120225-00261.jpg

The pliers you need are called "Snap Ring Pliers". For one time use consider buying an inexpensive pair from Harbor Freight for $3.99:
ScreenShot004.jpg

This is from the Factory Manual:

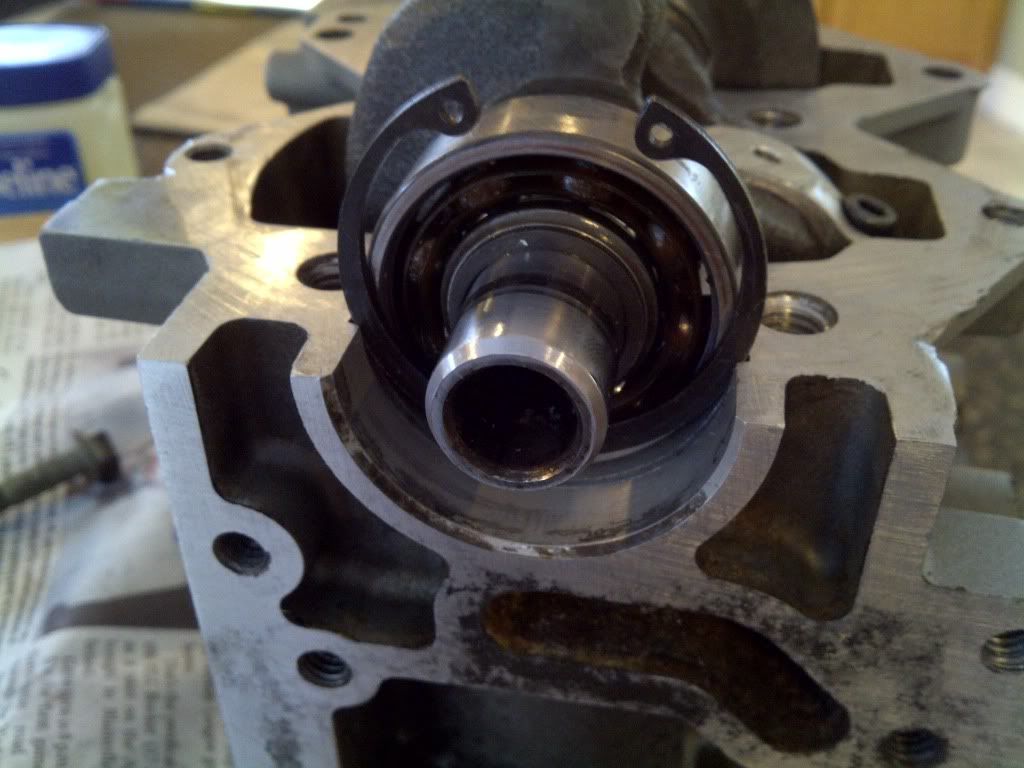
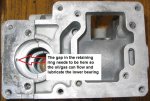
"Install the lower bearing retaining ring with the BEVELED EDGE OUT. The gap in the retaining ring must be centered around the oil hole in the front of the crankcase."

The above positioning is important because this allows the oil/gas mixture to lubricate the bearing. No lubrication to the bearing = burned out bearing.

Crankcase Bottom with Arrow.jpg


Your project is looking good and you do excellent work. I especially like your large photos that are hosted offsite. Good luck
 

NoEcm

Petty Officer 3rd Class
Joined
Jan 22, 2010
Messages
90
Re: My 1988 6hp Johnson Rebuild

Ah,

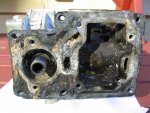
I just found a photo of the lower crankcase during disassembly. This shows the installed position of the retaing ring.

IMG_5188.jpg


See the water oozing out from the bearing? That's what caused me to replace the bearing during reassembly.
 

riverdog01

Seaman Apprentice
Joined
Apr 21, 2010
Messages
48
Re: My 1988 6hp Johnson Rebuild

Thanks very much for your help, I wouldn't have known to leave the gap where the hole is.

Greatly appreciated !
 
Top