ripazka
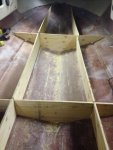
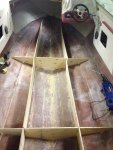
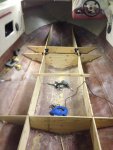
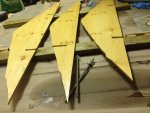
I started as a stringer repair, and then found I need to do the transom, so started on this first as needed to change the angle of transom due to the surface drive needing 0-10 degrees. original had plans of running a wedge
However this changed when the opportunity to rebuild transom came apparent...lucky me
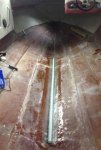
So just to the point of laying up the transom skin
Due to changing the outer transom angle I started rebuilding transom from outside inwards
http://forums.iboats.com/forum/boat...ding-and-hull-repair/10315514-stringer-repair
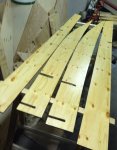
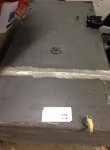
Hopefully I get some 2oz CSM and 17oz biaxial fabric over the complete outer transom today
I started as a stringer repair, and then found I need to do the transom, so started on this first as needed to change the angle of transom due to the surface drive needing 0-10 degrees. original had plans of running a wedge
However this changed when the opportunity to rebuild transom came apparent...lucky me
So just to the point of laying up the transom skin
Due to changing the outer transom angle I started rebuilding transom from outside inwards
http://forums.iboats.com/forum/boat...ding-and-hull-repair/10315514-stringer-repair
Hopefully I get some 2oz CSM and 17oz biaxial fabric over the complete outer transom today

")