How do I begin to go about fixing this?!

jbcurt00

Moderator
Staff member
Joined
Oct 25, 2011
Messages
25,152
Re: How do I begin to go about fixing this?!

Once you get the repair finished, you might consider a bow/keel guard. Iboats sells quite a few, from 4ft to 10ft

This wasn't where this was supposed to be....
 
Last edited:

jbcurt00

Moderator
Staff member
Joined
Oct 25, 2011
Messages
25,152
Re: How do I begin to go about fixing this?!

Sorry, I dropped that keel guard in the wrong thread..:facepalm: Was supposed to be on a damaged keel at the bow thread
 

500dollar744ti

Senior Chief Petty Officer
Joined
Jul 23, 2012
Messages
691
Re: How do I begin to go about fixing this?!

It looks like the weather is ready to cooperate and I've got my supplies so I'm going to start on this tonight. I'll keep an update going.
 

500dollar744ti

Senior Chief Petty Officer
Joined
Jul 23, 2012
Messages
691
Re: How do I begin to go about fixing this?!

I was not able to sand the inside as quickly as the outside because of the awkward angle but once I got the Dremel out I made progress. As I should have expected, I have a bigger, scarier hole now.

This is what the inside looks like now, I am getting up bright and early tomorrow to start the first layer of CSM, what is the working time with the resin once I have it catalyzed?
IMAG0366.jpg

I'm going to put clear packaging tape on the outside and rip a small piece of CSM, only slightly larger than the hole and lay it up on the inside.

What percentage should I be mixing the MEKP at with the resin? Is there a percentage that's good for everything or do I need to vary it for different applications?

I was thinking of using 4 layers on the inside, CSM, CSM, 1708, then one more of CSM, does that sound right?

I am going to gel coat the inside just to seal up the resin since I have resin without wax but the gelcoat has wax in it. Once I've done that, there's no need to do anything more, correct? The only advantage to further work would just be appearance, no? Then I'll do the same to the outside but make it look pretty.
 

Woodonglass

Supreme Mariner
Joined
Dec 29, 2009
Messages
25,929
Re: How do I begin to go about fixing this?!

No need to gel the inside. It'll be fine with out it. Your layup schedule is on the money
 

Georgesalmon

Lieutenant Commander
Joined
Apr 14, 2012
Messages
1,793
Re: How do I begin to go about fixing this?!

The part that is air inhibited is only a microscopic layer. Under that tiny very thin layer its all cured just fine. If it bothers you could wash that layer off with acetone or sand it off. Waxed Gel coat or mix a little wax (surfacing agent) with resin works to but not needed.
 

Trooper82

Commander
Joined
Nov 21, 2011
Messages
2,648
Re: How do I begin to go about fixing this?!

You can also just lay some of that clingy plastic wrap from the kitchen down on it to seal the top layer from the air...
 

500dollar744ti

Senior Chief Petty Officer
Joined
Jul 23, 2012
Messages
691
Re: How do I begin to go about fixing this?!

^^^ Good advice.

I got up early this morning to get started and found temperatures below 60 degrees which I heard won't be good for glass to set up. I waited until it got up to 65 degrees to get started. I taped off the outside with blue painters' tape, using multiple layers. Then I got a small patch of CSM to make my first layer.
IMAG0371.jpg

I mixed 2 ounces of poly resin using 10 drops of MEKP per ounce, so 20 drops total. It mixed up and got darker after about 10 seconds and that's what the dude in the video said to look for.
IMAG0372.jpg

After cleaning with acetone, I dabbed the area with resin and then set the CSM down and applied resin.
IMAG0373.jpg

How long do I need to let it set before I can apply the next layer? I want to get as much done today as possible. Also, should I remove the tape after this first layer or leave it on until the inside repair is complete?
 

further

Lieutenant Junior Grade
Joined
Jun 18, 2009
Messages
1,034
Re: How do I begin to go about fixing this?!

I think you can keep lying the layers, this is supposed to make for a good chemical bond of the layers. I'd keep the tape on the underside until after its cured.
 

jbcurt00

Moderator
Staff member
Joined
Oct 25, 2011
Messages
25,152
Re: How do I begin to go about fixing this?!

If possible, it is often easier to use the metric system & adjust the MEKP % for the temp you are working in. Above 60 is best, but you can trick the resin by keeping it inside & warm until just before mixing, so even working down below 60 can be done.

You also need to make sure the surface you are applying the resin to is above 60, and stays above 60 until the resin cures. In near 60 temps, you can often use a halogen work light setup below the area to be worked. Those lamps get HOT, so not too close to the hull, or any plastic/tarps draping the work area.

Using the metric system, start @ 1.5% MEKP, so in 50ml of poly resin(nearly same volume as 2oz) you'd use .75ml of MEKP.

Cures too slow, use 1.75% MEKP for the next mix

Cures too fast, use 1.25% MEKP

In cooler climates, you might start at 1.75%, in warm maybe 1.25% for the 1st mix. Using metric & percents, you can fine tune the MEKP & kick rate much easier, IMHO, esp when you are mixing larger volumes of resin, then using ounces & drops of MEKP.

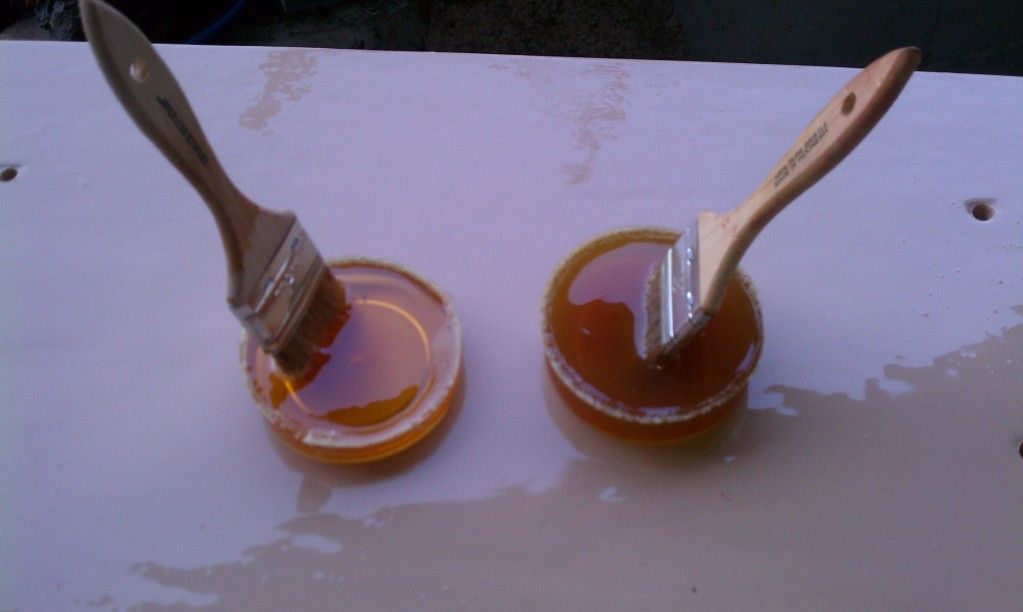
You can stage additional setups of resin & MEKP so you can quickly grab, mix & use additional resin if you need to. Rather then having to measure it out as you need too. Just try not to setup more then you can reasonably use.

As soon as any 1 layer sets up & tacks off, you can apply additional resin, lay additional glass, & wet out an additional layer. It does increase the bonding between layers to have them cure as 1 multi-layer layup, then individual layers. Too many layers too quick can also speed the reaction, overheat the layups & weaken the laminations. On a small repair, in 70+/- temps, I don't think you'll overheat the repair.

But laying up 6 layers of 1708 & resin across the entire transom in 95+/- heat, yep, that may be too many layers too quickly....

Having 1 or 2 small projects, on standby, but ready for resin, allows you to use up left over mixed resin, rather then making artistic statements w/ the waste:
IMAG0537.jpg


Tape on til cured
 

Georgesalmon

Lieutenant Commander
Joined
Apr 14, 2012
Messages
1,793
Re: How do I begin to go about fixing this?!

don't matter when you take the tape off. put all your layers down at once if you want to, on that small a spot you won't get that much exothermic heat. . you shouldn't let more than 16 hours pass between layers with out sanding. after 16 hours its called a secondary bond and not as strong as a primary bond within 16 hours. There are some different ideas about the number of hours. The US Navy uses 16 and that's good enough for me.
 

500dollar744ti

Senior Chief Petty Officer
Joined
Jul 23, 2012
Messages
691
Re: How do I begin to go about fixing this?!

In near 60 temps, you can often use a halogen work light setup below the area to be worked. Those lamps get HOT, so not too close to the hull, or any plastic/tarps draping the work area.

That is very useful advice, I put a halogen light on it and it is tacking up much faster.

Somebody please tell me this looks ok, it's my 3rd layer, the 1708 patch on top of 2 CSM patches.. I can't tell what looks right or wrong.
IMAG0375.jpg

I don't like the whitish looking areas. I was expecting it to look more uniform and clear but I rolled over it with the fiberglass roller I bought thoroughly and it still looks like this.
 

Woodonglass

Supreme Mariner
Joined
Dec 29, 2009
Messages
25,929
Re: How do I begin to go about fixing this?!

If its not trapped air then you're good to go
 

500dollar744ti

Senior Chief Petty Officer
Joined
Jul 23, 2012
Messages
691
Re: How do I begin to go about fixing this?!

What else would it be? I've been pushing down on it and rolling over it with the roller and it doesn't seem to move or go away.
 

Woodonglass

Supreme Mariner
Joined
Dec 29, 2009
Messages
25,929
Re: How do I begin to go about fixing this?!

Sometimes the fabric just won't absorb the resin. Does it feel dry?
 

500dollar744ti

Senior Chief Petty Officer
Joined
Jul 23, 2012
Messages
691
Re: How do I begin to go about fixing this?!

Not really, it feels pretty wet. I'm waiting for the inside to cure a little more and I'm going to do two CSM layers on the outside before bed.

The tip from the guy about the halogen light to keep surface temps up has really helped me. I'll be able to do more tonight and more tomorrow early when it's still cool outside.
 
Last edited:

Woodonglass

Supreme Mariner
Joined
Dec 29, 2009
Messages
25,929
Re: How do I begin to go about fixing this?!

Sounds like a good plan. Make sure and grind the outside too and wipe down with acetone before applying the CSM
 

500dollar744ti

Senior Chief Petty Officer
Joined
Jul 23, 2012
Messages
691
Re: How do I begin to go about fixing this?!

Well I made good progress, there is no longer a hole in my boat. It looks pretty bad but it is strong.

This is what I woke up to after it cured over night with the halogen light on it.
IMAG0379.jpg

This is what I was left with after sanding.
IMAG0384.jpgIMAG0390.jpg

Then I put a layer of gelcoat over it, I didn't know how to apply it and it looks bad. I am going to sand it and continue to apply more coats to thicken it up tomorrow. I hope to sand it smooth and maybe a few dunks in the dirty river will make it less noticeable.
IMAG0393.jpg

How can I apply the gelcoat so it's nice and smooth?
 
Top