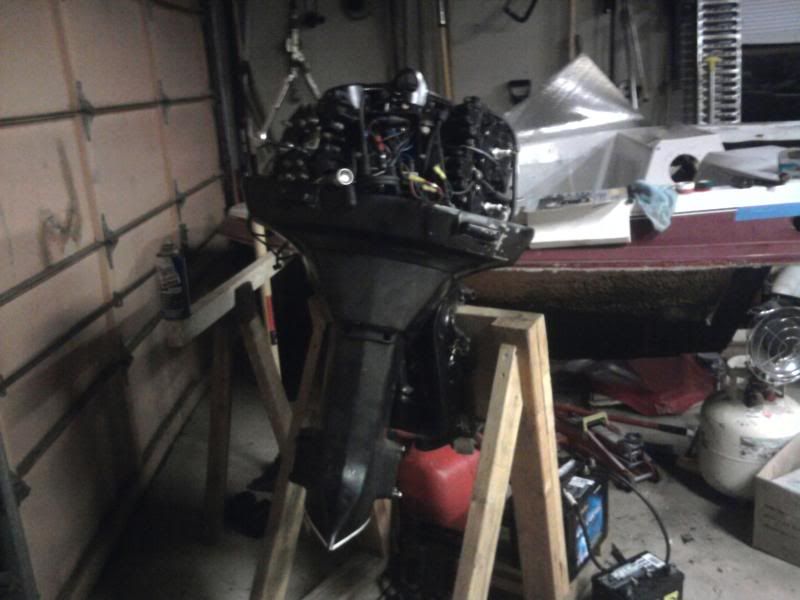
The "New Boat"

zach103

Commander
Joined
Mar 11, 2008
Messages
2,233
Re: The "New Boat"

i thought it was the key. maybe im wrong.. on the steering shaft that half moon piece of metal that goes into the shaft..


Yah the Woodruff Key
 

zach103

Commander
Joined
Mar 11, 2008
Messages
2,233
Re: The "New Boat"

Anyone.. thats the last part that needs to come off

Other than that no real updates.. Due to school work.. i did order the gauges tho.
 

zach103

Commander
Joined
Mar 11, 2008
Messages
2,233
Re: The "New Boat"

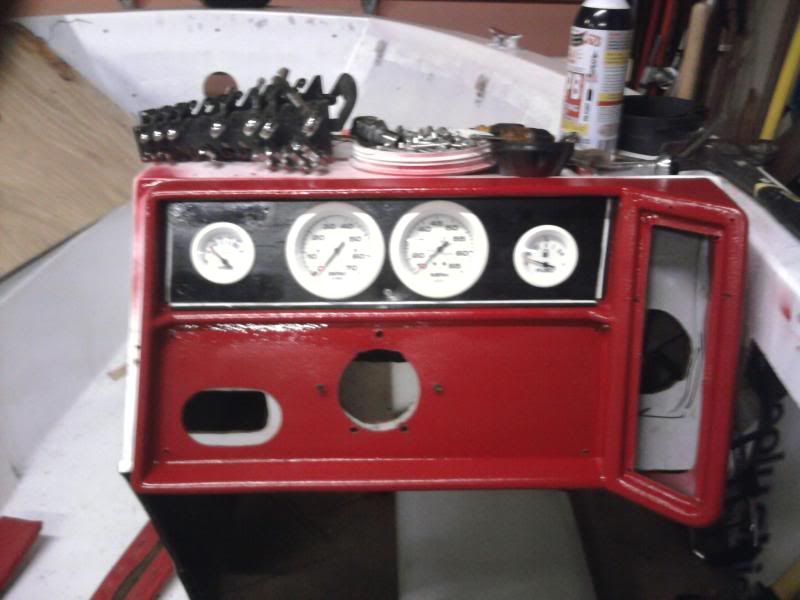
Gauges are in and the back light is red.. PERFECT!!!!

got the key off so steering is off.. popped two pieces off wood off the deck already but we have rain for the next 3 days so im going to work on the cap for a while. im gunna try and sand off all the white and redo it the right way . fixing the glass the instruments right now so they should be ready soon.. than starting the wiring. which should be pretty easy.. let see what else

I plan to do a cup holder that is inlayed in behind the backrest so when you sit back you don't knock into it....

Also a second bilge for the front just for saftey.. i got some other ideas but i gotta find all the pictures of the show for more ideas
 

zach103

Commander
Joined
Mar 11, 2008
Messages
2,233
Re: The "New Boat"

0927102248.jpg


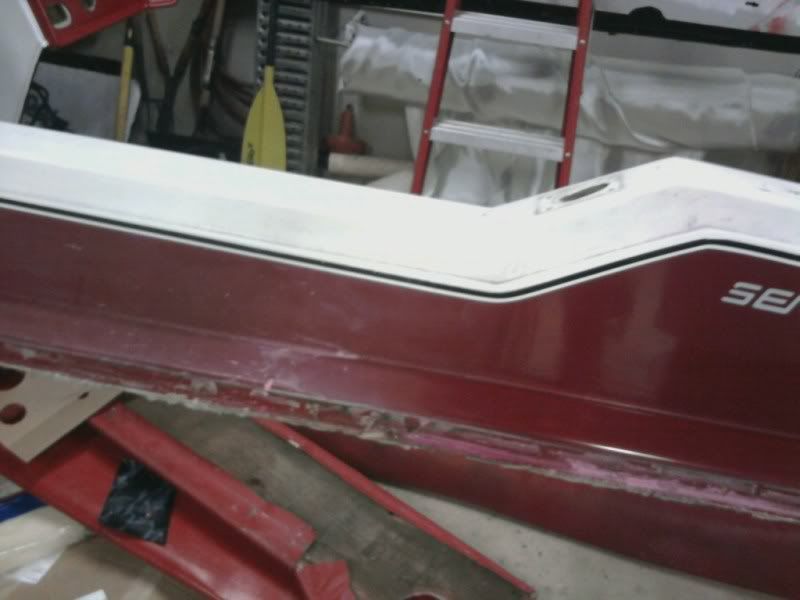
now started removing the oxidation and holy moly i love it
mms_picture-7.jpg
 

zach103

Commander
Joined
Mar 11, 2008
Messages
2,233
Re: The "New Boat"

so apparently i have no new pictures to update.. but i finally figured out the switch panel thanks to the guys in the electrical section. most of all the wiring is all done and waiting to be put in.. gunna sand down the old paint and put new white on and than start putting all the wiring back in.. than finish up with the oxidation

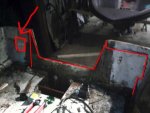
i have 3 panels left to take out of the floor.. than sand those down and give them a good coating of resin..
 

zach103

Commander
Joined
Mar 11, 2008
Messages
2,233
Re: The "New Boat"

down to one panel and the front original panel

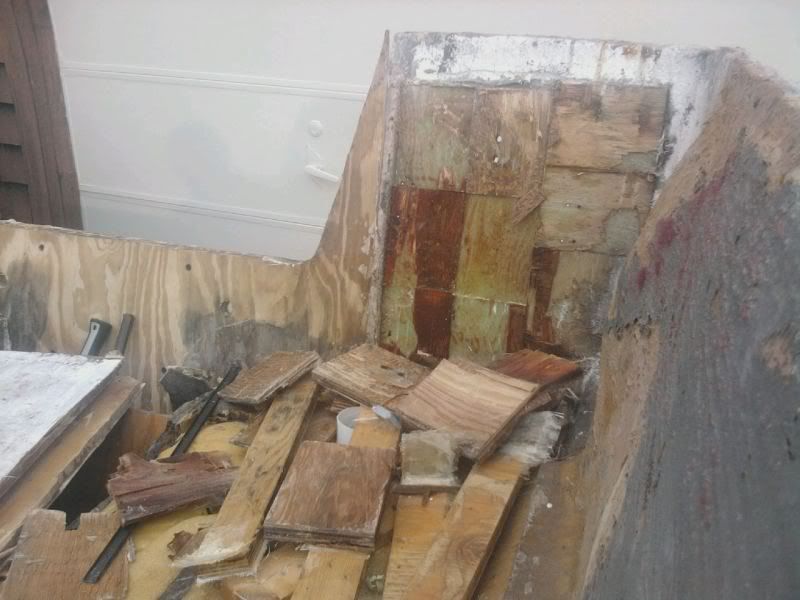
today started working on the transom
mms_picture-9.jpg


also finished up the tach wiring and the ignition wire from the controller so i cleaned it up and primed it now letting it dry..
1018101630.jpg


This is just the off white primer for now i'm doing two coats of this and than 2 coats of regular white glass
 

ezmobee

Supreme Mariner
Joined
Mar 26, 2007
Messages
23,767
Re: The "New Boat"

Interesting, there's those goofy little wood squares again. Seen those a few times now. Is the any curvature to your transom? Wonder why they used them.
 

erikgreen

Captain
Joined
Jan 8, 2007
Messages
3,105
Re: The "New Boat"

The squares are there for several purposes as core material. Certain brands of boat have used that type of core instead of single wood pieces for a while, I believe.

First, they provide more stiffness than a single piece of wood. The reason for this is sort of complicated, but with glue in between the square cores it's stiffer at the same thickness and weight.

Second, it's cheaper to use them instead of single wood pieces. They can be cut from any piece of small wood scrap the right thickness.. very little plywood waste in the factory. It's much harder to mis-cut a wood core, since it's essentially a jigsaw of these squares. If a core is damaged for any reason or penetrated for a via or bolt, and needs to be made whole later in the build process, you just core out the square and put another in.

Third, the squares isolate the wood core sections. If one gets wet, the glue between the sections will keep water from wicking everywhere and rotting the whole panel. Again, the single square core can be replaced more easily than a larger panel.

Fourth, as noted they conform to curves better than flat cores.


All this is balanced by the factory against the time needed to prep and install all those squares. If you design your build process around use of them, it can produce a better quality product with less waste than the traditional way of doing things, especially if your boat designs involve a lot of curved, cored panels.

Erik
 

zach103

Commander
Joined
Mar 11, 2008
Messages
2,233
Re: The "New Boat"

So should i repeat this or should i just go with the whole piece like everyone else.. im not too worried about water getting in to rot the wood after im done with it


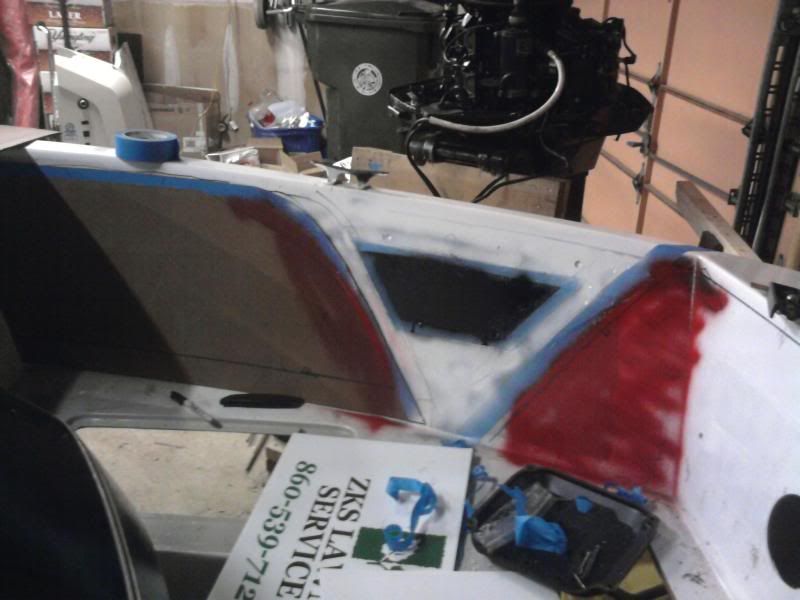
Small update. I started taking a look at the engine and found a few wires that the mice started to get too.. ..Also did some bondo work to the cap to fill some old holes
 

ezmobee

Supreme Mariner
Joined
Mar 26, 2007
Messages
23,767
Re: The "New Boat"

If you have a relatively flat transom, I would replace the whole mess with a solid piece of wood.
 

erikgreen

Captain
Joined
Jan 8, 2007
Messages
3,105
Re: The "New Boat"

It's up to you. The squares are more work but have advantages as mentioned, but a single piece is faster and easier, and for your boat the advantages may not matter.

6 of one, half dozen of another.

Erik
 

zach103

Commander
Joined
Mar 11, 2008
Messages
2,233
Re: The "New Boat"

hahah ok well i just want to do what's strong enough to use the tube.. the reason i dug into this in the first place was because there was too much flexing when we hooked up the tube.. well now i have the Y rope section to use both sides of the transom but i will deff go with one whole piece
 

erikgreen

Captain
Joined
Jan 8, 2007
Messages
3,105
Re: The "New Boat"

Yeah, either way is fine to use the tube. The flexing was from rot, I think.
 

zach103

Commander
Joined
Mar 11, 2008
Messages
2,233
Re: The "New Boat"

i think this is why it was flexing the u bolt that we hooked it too was right where the little square is on the starboard side.. all that pressure was on a 4 by 5 block
 

Attachments

  • 0919102001.jpg
    0919102001.jpg
    18.2 KB · Views: 0

zach103

Commander
Joined
Mar 11, 2008
Messages
2,233
Re: The "New Boat"

ok so small little update.. i have been working alot on the engine .. .. also have been chipping away at the foam and almost completely done removing the floor.. and started sanding down the pieces for reuse.... i need to sand down a few more patches of bondo and finish taping than i can start putting coats of white on the cap.. .

I picked up a piece of that thicker cardboard to make up a template for my new seat cushions....

ill get some pictures soon
 

zach103

Commander
Joined
Mar 11, 2008
Messages
2,233
Re: The "New Boat"

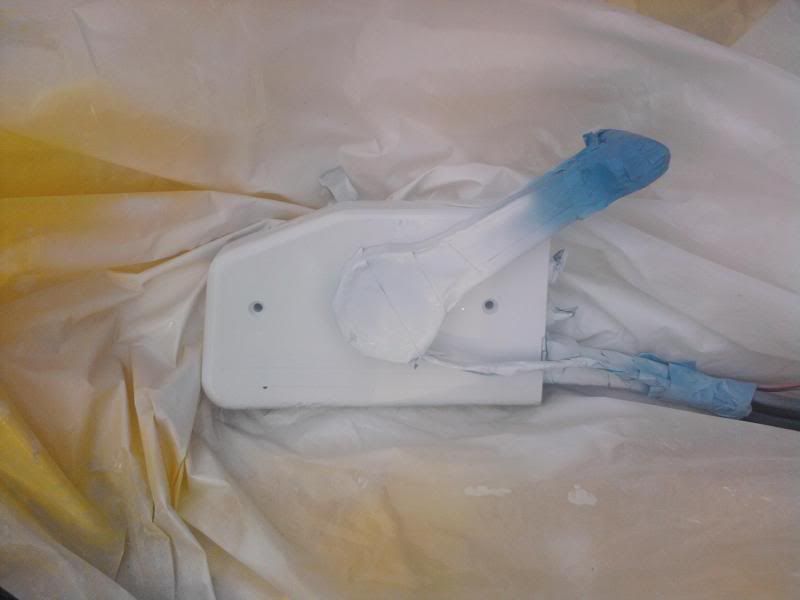
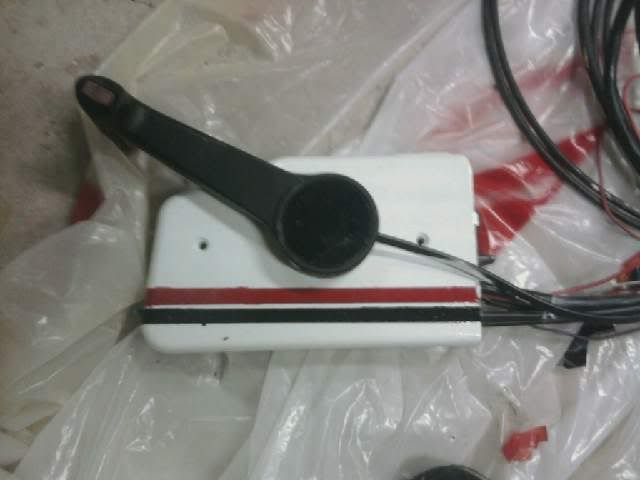
ok so heres the finished remote.
mms_picture_1-5.jpg


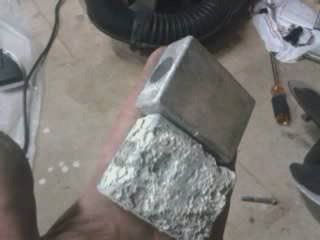
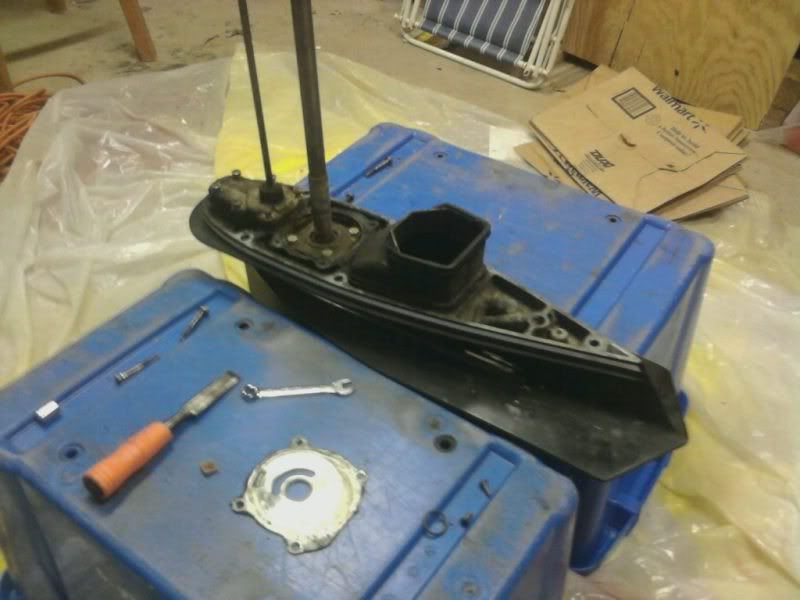
the old anode and what the motor looks like right now.. actually put together more than it was yesterday..

mms_picture_2.jpg

mms_picture-11.jpg

1027101933b.jpg
 

zach103

Commander
Joined
Mar 11, 2008
Messages
2,233
Re: The "New Boat"

Ok so little update.. still working on the lower unit. having trouble getting the impeller to fit over the key.... were almost done with the foam removal .. also taped up the edge of the cap for all the white paint should be this weekend maybe.. and started doing the outline for the bow seats.. im just going to reupholster the bottoms but the tops im gunna do this but instead of the speaker it will be the cup holders

IMG_0123.jpg

IMG_0127.jpg
 

zach103

Commander
Joined
Mar 11, 2008
Messages
2,233
Re: The "New Boat"

Heres the outline so far .. it works out cuz i can still use cushions i had on the bottom.. im going to try and cut out the part for the cupholders tonight in between homework..
1102102206.jpg
 

SKOOTCH

Seaman Apprentice
Joined
Oct 30, 2010
Messages
35
Re: The "New Boat"

Cool "new boat," Zach! Its got tons of potential. Have fun with her!
 

Biged007

Petty Officer 2nd Class
Joined
Sep 9, 2010
Messages
176
Re: The "New Boat"

Hey Zach she's really coming along nicely we gotta hook up in the spring to show off our new old baby's
Ed
 
Top