At the gelcoat stage - help needed!!!

Status
Not open for further replies.

oops!

Supreme Mariner
Joined
Oct 18, 2007
Messages
12,932
Re: At the gelcoat stage - help needed!!!

hmmm.....you seem to have taken several pictures of a cinder block wall....lol
 

Outback Jack

Petty Officer 1st Class
Joined
Apr 23, 2010
Messages
267
Re: At the gelcoat stage - help needed!!!

Looks GREAT!!! I am impressed with the paint job , looks like you have the brush and tip figured out

Jack
 

morebass 17

Petty Officer 1st Class
Joined
Mar 25, 2011
Messages
223
Re: At the gelcoat stage - help needed!!!

Thank's all for the compliments. But a little too soon cause after the second coat today it looks alot worse. I'm really dissapointed in the finish - I managed somehow to get more brush marks, an extra helping of dust, and what can only be described as orangepeel.

I have decided to gel the color scheme too, but this wont be untill after the water trials, so I will just have to live with the poor paint for a season at least.

I would gel it just now but I really have to move on to something else and get the hull flipped. I'm so sick of working on the outside of the hull now so If I dont move on I will prob lose my temper and do an Oop's special (cut the hull in half with a grinder, without the intention of extending it though. )

So we are moving on and the flip is scheduled for the 21st of this month (My next day off work)

Then its back to sanding the inside and painting, then the fun begins - I can start putting all the new stuff in.

More pics in a few hours, ( not very nice ones though lol )
 

morebass 17

Petty Officer 1st Class
Joined
Mar 25, 2011
Messages
223
Re: At the gelcoat stage - help needed!!!

well here's the pic's. The photos don't really show it as bad as it is. But as I said I will probably just live with it untill I get a chance to gel it. Updates will be going slow now untill the flip, cause there is not much else to do untill then.

I will try and take some photos of the flip in progress, for anyone thats thinking of doing it.

PICT0895.jpg


PICT0896.jpg


PICT0897.jpg


PICT0893.jpg


PICT0900.jpg
 

morebass 17

Petty Officer 1st Class
Joined
Mar 25, 2011
Messages
223
Re: At the gelcoat stage - help needed!!!

Meant to ask - does anyone know if it's a good idea or not to use a buffing compound on a one part paint, or would this just take off the shine. I may try it in a small area on the transom that will be hidden by the transom plate.
 

clintbeastwood

Petty Officer 3rd Class
Joined
Mar 20, 2011
Messages
79
Re: At the gelcoat stage - help needed!!!

Wow looks great! Im working 3rd shift solo so its been a great read also.
 

morebass 17

Petty Officer 1st Class
Joined
Mar 25, 2011
Messages
223
Re: At the gelcoat stage - help needed!!!

Wow looks great! Im working 3rd shift solo so its been a great read also.

Thanks for the compliments mate.

Update coming - -

The hull is flipped - -

starting to look like a boat now !!
 

morebass 17

Petty Officer 1st Class
Joined
Mar 25, 2011
Messages
223
Re: At the gelcoat stage - help needed!!!

Well as i said the hull is now flipped, it was pretty straight forward, a couple of guys in my work would disagree though lol. they were controlling the spin with a strap secured to the side of the boat while I was operating the gantry and the hoist. I tried warning them that once this boat starts to rotate it would be really hard to slow down the spin due to the weight, but they disagreed and thought it would be easy, well it turns out I was right, they have the rope burns from the strap to prove it. lol

I'm a little dissapointed in the pics as most of them are really quite blurry, but you will get the idea.

Now I have to move the boat back into my garage and start work on the inside - happy days.

PICT0901.jpg


PICT0902.jpg


PICT0903.jpg


PICT0904.jpg


PICT0905.jpg


PICT0907.jpg
 

alanc21boat

Recruit
Joined
Apr 10, 2011
Messages
5
Re: At the gelcoat stage - help needed!!!

Well as i said the hull is now flipped, it was pretty straight forward, a couple of guys in my work would disagree though lol. they were controlling the spin with a strap secured to the side of the boat while I was operating the gantry and the hoist. I tried warning them that once this boat starts to rotate it would be really hard to slow down the spin due to the weight, but they disagreed and thought it would be easy, well it turns out I was right, they have the rope burns from the strap to prove it. lol

I'm a little dissapointed in the pics as most of them are really quite blurry, but you will get the idea.

Now I have to move the boat back into my garage and start work on the inside - happy days.

PICT0901.jpg


PICT0902.jpg


PICT0903.jpg


PICT0904.jpg


PICT0905.jpg


PICT0907.jpg

all ryt mate got to say your boat looks good you have done some job on the out side looks like a new boat need to see it give me a phone sunday
 

Outback Jack

Petty Officer 1st Class
Joined
Apr 23, 2010
Messages
267
Re: At the gelcoat stage - help needed!!!

right on I like your idea on the stern of the boat...I can's see what you had on the bow.
What did you hook to on the bow during the flip?


You are going to be proud of all your work in the end.

Jack
 

morebass 17

Petty Officer 1st Class
Joined
Mar 25, 2011
Messages
223
Re: At the gelcoat stage - help needed!!!

right on I like your idea on the stern of the boat...I can's see what you had on the bow.
What did you hook to on the bow during the flip?


You are going to be proud of all your work in the end.


Jack

Thanks Outback Jack

The front is actually the same idea as the back, a homemade bracket that bolts to the existing bow eye bolt holes, with a steel tube welded to it so that the tube is parallel with the ground once bolted on.

I wasn't too sure at first if I should trust the front bow eye mounting holes for lifting, but with a steel plate used on the inside of the hull to spread the load, it seems to take the weight just fine. The steel plate is only about 3mm thick and is approx 6" x 4". So nothing too drastic.

Here is a couple of photos that will explain it better !!!

PICT0921.jpg


PICT0920.jpg


PICT0922.jpg


Once both brackets are on they should both be the same height off the ground and also parallel to the ground. So once that you lift both ends of the boat you can basically spin the boat in mid air on an axis.

I'm hopeless at explaining things so hopefully ive not made this sound harder than it is cause its actually quite easy. Honest ! !
 

morebass 17

Petty Officer 1st Class
Joined
Mar 25, 2011
Messages
223
Re: At the gelcoat stage - help needed!!!

Well folks not much to tell you. Its gonna be slow progress until the inside is painted. Just now I am just finishing stripping old paint and filling. I am also making a couple of modifications to the inside, One of which is a base up the front that both amps and crossovers etc. will bolt to. here is a pic of what this is like. ( please no-one shout at me for using MDF, this is going to be saturated in resin with a few fibreglass layers, so it will be tottaly water/moisture resistant. I only use MDF as an initial shape to what I am making cause MDF is geat to cut,sand, router and even bend slightly if its thin enough. )

I am aslo making a mod to the front storage compartment I'll explain this one better once I get a couple of pics of it so I can explain it better.

Hopefully be ready for paint in 3 weeks, but I've said that before lol.

PICT0913.jpg


PICT0912.jpg
 

fishfeatures

Senior Chief Petty Officer
Joined
Mar 29, 2011
Messages
743
Re: At the gelcoat stage - help needed!!!

glad to see you have it flipped Morebass, a change of work enviroment will do your project good.
I too am having trouble getting a good enough finish from the Toplac, I have noticed that the finish when thinned is not as good as straight from the can, but you can't paint straight from the can as it doesn't flow too well or else i overlaod an area and after a wile i can see where it is flowing doen the side. Am going to go and spray it and if it does work then the chainsaw is coming out ( only kidding ) or else I'm leaving it for a whilee as it is so maddening.
 

morebass 17

Petty Officer 1st Class
Joined
Mar 25, 2011
Messages
223
Re: At the gelcoat stage - help needed!!!

glad to see you have it flipped Morebass, a change of work enviroment will do your project good.
I too am having trouble getting a good enough finish from the Toplac, I have noticed that the finish when thinned is not as good as straight from the can, but you can't paint straight from the can as it doesn't flow too well or else i overlaod an area and after a wile i can see where it is flowing doen the side. Am going to go and spray it and if it does work then the chainsaw is coming out ( only kidding ) or else I'm leaving it for a whilee as it is so maddening.

Yeah I'm glad I'm onto something different now. It was soul destroying being at the same stage of the project for so long.

I am sure you will get a good finish if you spray apply Toplac ( as long as your surroundings are OK and you get the perfect day for it. Temp and moisture in the air will play a big part on the finish, I hope you have surrondings that you can keep dust down to a minimum as well. Cause that's why I am leaning towards gelcoat as dust isn't AS important as when using paint. When I say that, I mean dust lying on top of applied gelcoat and not on the surface before application.
No matter what finish you use the surface has to be totally clean and dust free.

Your right with the finish not being as good when mixed with thinner. Although It levels out a bit better when thinned it reduces the depth of color in my opinion.

Although Toplac is designed for brush/roller application, the only way you will get a good finish is by spraying. Someone prove me wrong please !!

Unfortunately I have no choice but to use Toplac again with a brush, as the inside of the boat will be painted with this. I've already bought the paint so i'm stuck with it. But I am not as concerned about the finish on the inside as I am the outside so It should be acceptable.

Let me know how you get on with spraying the toplac.
 

Outback Jack

Petty Officer 1st Class
Joined
Apr 23, 2010
Messages
267
Re: At the gelcoat stage - help needed!!!

Thanks Outback Jack

The front is actually the same idea as the back, a homemade bracket that bolts to the existing bow eye bolt holes, with a steel tube welded to it so that the tube is parallel with the ground once bolted on.

I wasn't too sure at first if I should trust the front bow eye mounting holes for lifting, but with a steel plate used on the inside of the hull to spread the load, it seems to take the weight just fine. The steel plate is only about 3mm thick and is approx 6" x 4". So nothing too drastic.

Once both brackets are on they should both be the same height off the ground and also parallel to the ground. So once that you lift both ends of the boat you can basically spin the boat in mid air on an axis.

I'm hopeless at explaining things so hopefully ive not made this sound harder than it is cause its actually quite easy. Honest ! !
Thanks morebass great idea on the brackets. I have to hit my bro up and he can weld me up a backet for the bow.
Thanks
Jack
 

morebass 17

Petty Officer 1st Class
Joined
Mar 25, 2011
Messages
223
Re: At the gelcoat stage - help needed!!!

Hey everybody, hope yous all had a good christmas,

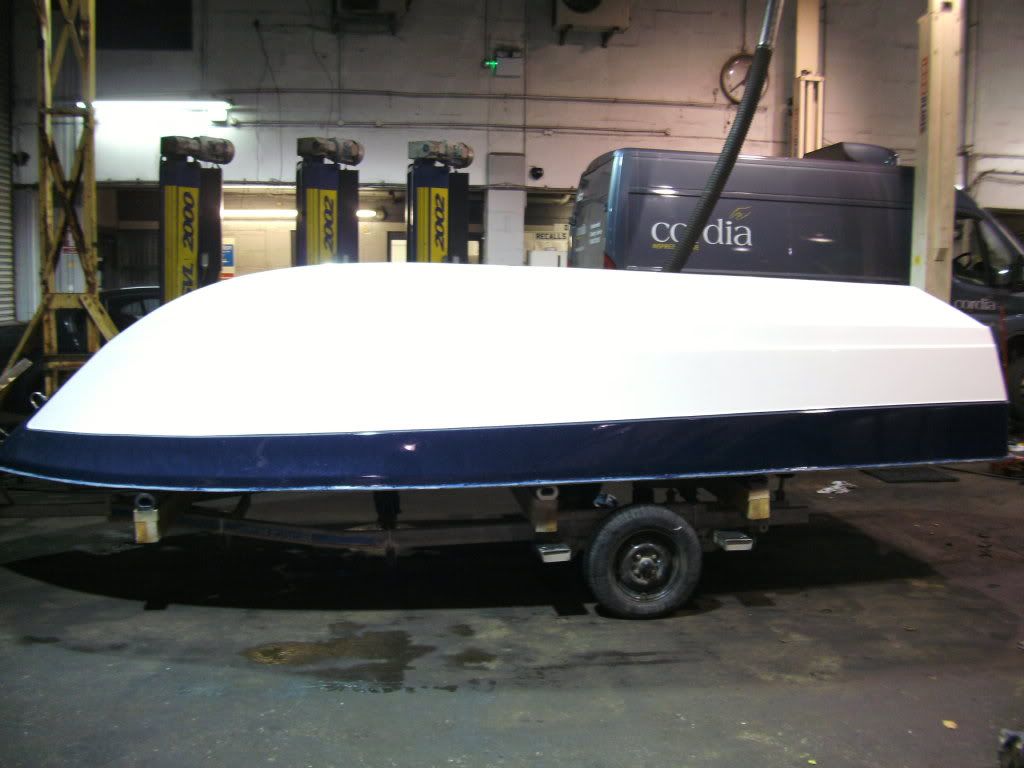
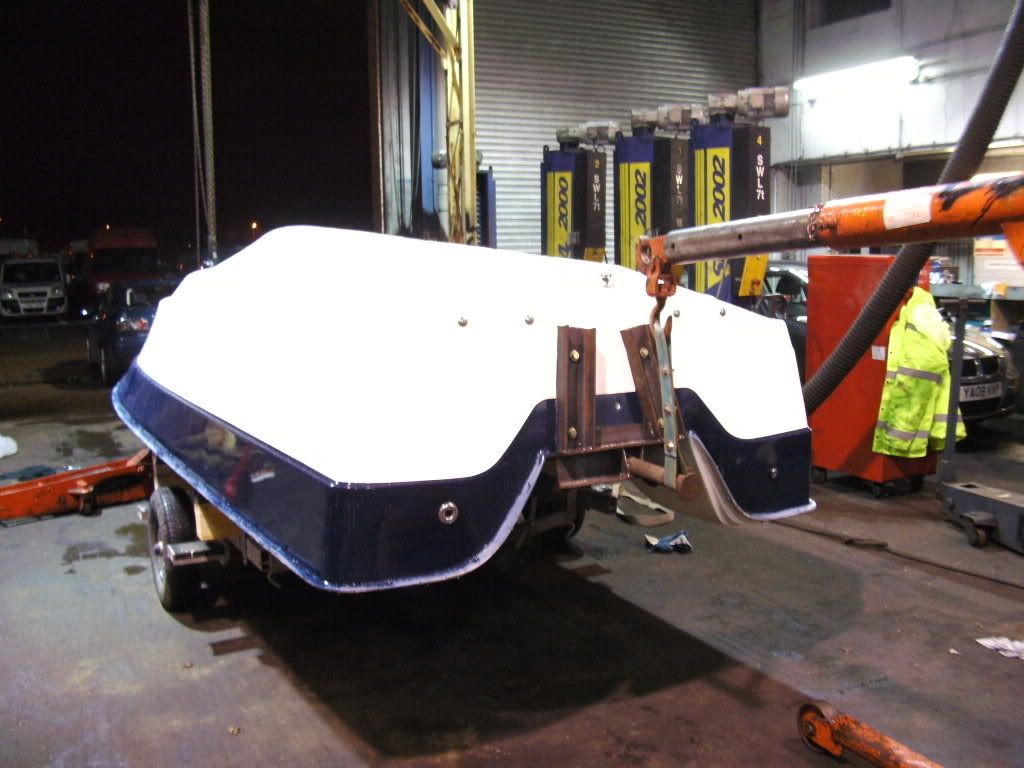
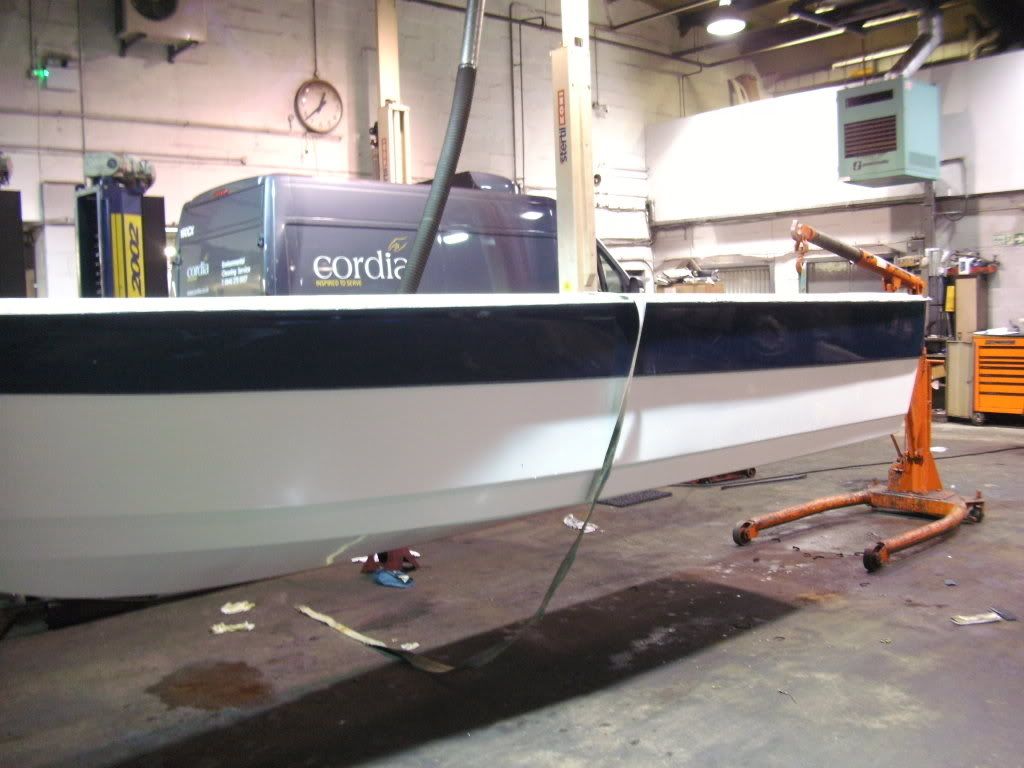
Well another milestone almost reached, Weather & temp dependant I will be starting to paint the inside tomorrow.

Everything is prepped for painting, it took a large tin of bondo, a tin of glass filler, 6 square metres of glass, half a gallon of resin and another sanding marathon, but finally I'm ready for paint.

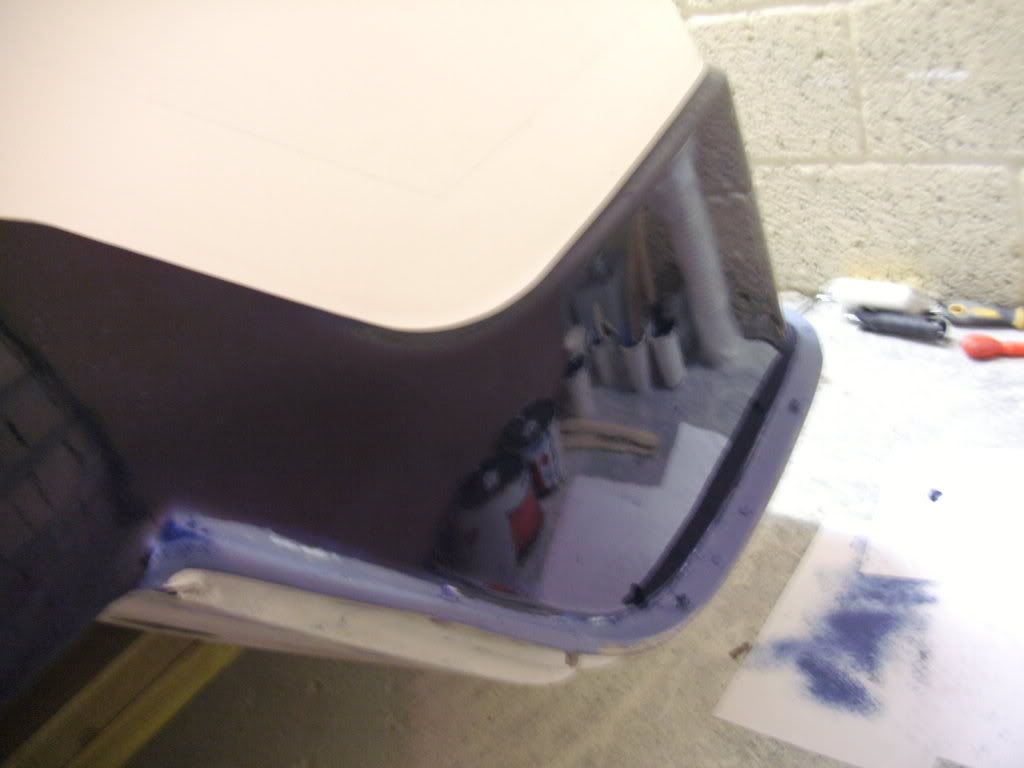
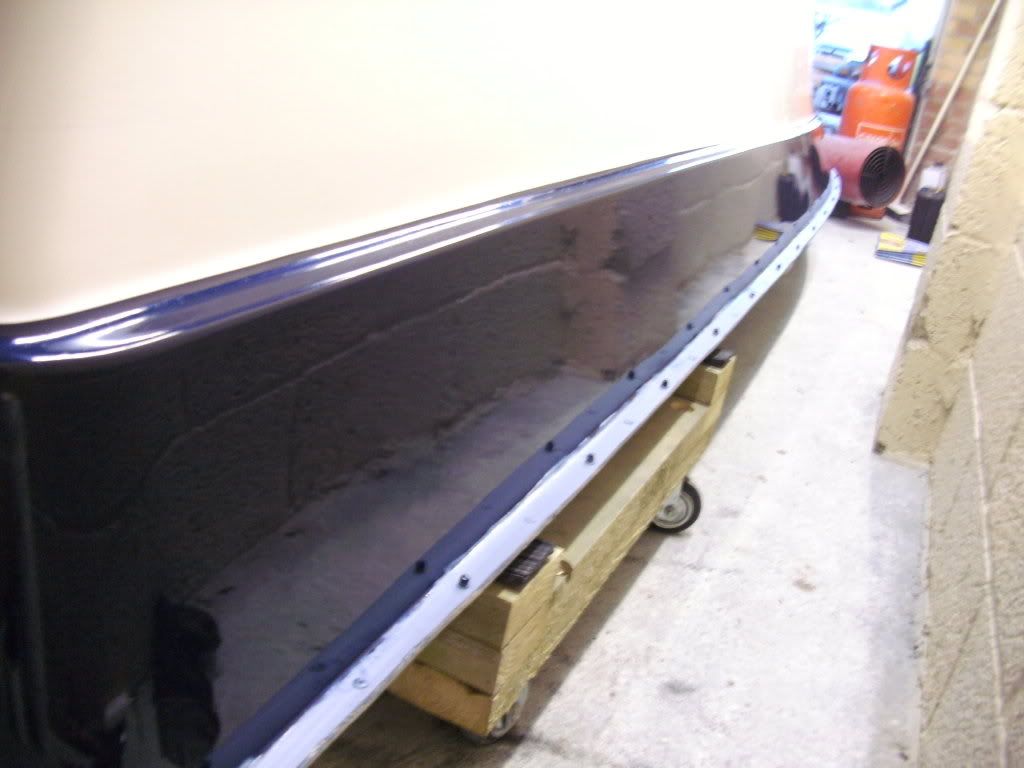
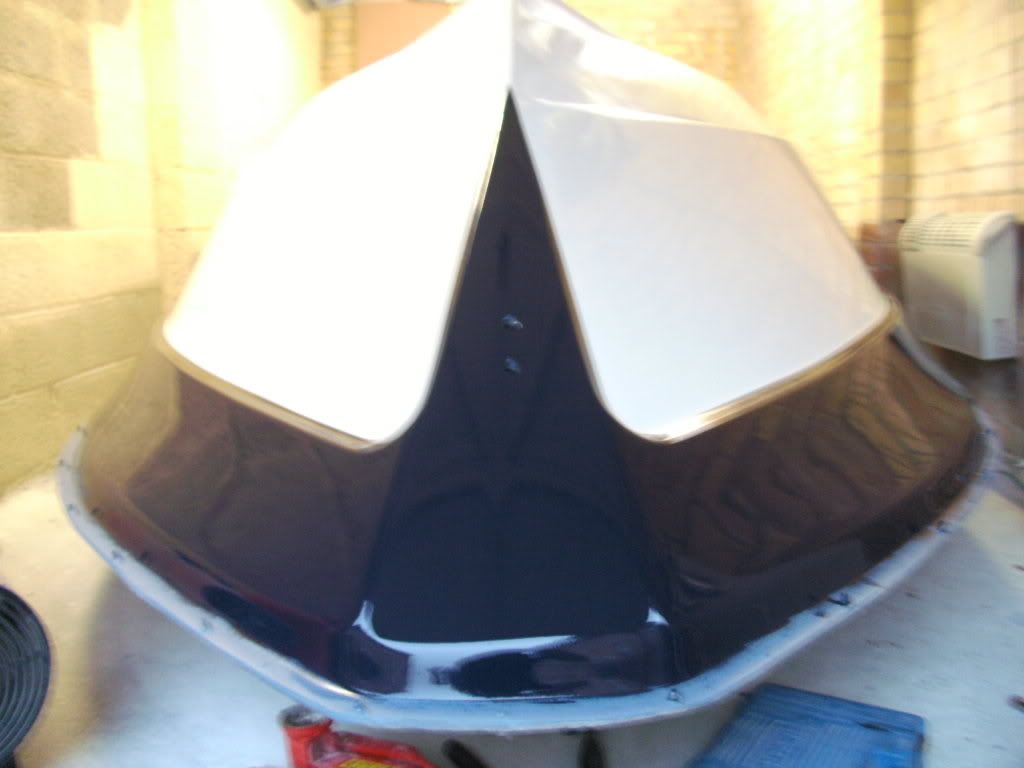
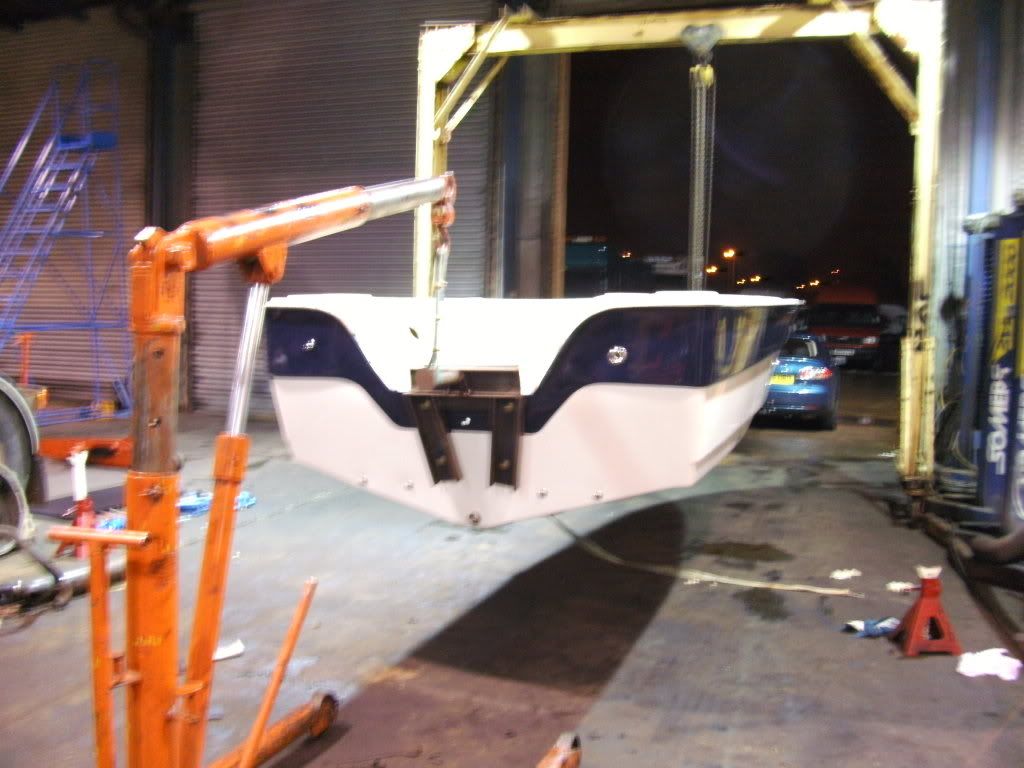
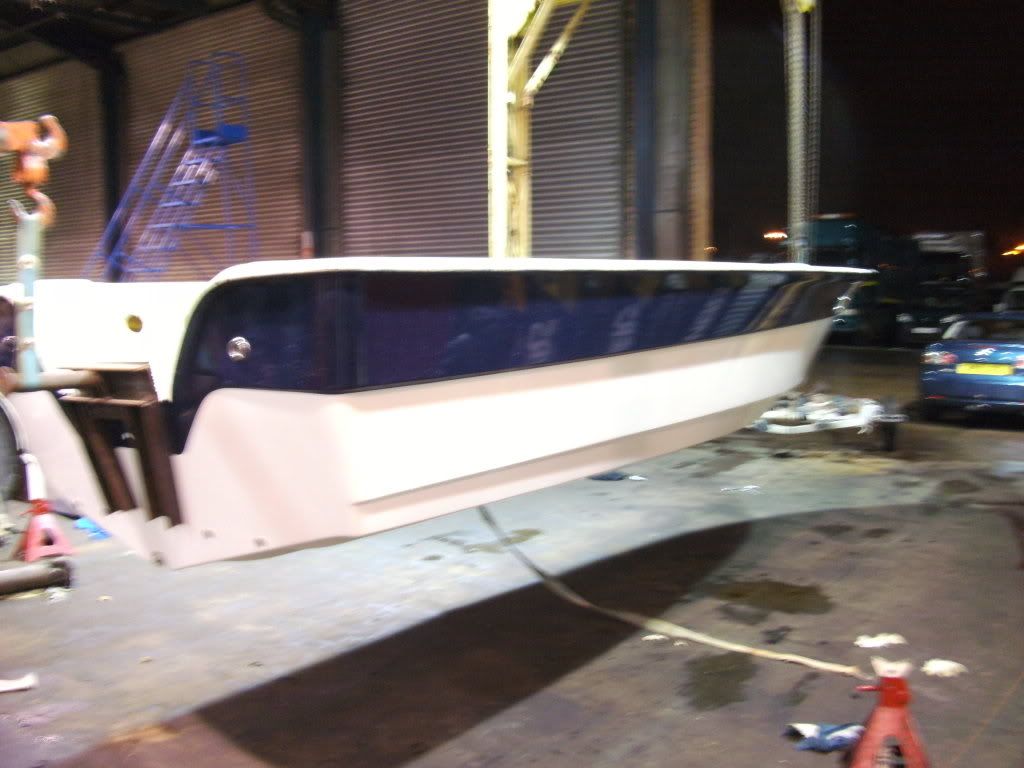
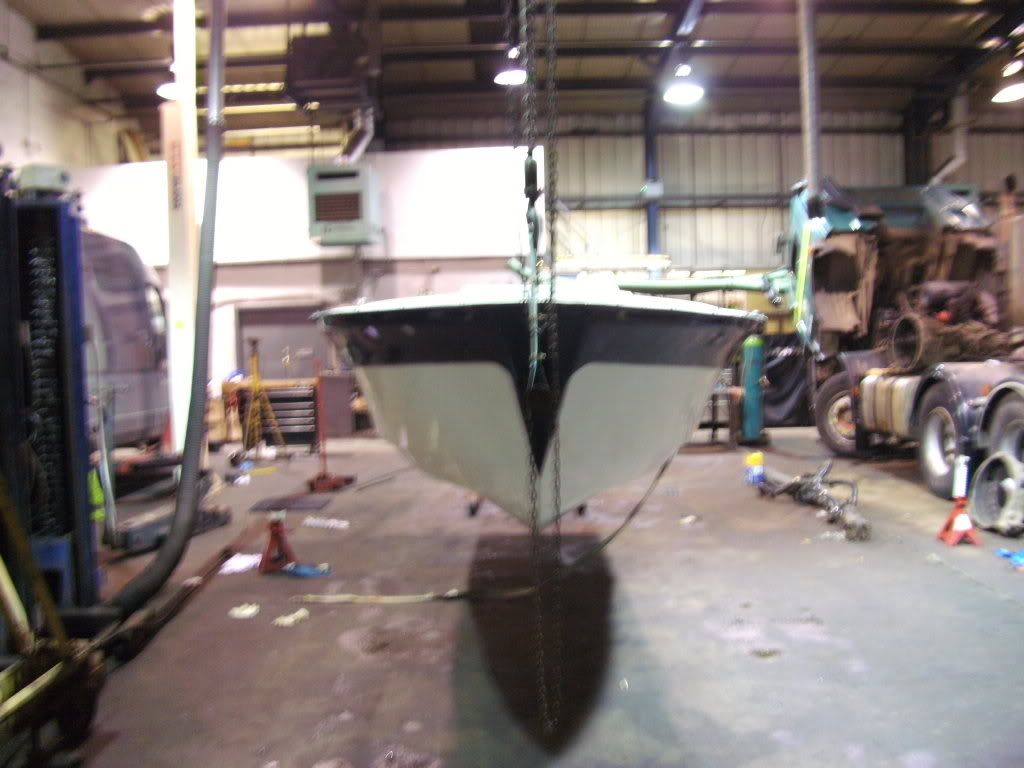
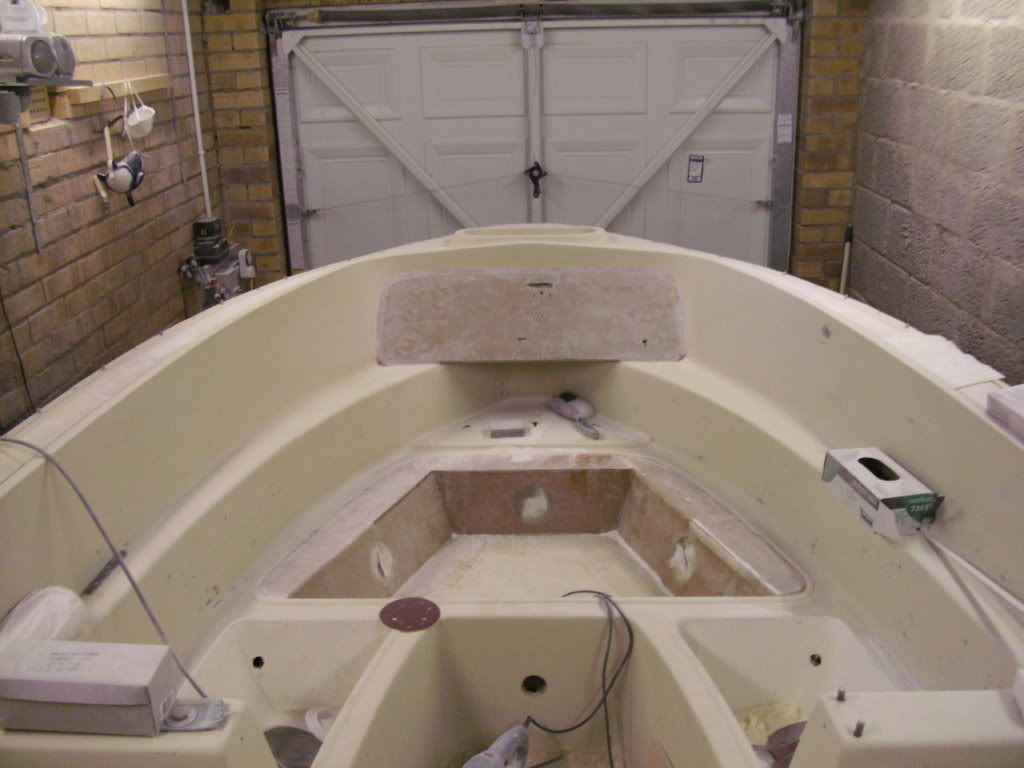
not much to look at just now but here is a couple of pics of the front end, this is where most of the work has been happening.

PICT0923.jpg


PICT0924.jpg


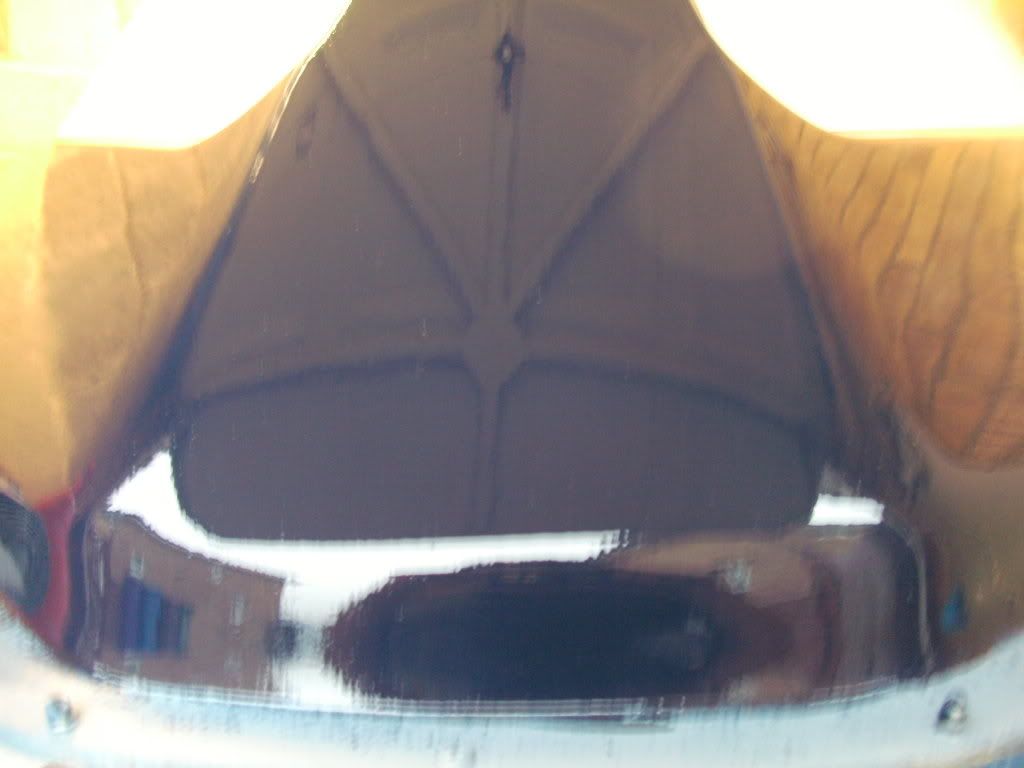
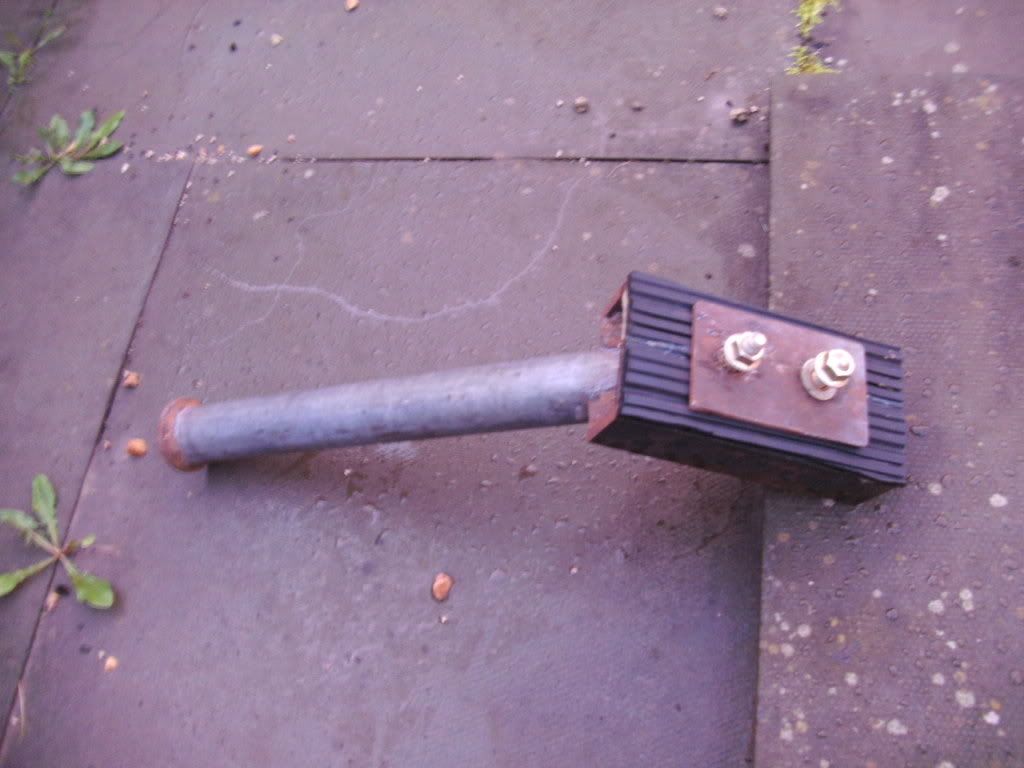
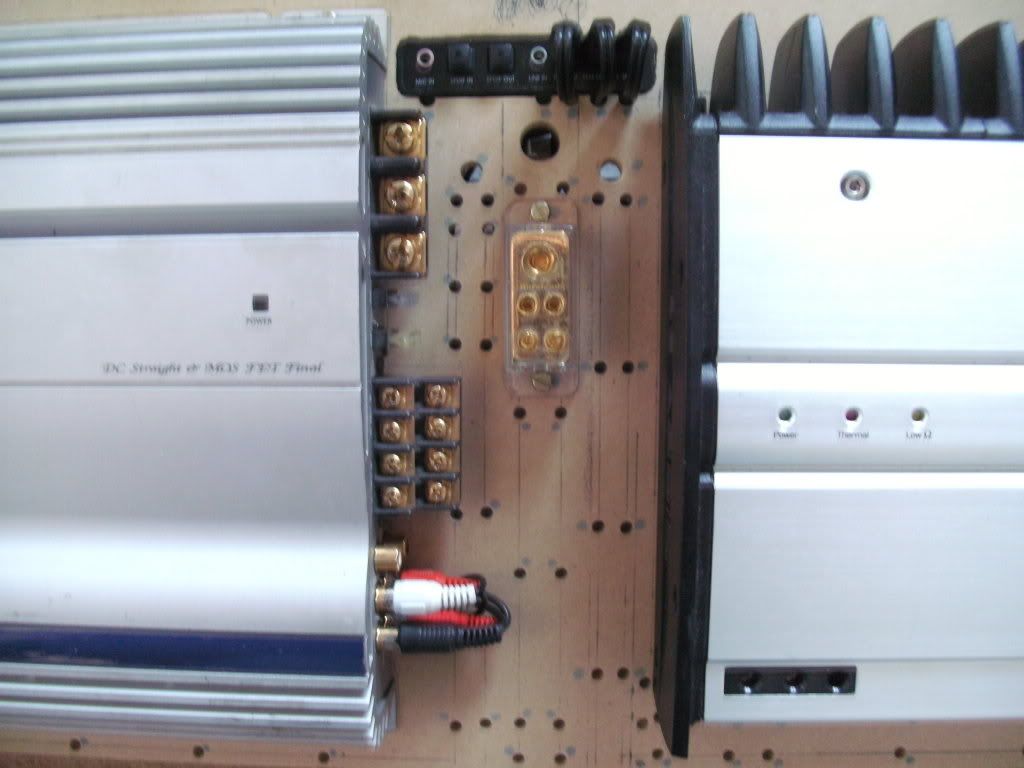
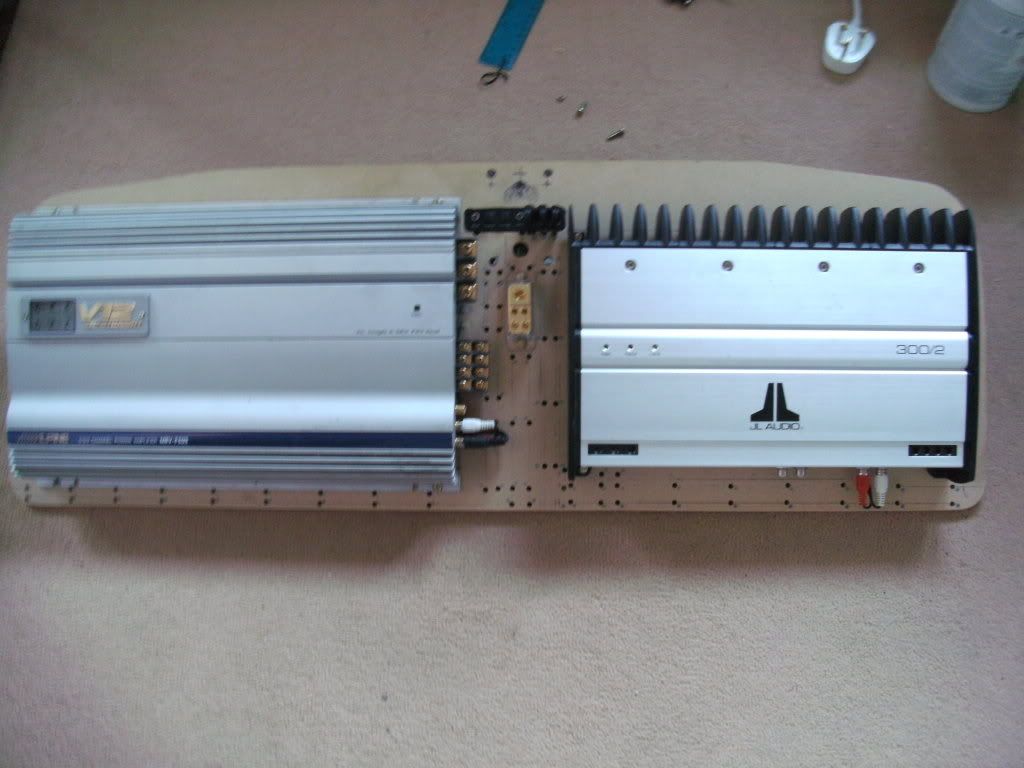
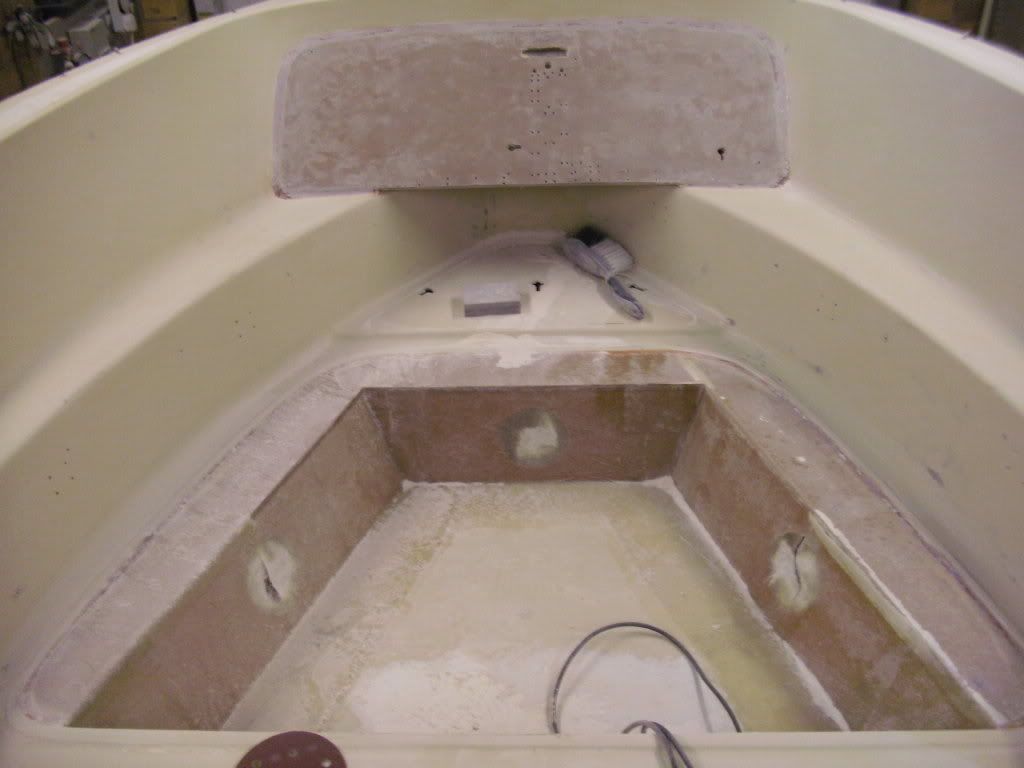
The part up front is the amplifier's base which i previously posted. Its all glassed and blended in now, This wont be seen at all though once I am finished cause the tv moulding will be going in front of this. I would liked to have the amps on show somewhere but this was the only realistic place to put them to help balance the weight and also so I didn't use up any much needed storage space, it's also prob the dryest part of the boat too.

The modification in the storage compartment you see is there for a couple of reasons -
1. The original design was terrible, to access the storage compartment I had to mess about and take the seat back rests off to let me lift the seat base which was always a pain in the ***. now the front seat base will have three different sections, a section at each side at the back rests which will be fixed to the modification i made and a centre section which will be hinged and on gas struts. Kinda hard to explain but it will all make sense as get on with the build.
2. a lot of the wiring will be getting routed behind this enclosure, so it will hide all the wiring, The large holes you see are for access hatches to get to the wiring if needed.

Hopefully have a few better pics tomorrow.
 

morebass 17

Petty Officer 1st Class
Joined
Mar 25, 2011
Messages
223
Re: At the gelcoat stage - help needed!!!

Never got as much done as I thought yesterday. I didn't get started till early afternoon so I only got half of the undercoat on. Today I'll hopefully finish the undercoat and get the first of two top coats on.
The undercoat is taking ages but the first coat always takes a while to get good coverage, once I start on the finish coats it should be loads easier. I'll take a few pics tonight of my progress.

Although painting is not one of my favorites its great to finish a days work without a spec of dust on me. I should be dust free for about another month untill I start work on the cap, but even then the dust will be nothing compared to before. :D:D
 

Outback Jack

Petty Officer 1st Class
Joined
Apr 23, 2010
Messages
267
Re: At the gelcoat stage - help needed!!!

Hope you had a fine Holiday too:). Everything is looking good at your end. I have been on hold had to get ready for winter did a little hunting , just did some things other then the boat. Now the deep freeze is here so going to do some work that I can do without having to pay to heat up the shop. Keep the expenses down as a restore is expensive enough.

I got a couple new tools , a portable compressor and stapler so I will be hitting the upholstery real soon. I didnt feel like running to the shop to use the compressor in the cold. I am hoping we will get some warmer weather to get out to the shop . I just need a few days to finish the inside and I can flip. I want to have the inside complete ready for carpet when I flip. So when I am done the hull it is flip back over and reassemble. Should be good for the warm months of the summer up here.

You are doing a fine job....Have a safe and happy new year.

Jack
 
Status
Not open for further replies.
Top