Reinell T1801 Complete Restore

pcmpete

Petty Officer 1st Class
Joined
Apr 24, 2009
Messages
328
Re: Reinell Foam stringers repair/replace?

Re: Reinell Foam stringers repair/replace?

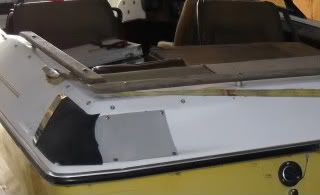
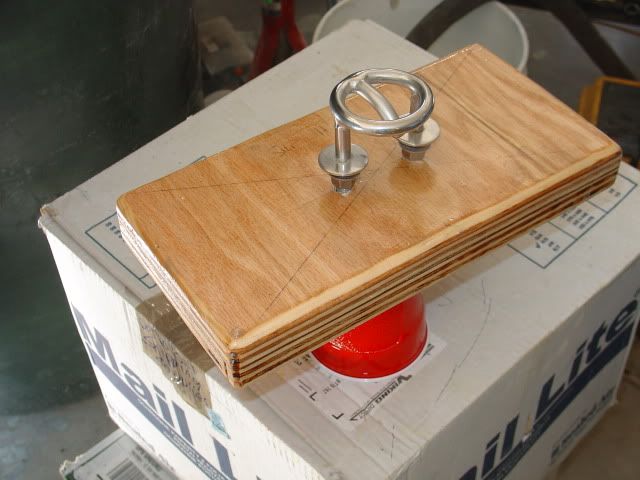
I had cracks in the gelcoat where the ski hook was fitted, what a surprise no support bracing was fitted to the inner :rolleyes:
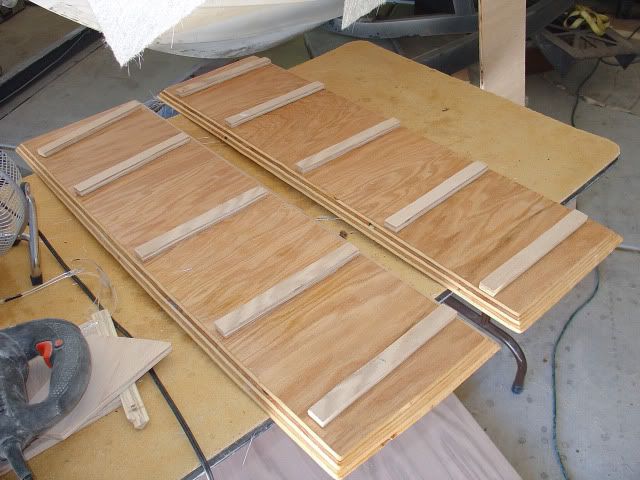
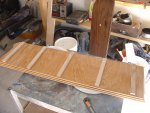
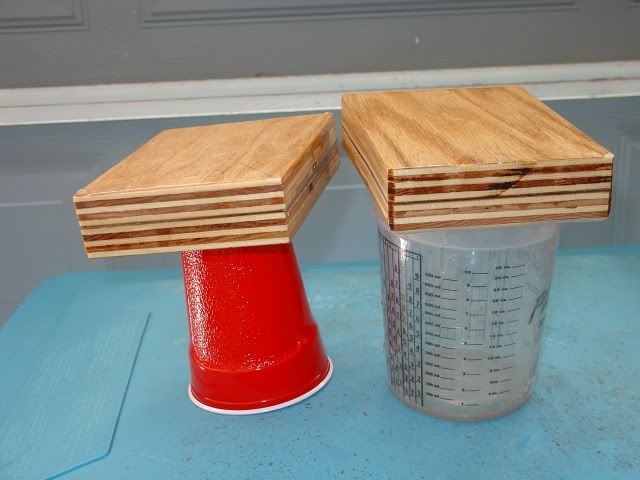
I had enough pre-joined plywood from the transom build to make a brace for the ski hook, plus supports for the two lifting rings on the stern. These (when fitted) should be strong enough to pull a houseboat without flexing/cracking :D
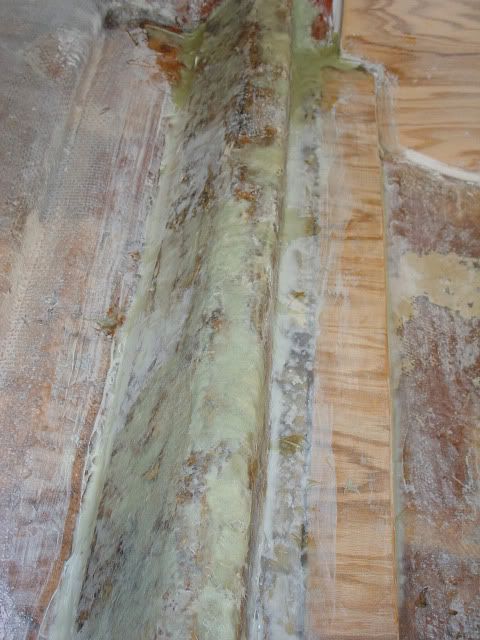
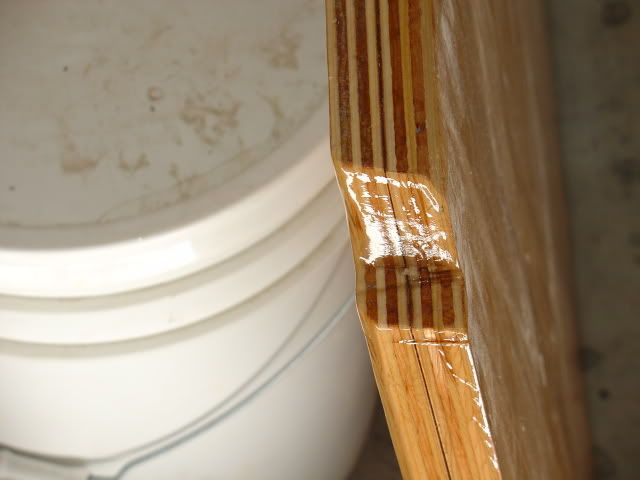
Again, everything wooden is encased with 2 or more coats of resin.
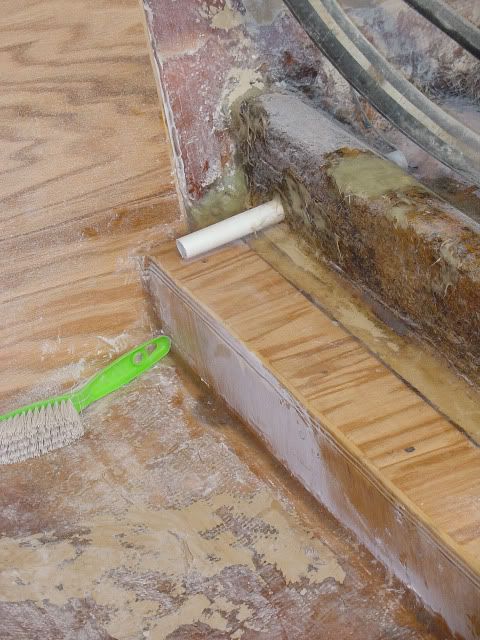
New Ski Hook Brace
20110302_0511.jpg


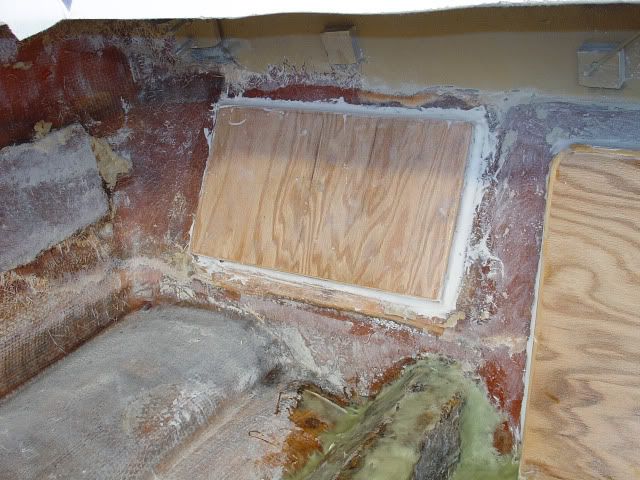
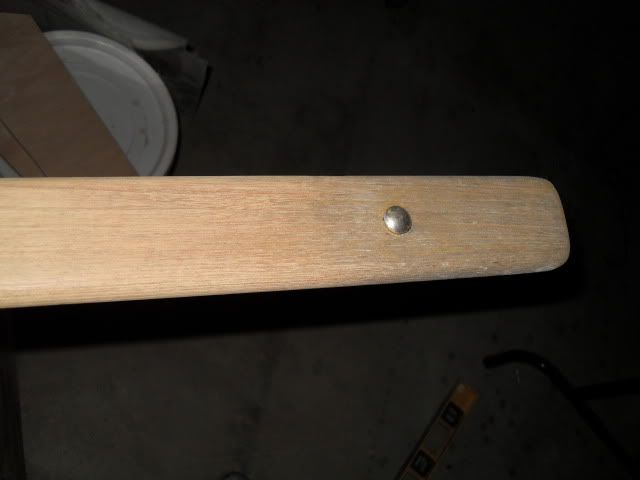
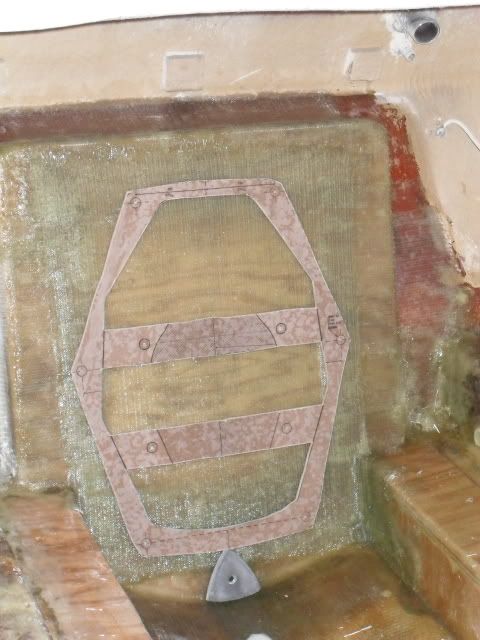
New Lifting Rings supports
20110302_0512.jpg
 

pcmpete

Petty Officer 1st Class
Joined
Apr 24, 2009
Messages
328
Transom and Motor Mounts installed

Transom and Motor Mounts installed

Just an update.
Got the transom fitted. Attached with peanut butter mixture of Poly, 1/4" chopped strand and fumed slica. I have it screwed and clamped from the outside.
Reinell7.jpg


Also finished and fitted the motor mounts. Because the stringers are foam I decided to make full length mounts. These where made up of 4x4 lumber with the bottom shaped to fit the hull and peanut buttered in. Then covered with 3/4" plywood.
Reinell6.jpg


The swim ladder support was fitted using the same method as the transom.
Reinell9.jpg


The foam stringers got damaged during DE-construction. I filled in all dents and chips in the foam with Poly and micro balloon mixture, so when it comes to glassing over the stringers I will get good bonding.
Reinell10.jpg


The original setup had no drainage at all, so I added some to the rear of both stringers and both bulkheads. So, no matter where the water gets in, it all should reach the bilge.
I used 3/4" pvc pipe, cut one end into cutting teeth and by hand I was able drill a hole thru the foam, then cut the pipe to suit.

Rear stringer drainage
Reinell8.jpg


Front bulkhead drainage
Reinell11.jpg


Now I need sand and clean before glassing.
 

pcmpete

Petty Officer 1st Class
Joined
Apr 24, 2009
Messages
328
Tank support

Tank support

Here is my solution to fitting the belly fuel tank. It should supply plenty and strength/support to the fuel tank and allow plenty of ventilation around the tank.
The base support is 3/4" plywood and the spacers are 1/2" ply.
Reinell15.jpg
 

Attachments

  • Reinell14.jpg
    Reinell14.jpg
    148.8 KB · Views: 0

pcmpete

Petty Officer 1st Class
Joined
Apr 24, 2009
Messages
328
Engine Bay

Engine Bay

Finished the construction of the engine bay area, ready to start prep work for tabbing & glassing
Reinell12.jpg
 

ezmobee

Supreme Mariner
Joined
Mar 26, 2007
Messages
23,767
Re: Engine Bay

Re: Engine Bay

I'm not a glass guy but your work is looking VERY nice and solid to me. Great job.
 

pcmpete

Petty Officer 1st Class
Joined
Apr 24, 2009
Messages
328
Re: Engine Bay

Re: Engine Bay

I'm not a glass guy but your work is looking VERY nice and solid to me. Great job.

Thanks ezmobee, it is going slower than I thought, but I am taking my time to do it right so I don't have to do it again (to this hull anyway)
All my bonding, filling and filleting was done using poly resin as the base, so everything should be strong. Only used 3 gallons of resin to get to this stage. :eek: and approx 5 gallons to go. But my local supplier has a special price of $119 for 5 gallons going on now, every bit helps.

Thanks for looking
 

Friscoboater

Captain
Joined
Jul 3, 2009
Messages
3,095
Re: Engine Bay

Re: Engine Bay

Looks awesome so far. What thickness of wood did you use for the transom? 3/4?
 

pcmpete

Petty Officer 1st Class
Joined
Apr 24, 2009
Messages
328
Re: Engine Bay

Re: Engine Bay

Looks awesome so far. What thickness of wood did you use for the transom? 3/4?

Thanks frisco, I used two pieces of 3/4" bonded with slightly thickened poly and one layer of 1.5oz CSM. The bonding surfaces of the plywood got two coats of resin before I joined them, then the 'new' 1.5" transom got sealed up.
 

Friscoboater

Captain
Joined
Jul 3, 2009
Messages
3,095
Re: Engine Bay

Re: Engine Bay

Cool. That is what I used too, but in the picture it looks thinner. Its my eyes I know.
 

pcmpete

Petty Officer 1st Class
Joined
Apr 24, 2009
Messages
328
Re: Engine Bay

Re: Engine Bay

Cool. That is what I used too, but in the picture it looks thinner. Its my eyes I know.

The photo is weird, you can see the csm layer at the top of the image clearly, but it does look narrower near the bottom of the image, it must be just the angle I took it at. The CSM layer is close to 1/16" thick.
20110302_0515.jpg
 

Yacht Dr.

Vice Admiral
Joined
Feb 26, 2005
Messages
5,581
Re: Engine Bay

Re: Engine Bay

Just wondering....whats all that Green filler you put there ?

Just wondering..

You should probably grind away as much Putty as you can before glassing ( right down to Raw glass ). Thats exluding where your putty is made for Fillits.

YD.
 

pcmpete

Petty Officer 1st Class
Joined
Apr 24, 2009
Messages
328
Re: Engine Bay

Re: Engine Bay

Just wondering....whats all that Green filler you put there ?

Just wondering..

You should probably grind away as much Putty as you can before glassing ( right down to Raw glass ). Thats exluding where your putty is made for Fillits.

YD.

The green looking filler is poly, fumed slica & microballoons.

I will be sanding before glassing.
Thanks for looking out after me :)
 

pcmpete

Petty Officer 1st Class
Joined
Apr 24, 2009
Messages
328
Re: Engine Bay

Re: Engine Bay

I have a wooden rail that goes around the stern / sunpad area. But it is currently a greeny / grey color. I sanded a small part of it to see how well it would come up. The sanded part is now a redish color. What type of wood is this and what best finishing method. I would like to be able to see the grain when finished and be hard wearing.
Thanks
SDC10819-1.jpg


20110408_0646.jpg
 

rickryder

Commander
Joined
Jun 24, 2010
Messages
2,722
Re: Engine Bay

Re: Engine Bay

Nice job on the boat! I like the pvc limber pipes :D

I would think the wood is teak...
 

pcmpete

Petty Officer 1st Class
Joined
Apr 24, 2009
Messages
328
Re: Engine Bay

Re: Engine Bay

I have not posted on my thread for a while, too busy working on the boat :)
Finally got all the stringers/bulheads and transom glassed in with one layer of 1.5oz CSM and two layers of 1708.
Before I move on to cutting and fitting the deck I need to check my fuel tank for leaks. There was no sign or smell of leaks before i took it out, but I want to be sure before I fit it and place the new deck on top.

Can the tank be successfully tested if I seal up all pipe fittings and sender hole and submerge the tank into a swimming pool and watch for air bubbles?

The reason I ask is because I have a pool but don't have pressure testing equipment.

Your thoughts iboaters please
 

pcmpete

Petty Officer 1st Class
Joined
Apr 24, 2009
Messages
328
Bow Deck

Bow Deck

Just an update, I decided to go ahead and cut out the bow deck to allow full access to the stringers and main deck. It is a small price to pay, due to the fact that I wanted to do good reglassing on the stringers.
20110506_0665.jpg


Here is my inboard resin mixing station. I got tried to of climbing in and out of the boat in 100+ degree garage. Complete with mixing chart.
20110506_0666.jpg
 

pcmpete

Petty Officer 1st Class
Joined
Apr 24, 2009
Messages
328
Transom conversion template

Transom conversion template

He is the transom conversion template I made from door skin.

SDC13482.jpg
 

parrisw

Ensign
Joined
Jun 8, 2009
Messages
985
Re: Transom conversion template

Re: Transom conversion template

Nice work. I like the template.
 

pcmpete

Petty Officer 1st Class
Joined
Apr 24, 2009
Messages
328
Testing the Fuel Tank

Testing the Fuel Tank

Before I fitted my deck I started working on the fuel tank, cleaning it, fitting new sender unit and pressure testing. Unfortunitely my tank has a leak in it. Now I have to either spend over $500 for a custom made one, or try and fit a smaller plastic one, or try and fix the one I have:

SDC13934.jpg
 
Top